


19
display screen’s A-Scan window as it is selected. You’ll note that the following styles are available:
G1-Ten major horizontal and five vertical divisions, with two major horizontal and vertical divisions.
G2-Two major horizontal and vertical divisions.
G3-No on-screen grid. Only display-edge marks are visible.
G4- Ten major horizontal and five vertical divisions.
4
The grid style will be set to the last one displayed.
4.23 Selecting Units
In the function UNITS you can choose your favorite unit system between METRIC and IMPERIAL unit
systems.
1
Activate the SYS submenu (located in the CFG menu) by pressing the menu key below it.
2
Select the function item titled UNITS. You’ll note that the following options are available:
METRIC-metric unit system.
IMPERIAL-Imperial unit system
3
To change the units of measurements, Press
key or by means of the knob.
4
The unit of measurement will be set to the choice last displayed.
4.24 Scale Setting
As an alternative to the measured values, the instrument enables to display a scale on the first status
line. The scale gives you an overview of the position of echoes.
The following settings are possible:
S-PATH: Display of sound path scale
P-VALUE: Display of projection distance
scale
DEPTH: Display of depth distance scale
Select the function SCALE. Then use the knob to set the required display mode.
As an alternative, you can repeatedly press
to switch the scale.
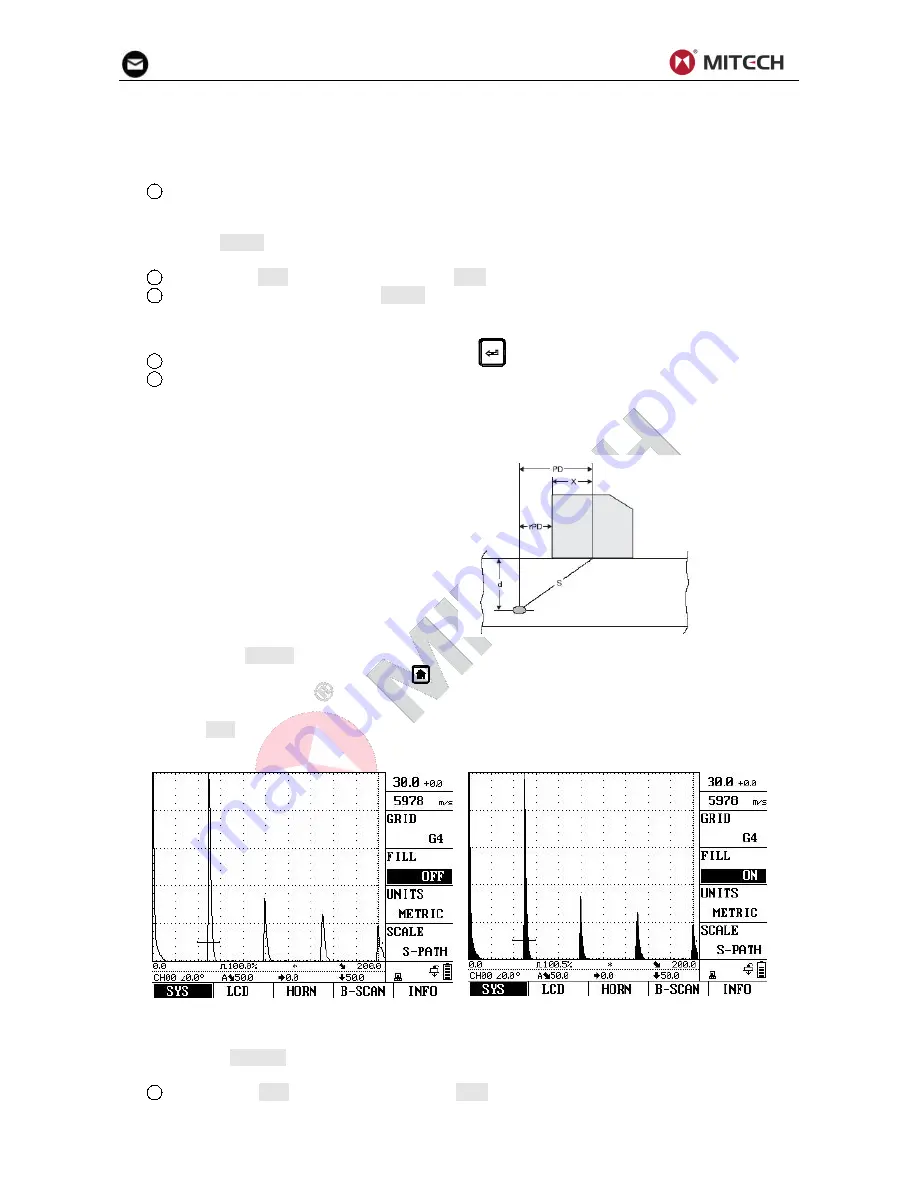
4.25 Fill function
The function FILL toggles between the filled and the normal echo display mode. The filled echo display
mode improves the echo perception due to the strong contrast, especially in cases where workpieces
are scanned more quickly.
4.26 Setting the Display Brightness
Use the function BRIGHT to set the display brightness. You can choose between four brightness options:
25%, 50%, 75% and 100%.
1
Activate the LCD submenu (located in the CFG menu) by pressing the menu key below it. Four
functions will appear down the right side of the display screen.


