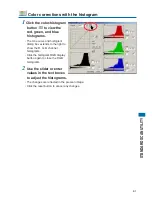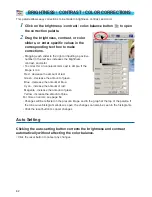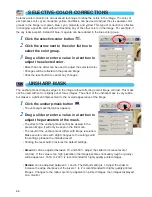
58
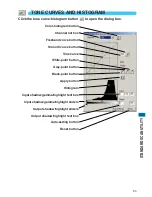
WHITE, BLACK, AND GRAY POINT CORRECTIONS
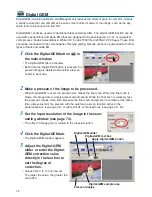
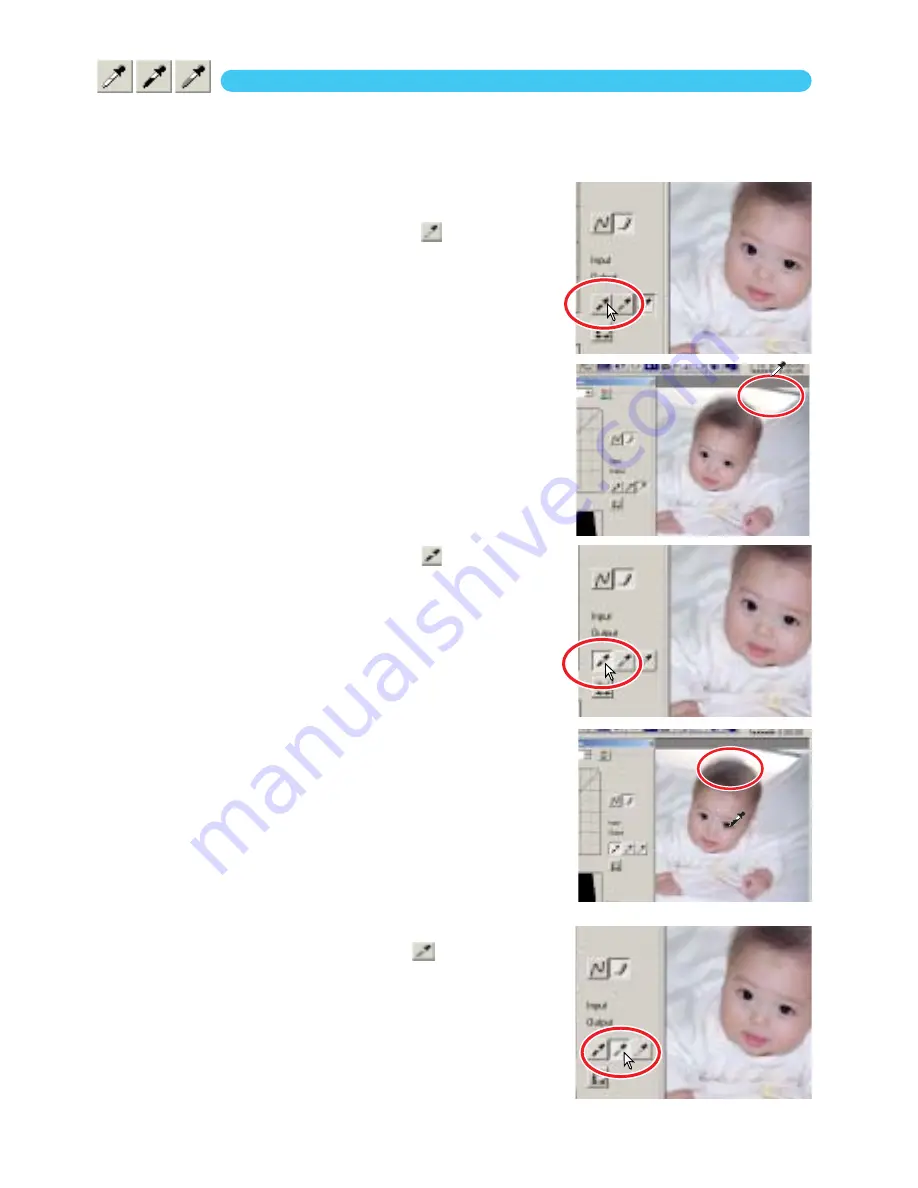
Advanced image corrections can be made by specifying a white, black, and gray point within the
image. Locating an appropriate neutral area within the image is critical to correctly calibrate the soft-
ware. When the dropper tool is selected, the RGB display is active and can be used to evaluate the
image area.
1
Click the white-point button
.
• The mouse pointer changes to the white dropper tool.
2
Click on the brightest neutral area of the
image to define it as the white point.
• The values of the image will be adjusted based on the
selected point. The default level for the white point is 255
for each RGB channel.
• The change is immediately reflected in the prescan image.
3
Click the black-point button
.
4
Click on the darkest neutral area of the
image to define it as the black point.
• The values of the image will be adjusted based on the
selected point. The default level for the black point is 0 for
each RGB channel.
5
Click the gray-point button
.
• The gray-point button is deselected when using black and
white film. The grey point controls the color of the image.


