


18 ArtixScan DI 2125c User's Manual
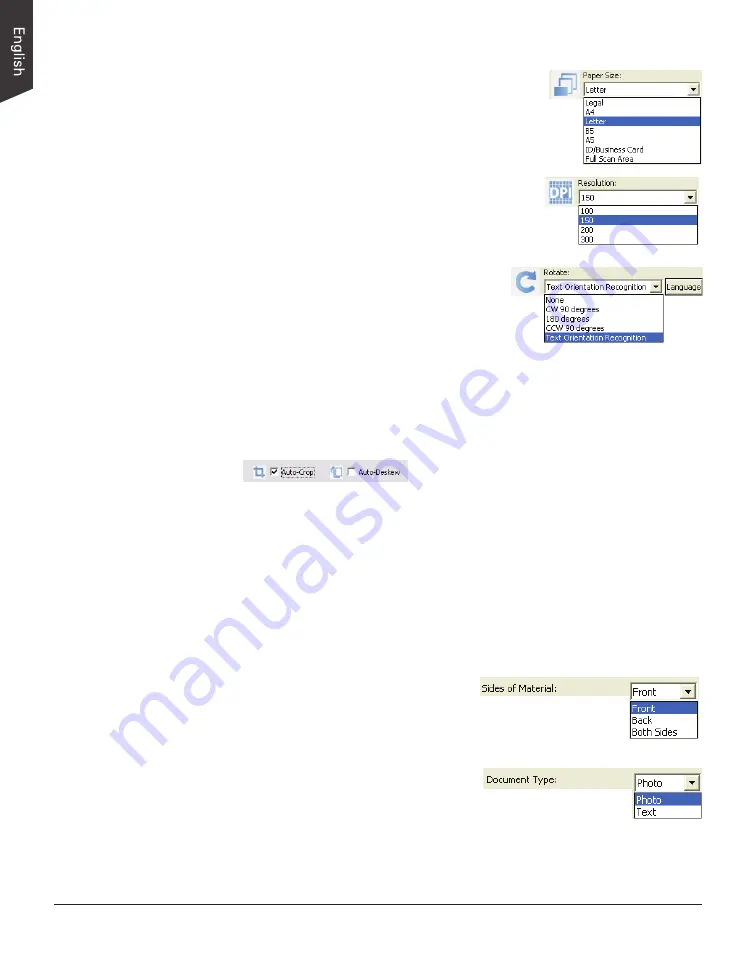
c) Select a dimension in the
Paper Size
as your
preview image size.
d) Select a desired resolution in the
Resolution
for your image output resolution.
e) If necessary, select “Text Orientation
Recognition” in the Rotate to ensure
the scanned images in a readable
orientation. When it is selected, you
can select the preferred language
used as an identification in the options
menu.
f) If “Auto-crop” & “Auto-deskew” is selected, the scanner automatically
detects the size of the original image, crops the full scan frame to fit the
image, and removes unwanted black borders after the scan, as well as
corrects the distorted image for proper alignment.
5. Click the
Show Preview Window
and
Show Setting Window
tabs in the
Scan Setup interface to display other interfaces which are helpful for your
scanning processing.
6. Click the
Preview
button to perform a preliminary view of the entire image.
When done, a preview image appears in the Preview window.
Do not forget to put the document back on the document feed tray.
7. Go to the “General” panel by clicking the
General
tab in the Settings
window. Specify the settings for your requirements there.
a) If necessary, specify the image
settings for the front or back side of
documents separately by using the
Sides of Material
control when Scan
Source is set as “ADF (Duplex)”.
b) Select the image type in the
Document Type
as your input
image type.
– Select
Photo
to scan color
prints.
– Select
Text
to scan text.


