- 36 -
Adding LPR Printer Ports
Once you have installed the client, and have enabled TCP/IP printing
for the Print Servers, then you need to add a printer port for each
printer you will be printing to using the lpr/lpd protocol. To add a
printer port,
1.
From the
Start
menu, choose the
Settings
submenu, then the
Control Panel
item within it. Windows will display the
Control Panel folder.
2.
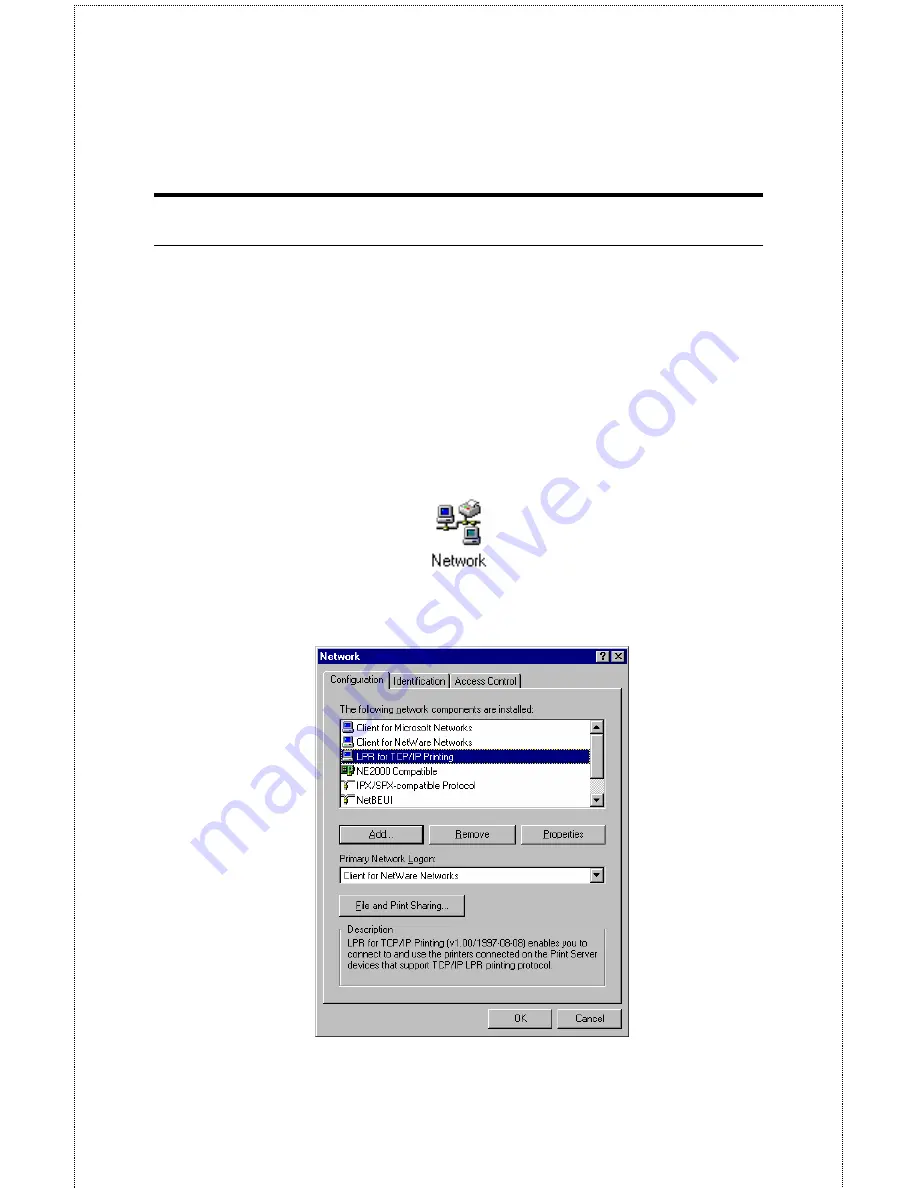
Double-click on the
Network
icon in the Control Panel folder.
3.
Choose the LPR for TCP/IP Printing client and click the
Properties
button.
Summary of Contents for SP755C
Page 30: ...30 Factory Reset Please click Yes to reload the factory settings of the print server...
Page 32: ...32 About This screen displays the information of the print server...
Page 44: ...44 Create a new Standard TCP IP Port Click Next...
Page 46: ...46 Select LPR and put the Port name in the field labeled Queue Name Then Click OK Click Next...
Page 48: ...48 Click Next Select a Printer Name...
Page 49: ...49 Sharing can be enabled here Also a Test Page can be printed to confirm proper configuration...
Page 50: ...50 When the Test Page has been printed click Finish to complete the installation...
Page 52: ...52 Select Local Printer Create a new Standard TCP IP Port...
Page 55: ...55 Click Next Click Finish...


