- 13 -
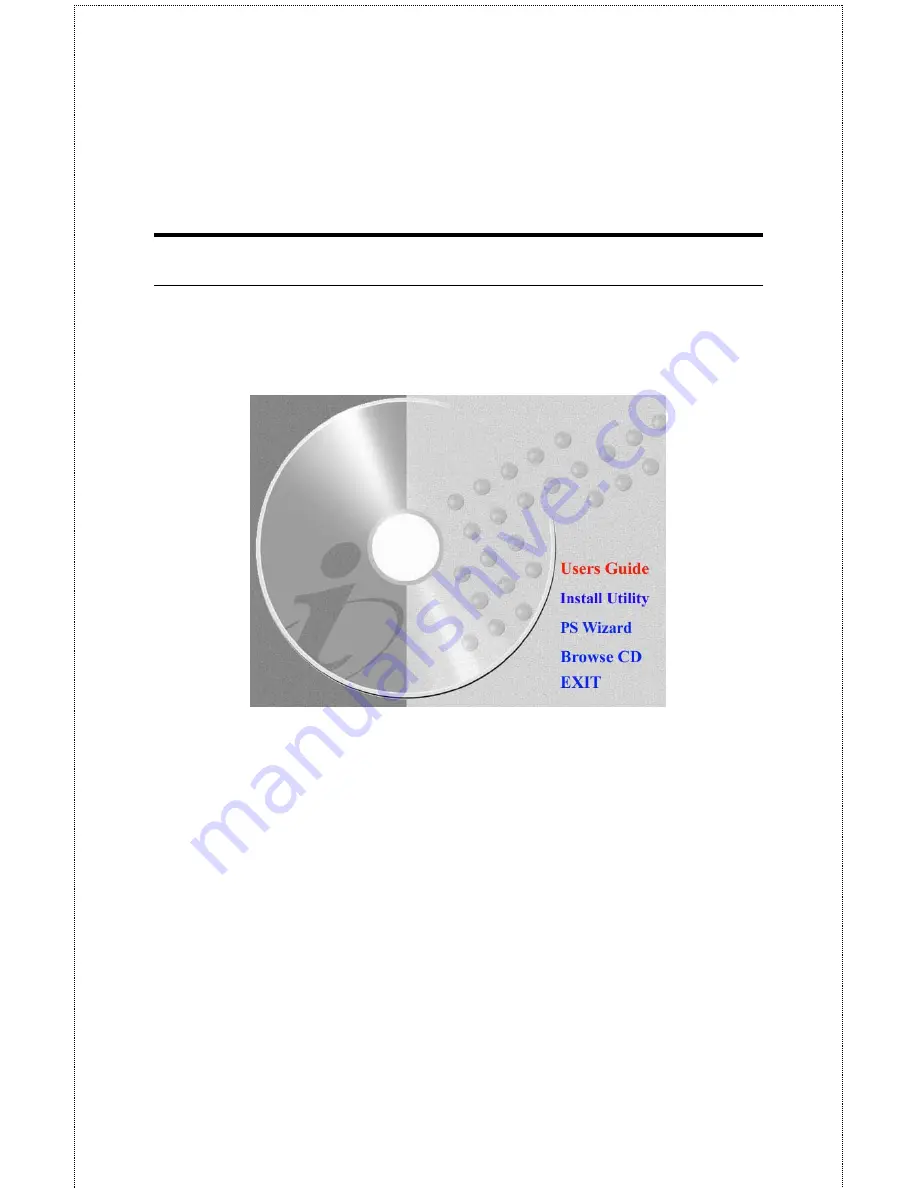
Auto-Run Installation
Insert the Installation CD-ROM into your computer’s CD-ROM drive
to initiate the Auto-Run program, and the menu screen will appear as
below.
•
User's Guide
– click to preview the
User's Guide
in PDF format
for detailed information of the Print Server.
•
Install Utility
– click to install PS-Utility. Please refer to the
next section for detailed information on installing the utility.
•
PS Wizard
– click to launch the Printer Wizard program, which
is helpful to set up the printer configuration easily and quickly.
•
Browse CD
– if you want to browse the contents of the
Installation CD-ROM, click this button and the contents of the
CD will be available for preview.
•
Exit
– click to close the Auto-Run program.
Summary of Contents for SP755C
Page 30: ...30 Factory Reset Please click Yes to reload the factory settings of the print server...
Page 32: ...32 About This screen displays the information of the print server...
Page 44: ...44 Create a new Standard TCP IP Port Click Next...
Page 46: ...46 Select LPR and put the Port name in the field labeled Queue Name Then Click OK Click Next...
Page 48: ...48 Click Next Select a Printer Name...
Page 49: ...49 Sharing can be enabled here Also a Test Page can be printed to confirm proper configuration...
Page 50: ...50 When the Test Page has been printed click Finish to complete the installation...
Page 52: ...52 Select Local Printer Create a new Standard TCP IP Port...
Page 55: ...55 Click Next Click Finish...


