- 17 -
-
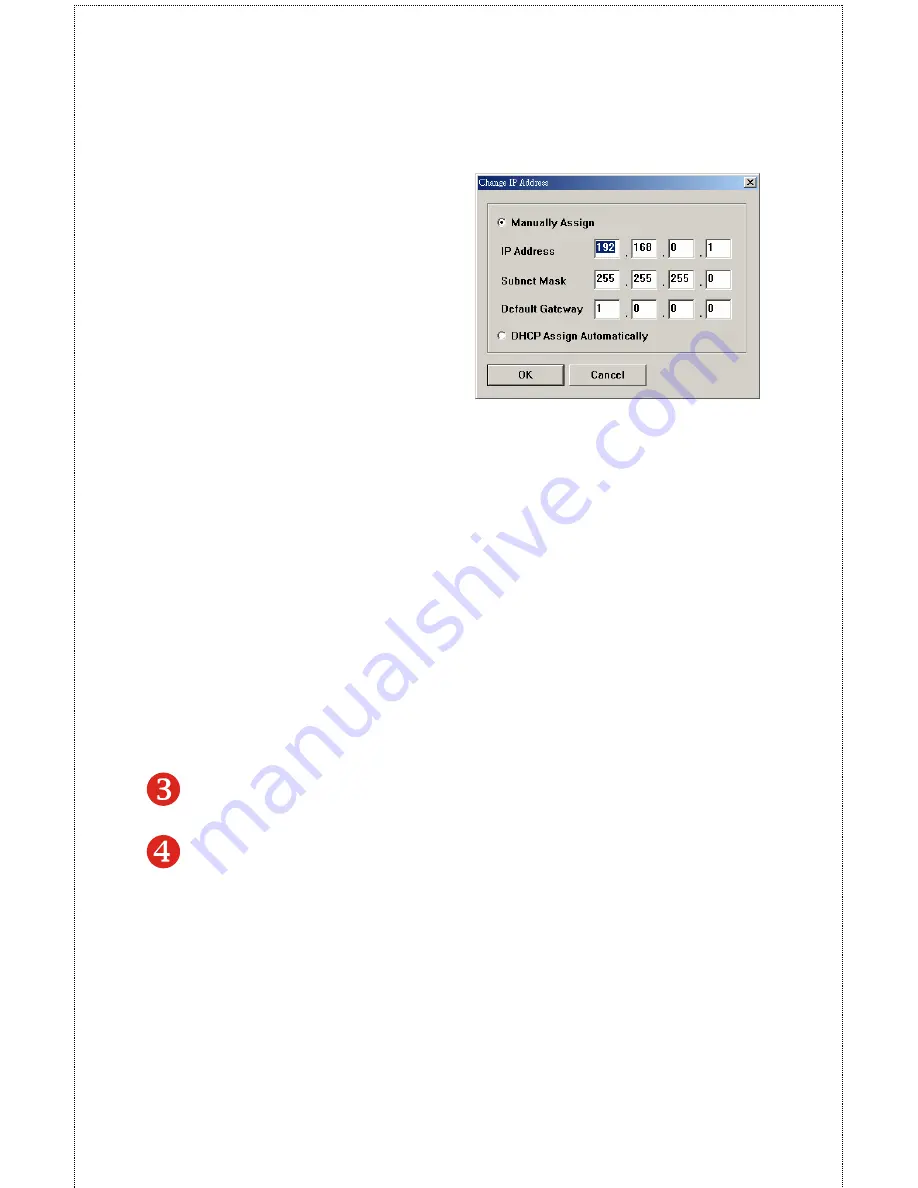
Change IP Address:
Click this button to bring
up the following dialog
box, allowing you to
change the IP Address.
In this dialog box, you can
select either
Manually
Assign
or
DHCP Assign
Automatically
. When
completed, click
OK
.
-
Update Firmware:
Click this button to update the firmware
of the selected print server.
-
Show Web Setup:
Click this button to open your web
browser and launch the Configuration Utility. Alternately,
you can double-click the print server in the Device List to
launch the Configuration Utility.
-
Factory Reset:
Click this button to reload the factory settings
of the print server.
-
Discover Device:
Click this button to search the connected
print server again.
-
About:
Click this button to bring up a window containing the
basic information of PS-Utility.
-
Close:
Click this button to exit PS-Utility.
3.
Information Field:
Display the basic information of the selected
print server in the Device List.
4.
Status Bar:
Display the system status.
Summary of Contents for SP755C
Page 30: ...30 Factory Reset Please click Yes to reload the factory settings of the print server...
Page 32: ...32 About This screen displays the information of the print server...
Page 44: ...44 Create a new Standard TCP IP Port Click Next...
Page 46: ...46 Select LPR and put the Port name in the field labeled Queue Name Then Click OK Click Next...
Page 48: ...48 Click Next Select a Printer Name...
Page 49: ...49 Sharing can be enabled here Also a Test Page can be printed to confirm proper configuration...
Page 50: ...50 When the Test Page has been printed click Finish to complete the installation...
Page 52: ...52 Select Local Printer Create a new Standard TCP IP Port...
Page 55: ...55 Click Next Click Finish...


