MediCap
®
USB200 User Guide – English
16 of 20
USB200H-UG01-EN-140120-MC
Other Features
Using a Footswitch
Standard footswitch connectors are located on the back panel. Using a footswitch will allow you to
capture images and video clips “hands free.” The two footswitches serve the same function as the
corresponding
Capture Photo
and
Capture Video
buttons on the front panel.
Note that the footswitch connector responds to a simple “closed contact.” In other words, if you have
other types of switches that operate using a closed contact, you can also plug them into the
footswitch connection and use them to trigger an image capture. For example, a “closed contact”
timer could be used to capture images at regular intervals. Also, some endoscopic cameras have a
simple “closed contact” trigger that can be used to capture images via the footswitch connector.
Deleting Images
While reviewing the current patient session on the USB200, you can delete unwanted video and
images. To do so, when you see a video or image you want to delete, press the
Delete
button on the
front panel and follow the prompts. To delete images from earlier patient sessions, transfer the
images to your computer and delete them there.
Patient Information Feature
This feature allows you to enter patient information at the start of each imaging session. The
information can be included in the file names of still images and video clips. The information is also
stored in a text file in the same folder as the images and videos.
To use this feature, a USB
keyboard must be plugged into the back of the USB200.
Keyboards from most manufacturers are
compatible.
Setting Up the Patient Information Feature
To turn on this feature, press the
Menu
button on the front panel to display the Main Menu. Then
select “Setup” and select “Patient Information.” The Patient Information Menu will be displayed. Set
“Collect Patient Information” to “Yes.” Then set the following options:
•
Info in File Names
- Allows you to specify what patient information, if any, will be
automatically included in folder and file names. You can select:
o
None
- No patient information will be included in folder and file names
o
Name
- The patient’s name will be included
o
ID
- The patient’s ID will be included
o
Name+ID
- The patient’s name
and
ID will be included
•
Patient Stamp
- Allows you to imprint the following patient information on images and videos:
Patient Last and First Name, Gender, and ID. If you use this option, you may also want to
consider using the Time Stamp option which can be accessed by going to Main Menu > Setup
Menu > Date / Time.
•
Stamp Position
- You can select
Upper Left, Upper Right, Lower Left,
or
Lower Right
.
Using the Patient Information Feature
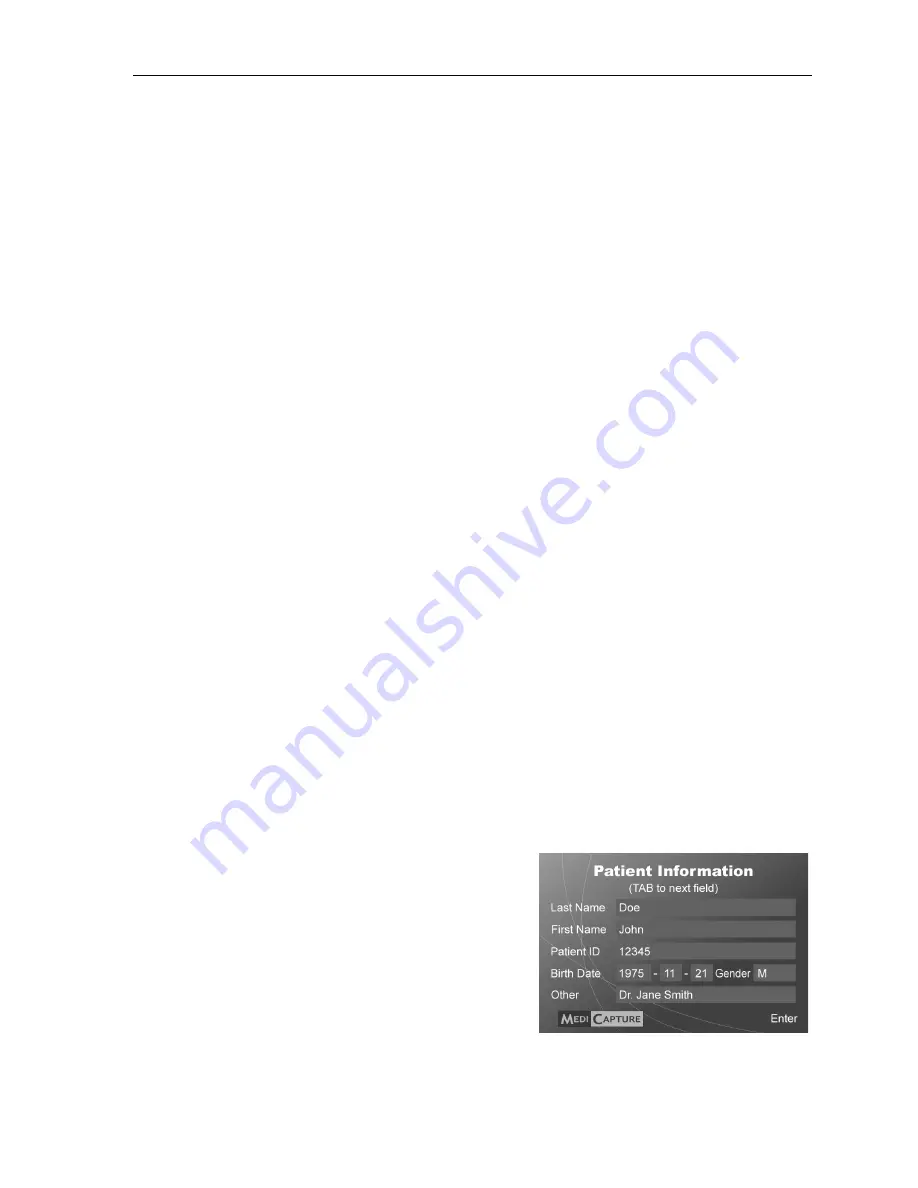
After you turn on this feature, a Patient Information
screen will be displayed at the start of each imaging
session (each time you press the
New Patient
button or
insert a flash drive). Plug a USB keyboard (not supplied)
into the back of the unit and use it to enter Patient Last
and First Name, ID, Birth Date, and Gender. An “Other”
field allows you to enter information such as the name of
the attending physician.
To move to the next field, use the Tab key on the
keyboard. If you need to go to a previous field, simply
tab several times and the cursor will go to the top of the
screen (or you can use Shift+Tab to back up).


