MediCap
®
USB200 User Guide – English
12 of 20
USB200H-UG01-EN-140120-MC
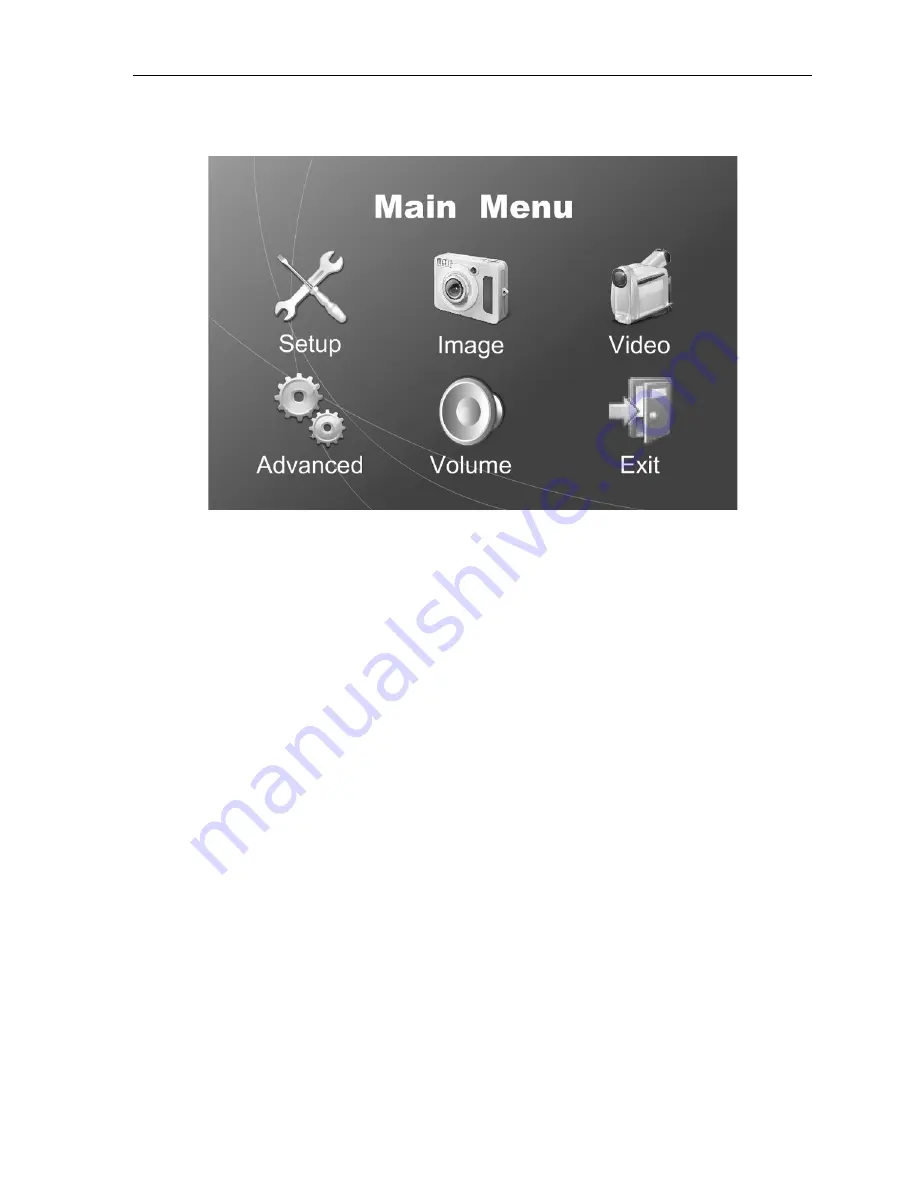
Main Menu
To display the Main Menu, press the
Menu
button on the front panel. Then you can use the
Next
and
Back
buttons to navigate through the submenus. Use the
Select
button to make a choice.
The submenus to the Main Menu are:
•
Setup:
Use this menu to set the clock, language preference, and input options. You can also
use this menu to turn on and configure the “Patient Information” feature. This feature allows you
to enter patient information at the start of each imaging session (see page 16 for more
information).
•
Image Options:
Use this menu to select the format of images (JPG, TIFF, BMP, or DICOM).
•
Video Options:
Use this menu to select the capture quality. You can also set the time length
for captured video clips.
•
Advanced:
Use this menu to select advanced options. You can also view all of the current
settings and reset them to factory defaults. In addition, you can upgrade your USB200 to add
options and features (requires a special "upgrade USB flash drive" available from
MediCapture).
•
Volume:
Use this menu to set the volume of the internal speaker and the audio output.
•
Exit:
Selecting Exit returns the USB200 to live mode so you can capture images and video
clips. This option is the same as pressing the
Menu
button on the front panel.
These submenus are described in the following sections.


