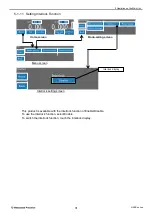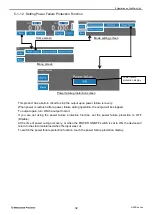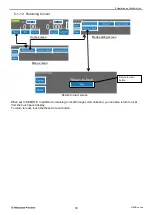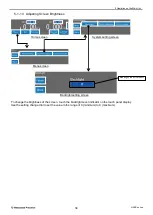
5 Operation on the Main Unit
24
HARS series
5 Operating on the Main Unit
5-1 Basic Operations
5-1-1 Power ON
Confirm that the device POWER ON/OFF switch is OFF.
Connect GND, the AC input connector, the output cable, the load to the unit and then, set the
POWER ON/OFF switch of the product to ON.
5-1-2 Power OFF
Turn OFF the OUTPUT ON/OFF switch and check the front panel display to confirm that no voltage
is applied to the output terminal.
* In case of an emergency stop, turn OFF the front POWER ON/OFF switch or your input power
breaker to stop the device.
Make sure that the output terminal has no electric charge before touching the
load, as sometimes electric charge remains in the output after the OUTPUT
switch has been turned OFF.
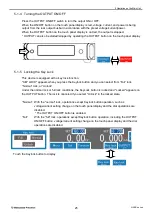
5-1-3 Setting Output Voltage and Current
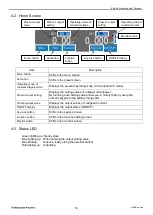
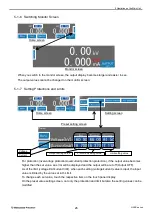
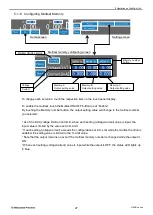
Each value can be changed with the Setting change dial by touching the numeric input part (voltage,
current, overvoltage protection, overcurrent protection, voltage limit, and current limit) on the touch
panel display twice or directly touching the set value.
Any change will be reflected immediately to values.
Pressing the Setting change dial allows you to change the digit position.
* Settings cannot be changed with the setting dial or numeric pad when using analog remote control.
Enter each value using analog remote control or change settings in local mode.
* When the output voltage and output current are input with the output OFF, the status LED lights up in
blue.
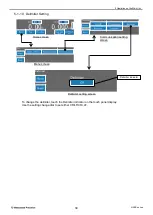
Home screen
Setting screen of preset value
Summary of Contents for HARS Series
Page 1: ...Instruction Manual F RA 001 3R3 MODEL HARS series B N 277 9 002 277 9 002 Rev 0 1 ...
Page 10: ......
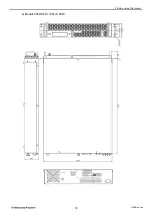
Page 19: ...2 Before Using This Product 9 HARS series 2 6 3 Dimensions a Models 500W 1kW 60kV or lower ...
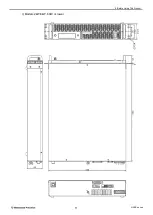
Page 20: ...2 Before Using This Product 10 HARS series b Models 500W 1kW 100kV 120kV ...
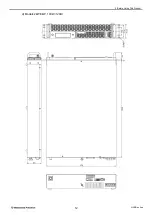
Page 21: ...2 Before Using This Product 11 HARS series c Models 2kW 3kW 60kV or lower ...
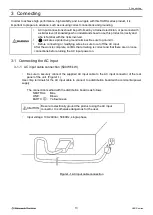
Page 22: ...2 Before Using This Product 12 HARS series d Models 2kW 3kW 100kV 120kV ...
Page 92: ......

