


41
M2 ASSEMBLY GUIDE
15. PAUSE/STOP
To pause or stop the M2, click the “Pause” button on the top bar. Once the M2 is paused,
you will be able to stop the project by clicking the “Stop” button next to it. It must be paused
before you can stop the project!
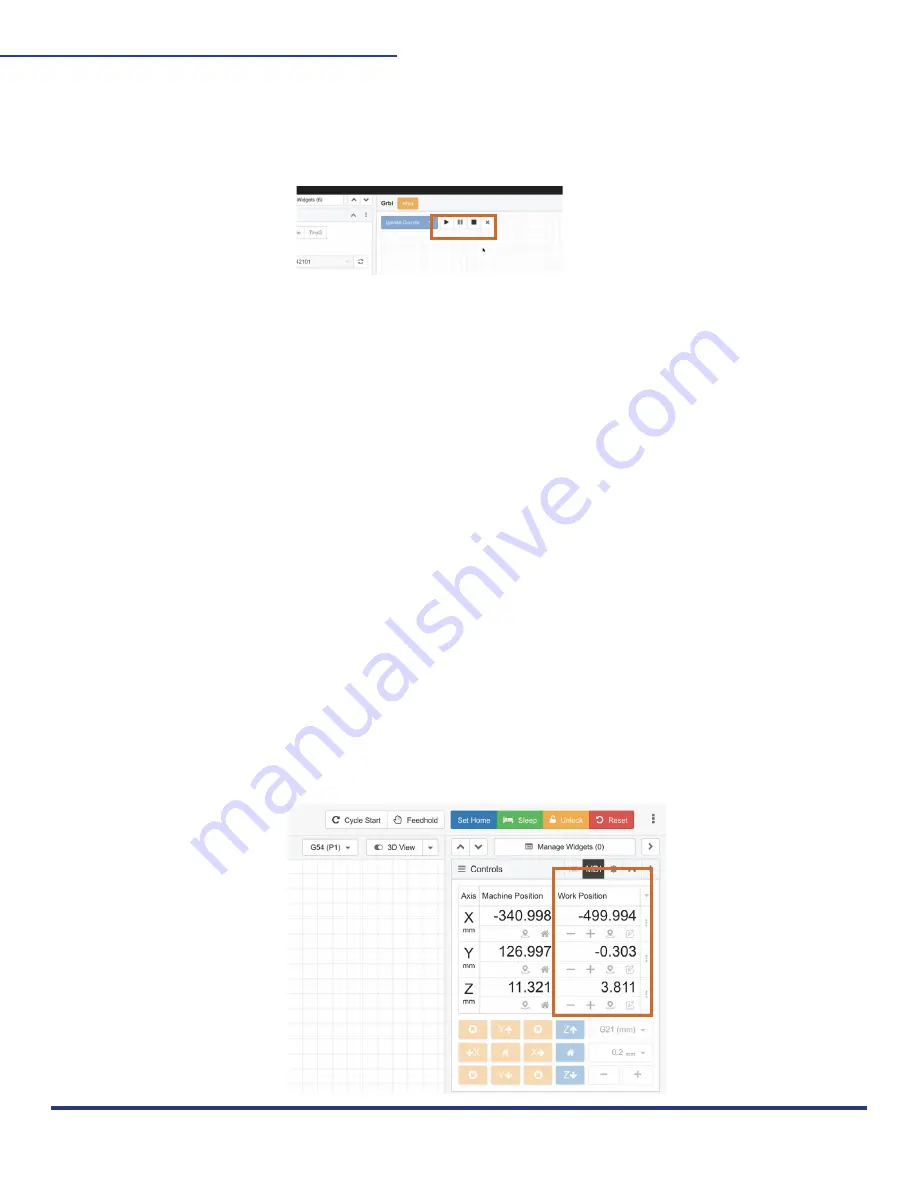
16. WORK POSITION:
When working on projects, setting and changing your Work Position Home will make using
your M2 more fun and efficient.
Once you home your M2 out of the box, we recommend changing your Work Position (0,0) for
projects, instead of resetting home every time you are cutting a new project. This will save
time and calibration headaches!
For example, to use every part of your 4’x8’ material you can set different work positions each
time you cut with your M2. Then you could cut the same project out of different sections of
your material!
To set the work position, jog the M2 to the position on your material where you want to begin.
Then click the “Zero Out Machine” locator icons for X and Y under Machine Position to set
your new Work Home.
Now when you run your M2, you can begin from where you set your temporary home position!
We recommend cutting 3 or 4 times and measuring until your cuts are near exact to your
Gcode.
You now know how to start making projects on the M2. Happy making!
This work is licensed under the creative commons Attribution
NonCommercial-NoDerivatives 4.0 International license.
Last Updated 11.09.2020
Version 1.14


