


31
M2 ASSEMBLY GUIDE
3. POWER:
Ensure your M2 DUE Board is plugged into power and the USB to your computer.
Drew’s Note:
When connecting your M2 for the first time, be sure to be close to a power source to unplug if
anything does not go as planned.
If the X, Y, and Z motors are not plugged in completely to the motors and Arduino DUE Board, the M2 will not
follow your commands and will act wonky (like continuing to move when you only told it to move 1 inch).
OPERATION & CALIBRATION PART 3: CALIBRATION AND HOW TO USE THE MACHINE
CONTROL APPLICATION MAKERVERSE
1. DOWNLOAD:
You need a machine control application (also known as a Gcode sender). We suggest our
Makerverse for your M2 and many other CNC machines. It’s based off the open source
CNCjs software. Coming soon to the Windows and Apple Stores, you can download it for your
Windows, Mac, or Linux computer here:
https://makermade.com/m2-resources/
Check out
video on calibration!
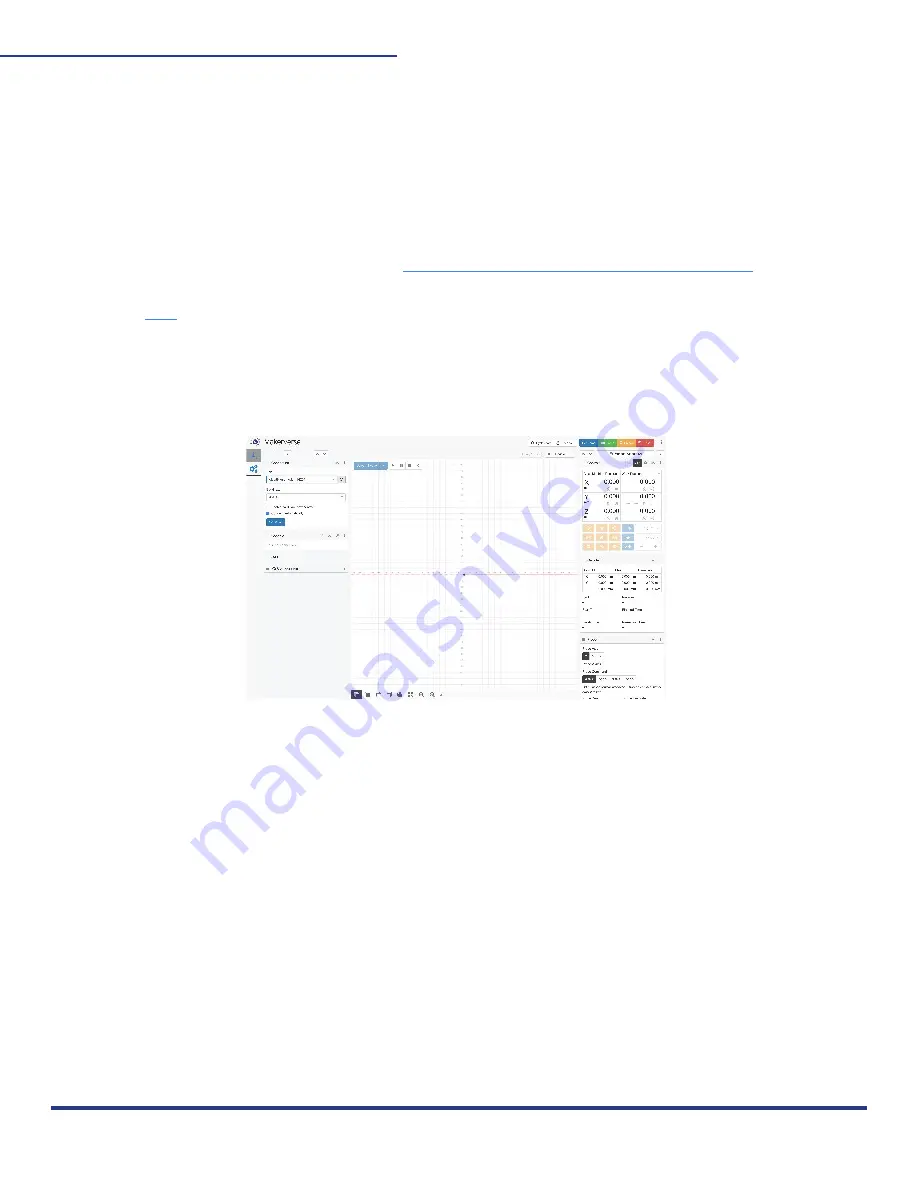
2. OPEN MAKERVERSE:
Click “allow program” to open. It is pending release in the Windows and Mac App Stores. An
account is not required, but you may set one up later.
This work is licensed under the creative commons Attribution
NonCommercial-NoDerivatives 4.0 International license.
Last Updated 11.09.2020
Version 1.14


