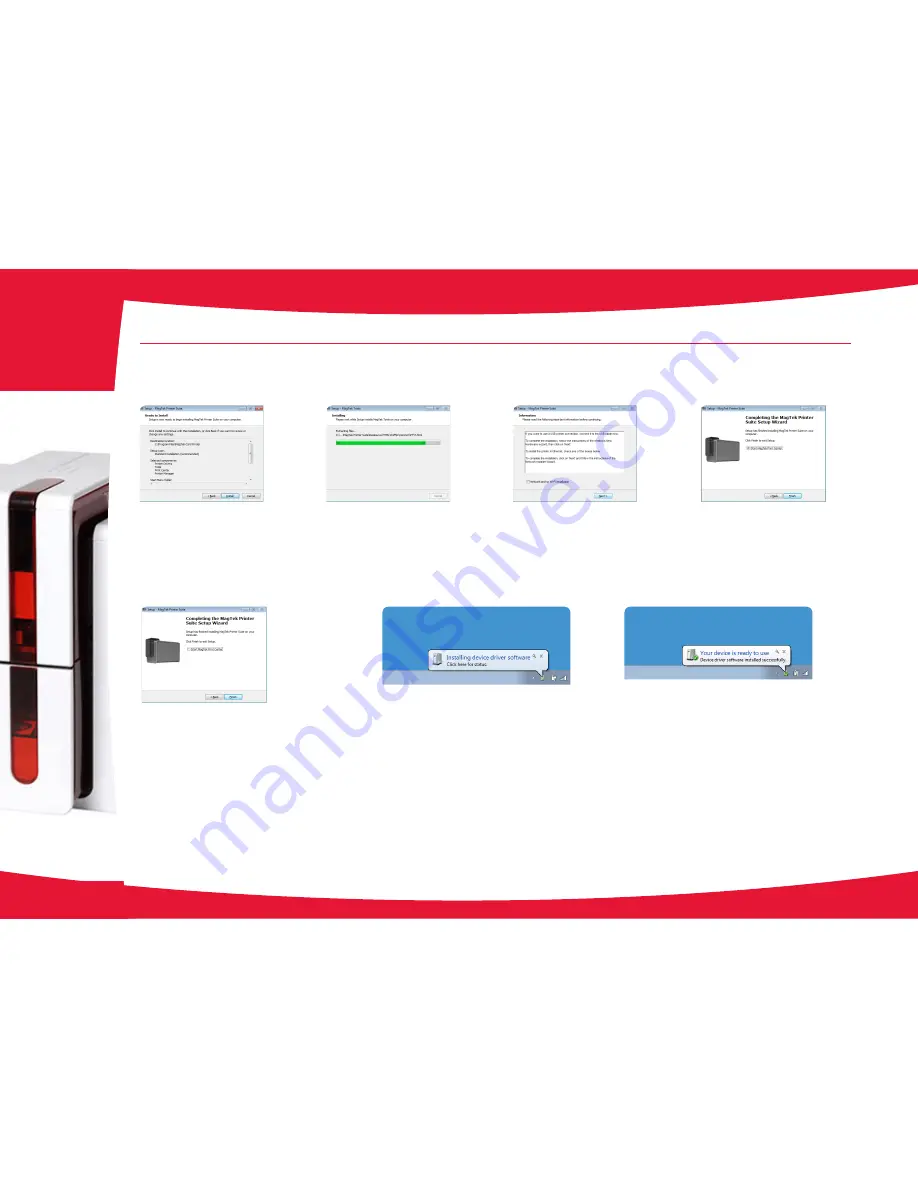
During installation, a progress bar is shown.
This may take a few minutes, so be patient.
When it completes, it will advance to the
next screen.
At this point, the program is ready to be
installed.
Press Install to begin the installation
process.
After the print drver has competed
installation, this completion screen is
shown.
Press the Finish button.
After the print drver has competed
installation, this screen is shown.
Don’t check the Ethernet settings (DHCP)
check box, Press the Next button.
Assemble the printer (cables, ribbon,
cards, …) and ready it for connection to an
available USB connector on the PC. The
print drver will be located and associated
with the printer; the printer will show up as
an available printer on the PC.
Press the Finish button.
After the printer is connected to an
available USB port, the system will locate
the print drver.
After it is located, it will indicate that the
device is ready to use.
9
2-1 Installing the Print Driver (continued)
2


