


Chapter 8 Mobile Surveillance
Step 1
: Choose network type. There are two network connection ways:
3G/3G +WIFI, well video quality. This network supports main stream and sub stream.
The real-time image will be displayed by using sub stream.
3G-, poor video quality contrast to the above mentioned network.
Step 2
: Input server, account and password.
Server
: WAN IP address (or domain name) plus HTTP port of the device.
For
example: 210.21.183:89 or 123.dvrdydns.com:89.
Note: The default http port of the device is 80. If this port is modified, please use
the modified port.
Account and Password
: The login account and password of the device. The
default
account is admin and the default password is 123456.
Step 3:
Click
【
Login
】
button to access the device.
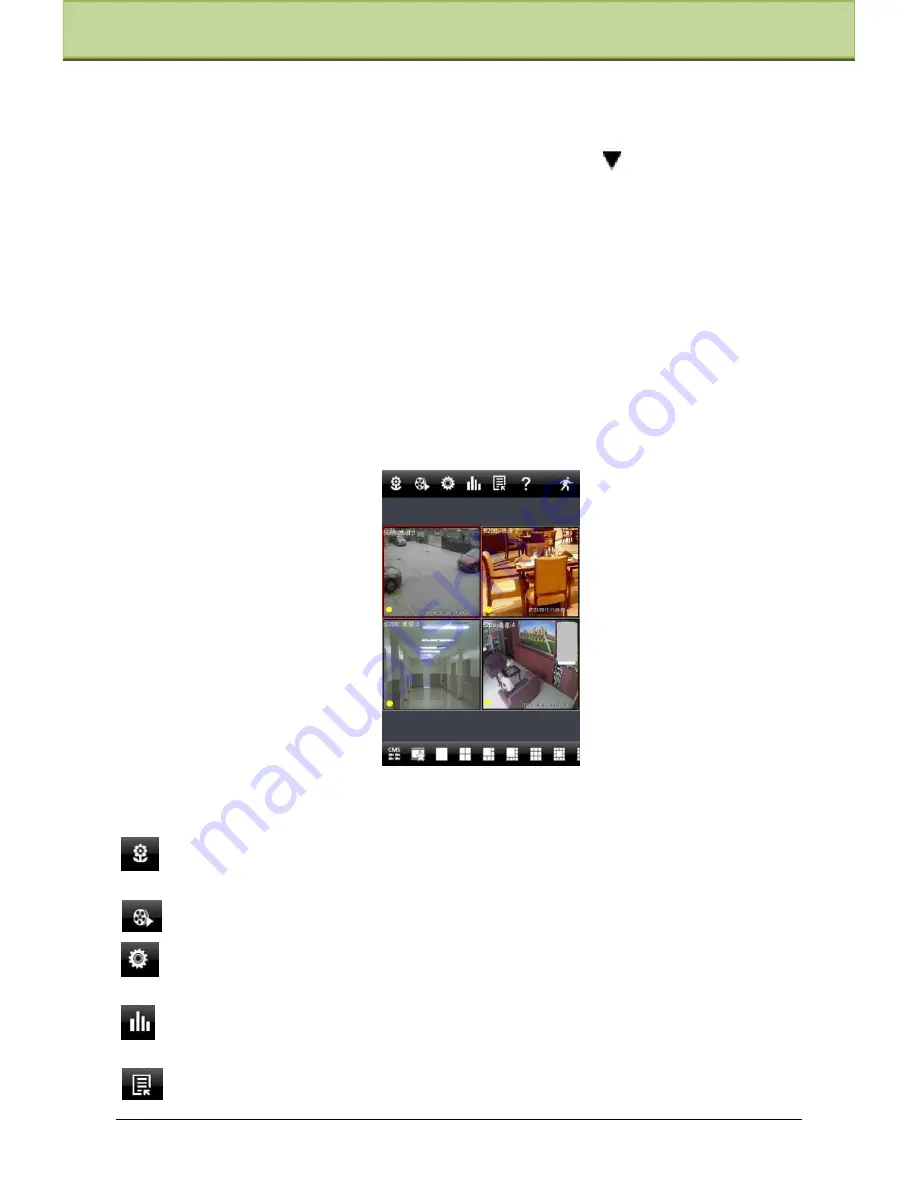
2.
Main Interface
There are many buttons in the main interface, such as, screen mode, favorite channel, snap,
record, open/close audio, talk, PTZ., etc.
:
Image view button. The pictures snapped in the live will be checked by clicking this
button.
:
Playback button. Click this button to enter into playback interface.
:
Settings button. Click this button to set local configuration (Some can also
support
remote configuration).
:
Information button. Click this button to check lots of information including local
information, device information, network information, etc.
:
Server list button. Click this button to add server list.
IP-CAMERA User Manual -
48