167
Trail Options
There are several options you can use with trails. Some affect all trails,
other options can be applied to a particular trail. You can change the
way trails are updated, you can display or hide trails, make them flash
on the screen or not flash, create a new trail, delete a trail, etc.
General Trail Options
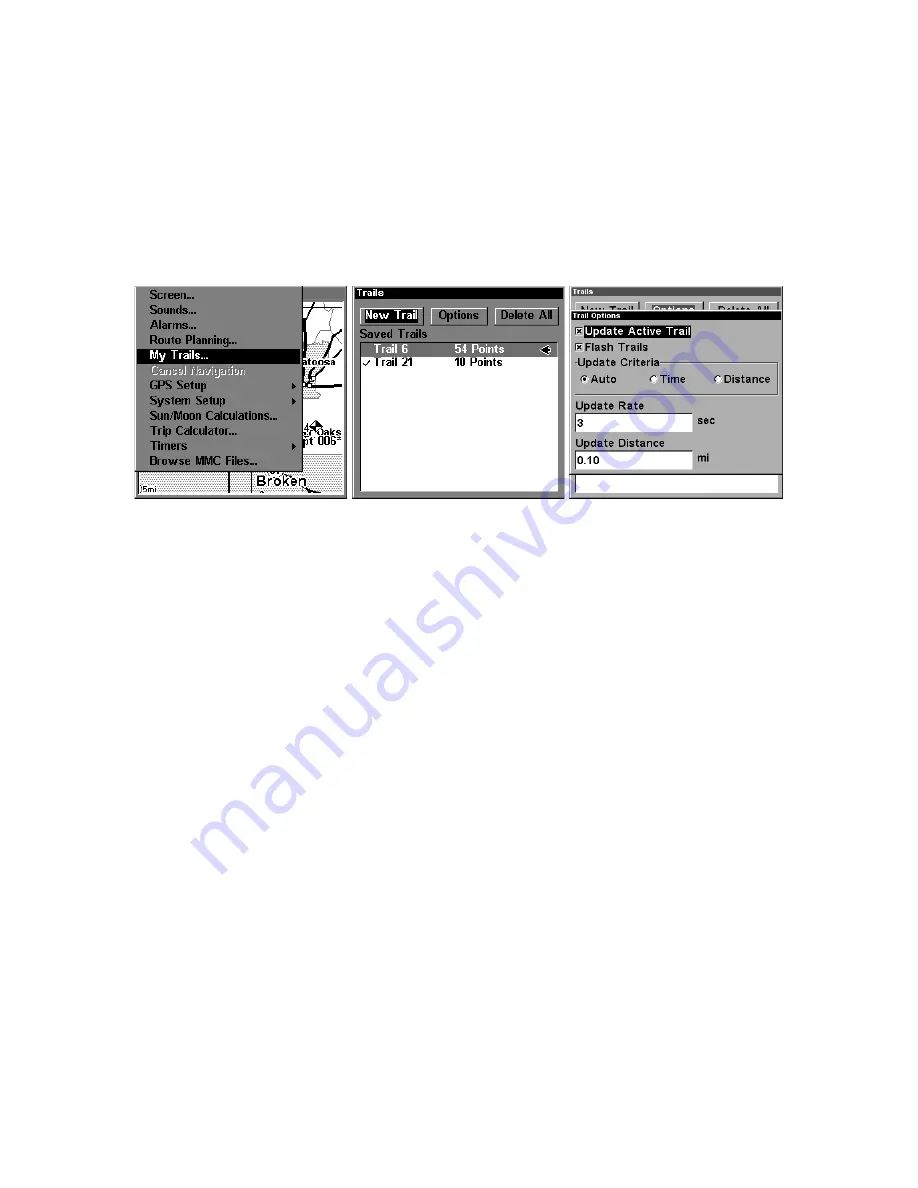
To access the Trails Menu:
1. Press
MENU
|
MENU
|
↓
to
M
Y
T
RAILS
|
ENT
.
Main Menu, left, Trails Menu, center, Trail Options, right.
Delete All Trails
To remove all of the trails from memory: from the Trails Menu, press
→
to
D
ELETE
A
LL
|
ENT
|
←
to
Y
ES
|
ENT
.
Flash Trails on Screen Option
From the Trails Menu, press
→
to
O
PTIONS
|
ENT
|
↓
to
F
LASH
T
RAILS
. With
the option highlighted, press
ENT
to check it (turn on) and uncheck it
(turn off.)
Update Trail Option
This menu lets you change the way the trail updates occur.
WARNING:
If you
uncheck
the Update Trail option, automatic trail
creation and recording will be turned
off
. You must turn
it back on to record trails. The default setting is on.
From the Trails Menu, press
→
to
O
PTIONS
|
ENT
. With
U
PDATE
A
CTIVE
T
RAIL
highlighted, press
ENT
to check it (turn on) and uncheck it (turn off.)
Update Trail Criteria (Auto, Time, Distance)
The options are automatic, time, or distance. When it's in the default
automatic mode, the unit doesn't update the plot trail while you're
traveling in a straight line. Once you deviate from a straight line, the
unit "drops" a plot point (trail waypoint) onto the trail. This conserves
plot trail points. If a plot trail uses all of the available points allotted to
Summary of Contents for LMS-320
Page 20: ...12 Notes...
Page 48: ...40 Notes...
Page 98: ...90 Notes...
Page 102: ...94 Notes...
Page 134: ...126 Notes...
Page 148: ...140 Notes...
Page 178: ...170 Notes...
Page 198: ...190 Notes...


