7
Installing the Software
SELECTING A SAVE DIRECTORY AND ALLOCATING STORAGE SPACE
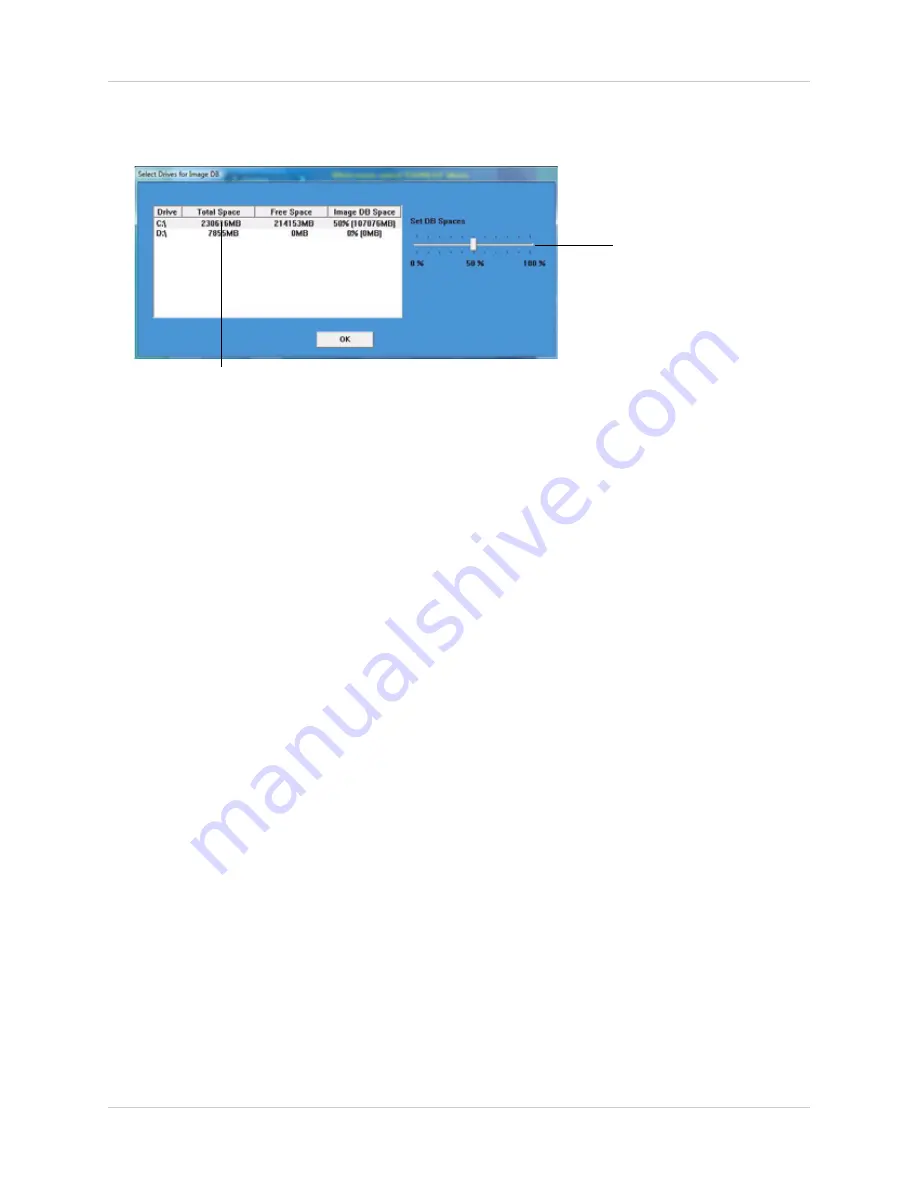
During the software installation, a save directory window opens.
To select the save directory:
• Select the hard drive in the hard drive list.
To allocate video storage space:
1. Drag the slider to the right to increase storage space; drag the slider to the left to decrease
storage space.
NOTE:
If you allocate a large percentage of your hard drive for video storage, your hard-drive
icon may show up with a red bar (in Windows Vista, 7). This is normal.
2. Click
OK
to continue. The software begins allocating storage space on your hard drive.
Changing a save directory and re-allocating storage space
You can change the save directory and re-allocate storage space by using the Storage
Management program.
For more information, see:
• Storage Management (See “Appendix E: Re-Allocating Storage Space” on page 72.)
INSTALLING EXTRA SOFTWARE
To install the extra software, you must access the
Advanced
installation menu. During setup,
instead of selecting Express installation, select
Advanced
then click
Extras
.
To install the Image Analyst and Backup Viewer software, click the Extras button in the Advanced
installation window.
For more information, see:
• Image Analyst (See “Appendix C: Using The Image Analyst Software” on page 70.)
• Backup Viewer (See “Appendix D: Using Backup Viewer” on page 71.)
Select hard drive
Drag slider to adjust video
storage space
Figure 2.2 Selecting a save directory and allocating storage space.


