


36
Using Remote Surveillance
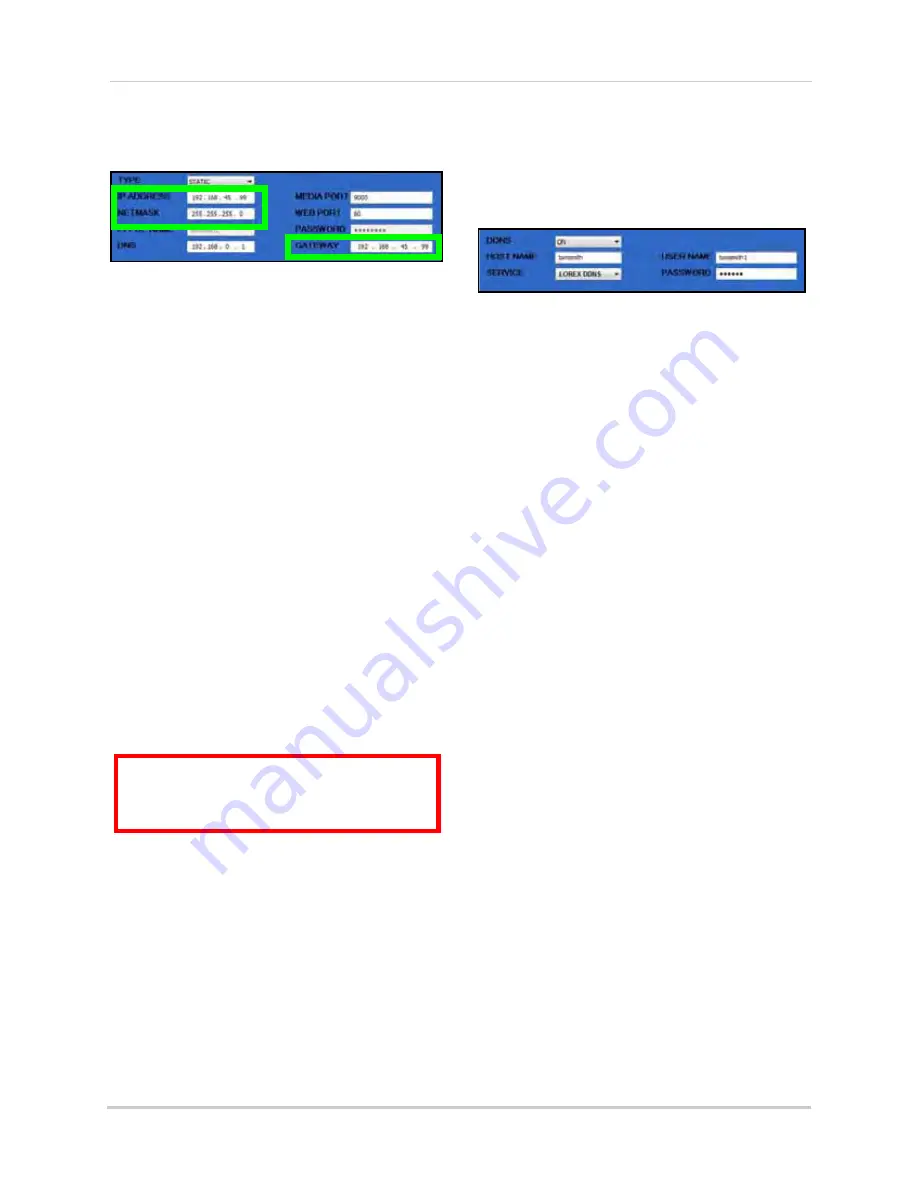
3. If you selected
STATIC
in step 1, enter your
IP Address
,
Netmask
, and
Gateway
in the
respective fields.
NOTE:
The default IP address of the system is
192.168.3.97
4. If necessary, change the Media and Web
Ports.
NOTE:
For added security, we strongly
recommend changing HTTP port 80 on the
system to any desired port not blocked by your
Internet service provider (ISP). Please note
however, that you will also need to update the
Web port in your browser and open this new port
in your router. For details on changing ports on
your system, see “Appendix C: Changing Ports
On Your System” on page 49.
5. Click
APPLY
to save your settings and then
click
OK
in the confirmation window.
DDNS
Lorex provides a free DDNS service for use
with your DVR. A DDNS account allows you to
set up a web site address that points back to
your Local Network. You must register for
Lorex’s free DDNS service prior to configuring
DDNS settings.
Visit
http://lorexddns.net
to register for
Lorex’s free DDNS service. For more details on
setting up a free Lorex DDNS account, see
“Setting Up DDNS Service” on page 44.
To change DDNS settings:
1. Under DDNS, select
ON
.
2. Under SERVICE, select
LOREX.
3. In the HOST NAME field, enter only the
first portion of your DDNS domain
from
the confirmation email. For example, if
your domain name is
[email protected], you only need to
enter
tomsmith
in the text field.
NOTE:
Obtain this information from the
confirmation email after registering for the free
Lorex DDNS service.
4. Enter your Lorex DDNS
user name
and
password
in their respective fields.
5. Click
APPLY
to save your settings and then
click
OK
in the confirmation window.
6. To ensure your DDNS settings are saved
on your system, disconnect the power
cable from the rear panel of your system.
Allow the system to power down for 15~20
seconds. Reconnect the power cable.
NOTE:
Please allow 10~15 minutes for the DDNS
servers to update with your new DDNS address.
This is normal for the DDNS system.
Figure 30.2 Static IP setup
ATTENTION
: You
MUST
enter your DDNS
information
LOCALLY
before attempting
remote access.
Figure 30.3 DDNS setup