32
Using Remote Surveillance
Search
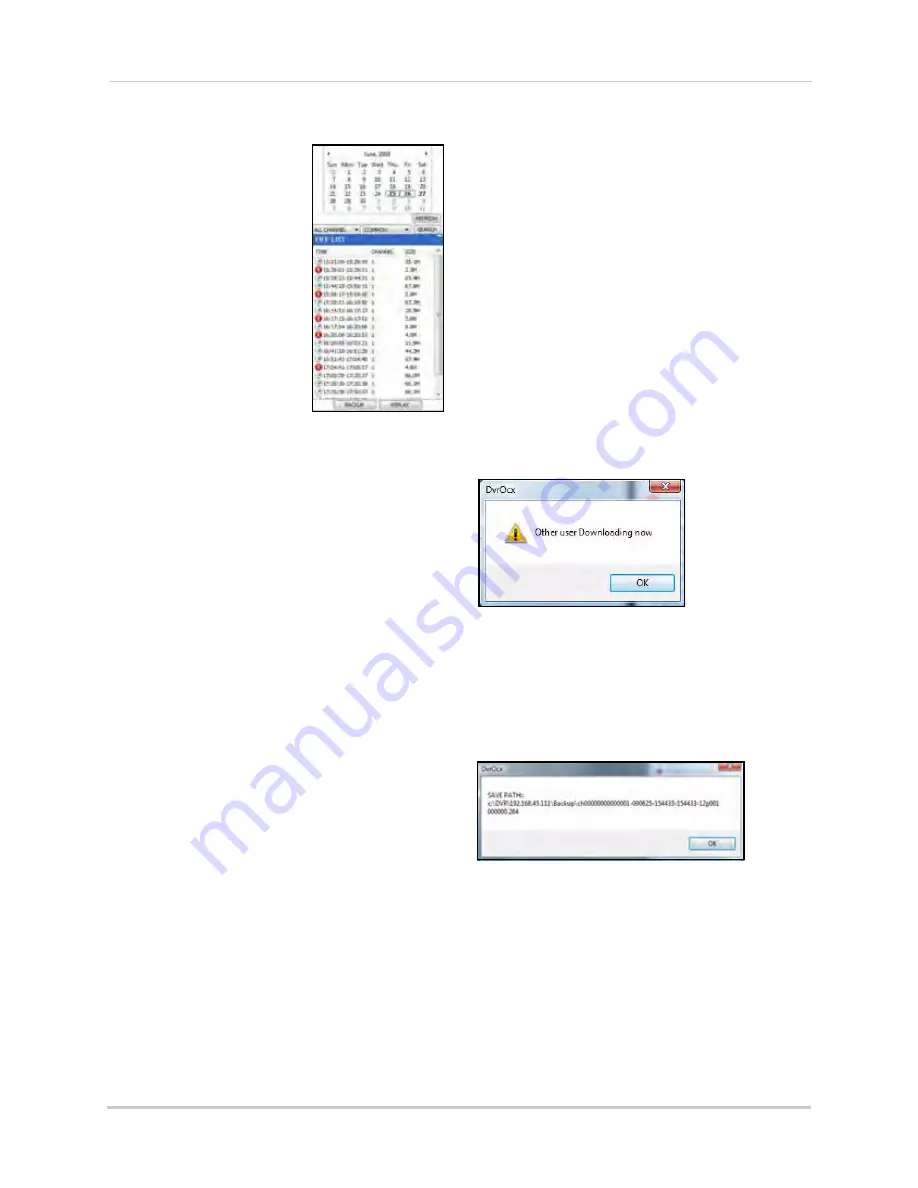
Use the calendar and
drop-down menus to
search for recorded
video on your system.
1. Click
<>
to change
the month on the
calendar. Dates with
recorded video data
will appear in
bold
.
2. Click the date.
Recorded video files
will populate the File
List.
3. From the
Channel
drop-down menu,
select a
specific
channel
or select
ALL CHANNEL
and then
click
SEARCH
.
4. From the
Type
drop-down menu, select
COMMON
(normal recording),
ALARM
, or
ALL TYPE
and then click
SEARCH
.
5. Double-click the file from the File List to
playback the file in the main screen.
Remote Backup
You can backup recorded video files from your
system to your PC using the Replay menu in
the remote surveillance software.
To backup files remotely:
1. Click
REPLAY
at the top of the main
screen.
2. Select a date(s) on the calendar and click
REFRESH
.
3. Double-click a file from the File List to
begin playback.
4. Click
BACKUP
. Backup begins to
C:/DVR/
[ip_address]/Backup
NOTE:
If you playback a file, you must wait for
the file to load before backing it up, otherwise
you may receive an error message (see figure
0.0).
5. When file backup is complete, click
OK
in
the confirmation window. The confirmation
window show the save path of the backup
file.
NOTE:
Backup files are saved as .264 files.
NOTE:
Use the Player Software included on the
software CD to playback backed up video. For
more details, See “Appendix K: Playback
Software” on page 62.
Figure 25.2 File List
Figure 26.0 If viewing a file, wait for it to
load before backing it up
Figure 26.1 Backup confirmation


