


LINDY ELECTRONICS LTD
Installation & Use – English Guide
Page 19
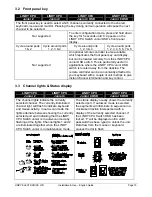
3.6 Mouse
control
The channels can conveniently be changed on LINDY CPU Switch Junior by using a three button
mouse. In order to switch to the next channel simply hold down the central mouse button (the
wheel mouse button on an IntelliMouse) and click on the left hand mouse button. The channel will
then change.
Mouse switching may be enabled or disabled using the option switches (on non-OSD models) or
using the ‘U’ configuration options (on OSD models), see sections 4 & 5. When mouse switching is
disabled the third button or wheel button state is ‘passed through’ the LINDY CPU Switch Junior
and seen by the application software.
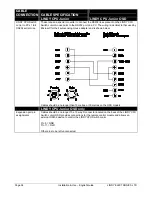
3.7 RS232
Control
IMPORTANT NOTE
RS232 control is supported on the LINDY CPU Switch Junior OSDs only
The LINDY CPU Switch Junior OSD can be controlled by a remote RS232 device. To select a
channel the data rate of the sending device must be set to 1200 baud, 8 bits, no parity and 1 stop
bit. No handshaking is used by the LINDY CPU Switch Junior OSD. Simply send the character for
the channel which needs to be selected, for example ASCII ‘1’ (hex code 31) will select channel 1,
ASCII ‘2’ (hex code 32) will select channel 2 and so on.
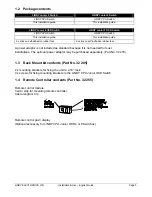
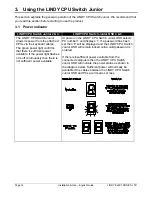
3.8 LINDY CPU Switch Remote control
IMPORTANT NOTE
RS232 control is supported on the LINDY CPU Switch Junior OSDs only
This small remote control device (see Section 1.4) duplicates the LED and SELECT key off the
front of the LINDY CPU Switch to provide a remote means of switching channels. The status
display shows the channel selected and mouse / keyboard and data activity.


