Part Number 11020000499 Rev B (1/17)
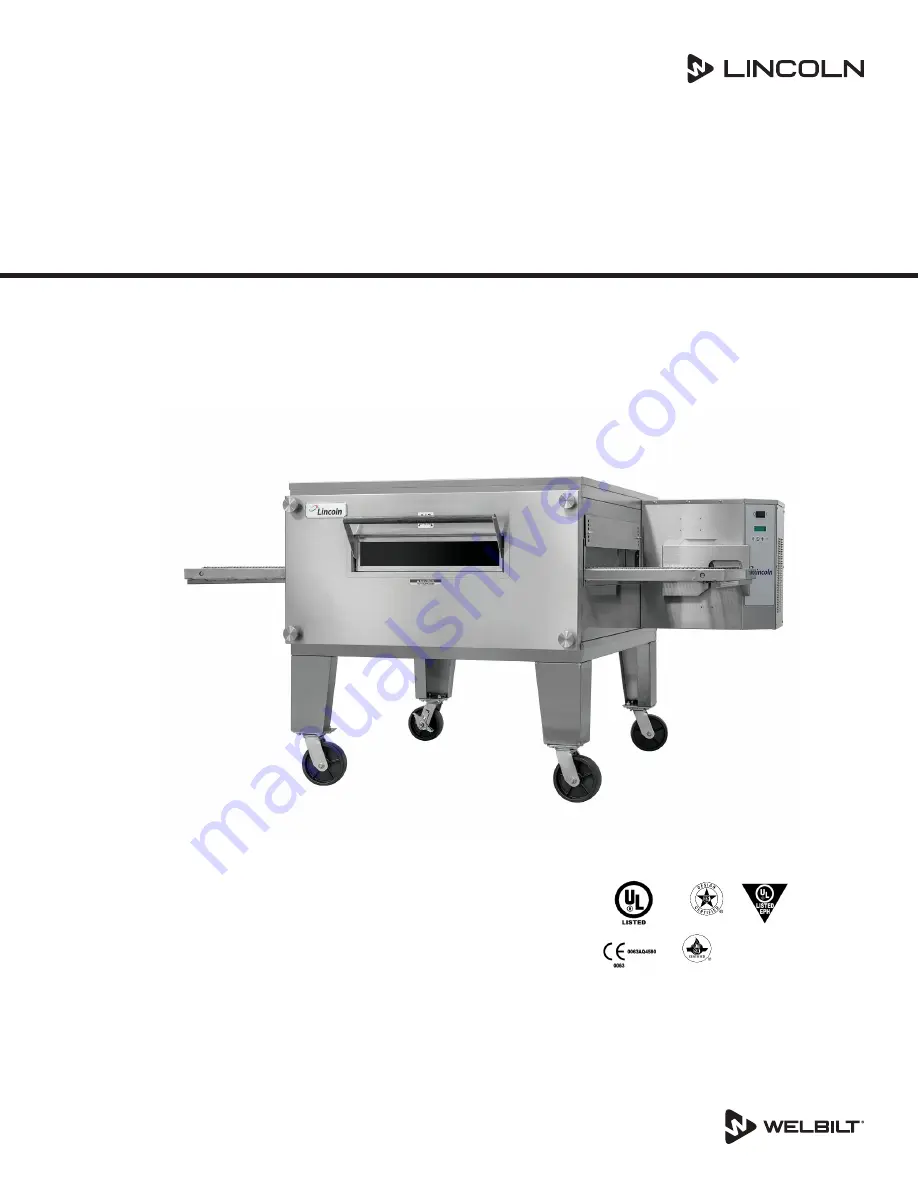
Impinger® Conveyor Oven
Model 3240
Installation, Operation and Maintenance Manual
FOR 50 HZ SUPPLY
Original Instructions
Page 1: ...Part Number 11020000499 Rev B 1 17 Impinger Conveyor Oven Model 3240 Installation Operation and Maintenance Manual FOR 50 HZ SUPPLY Original Instructions...
Page 2: ...cedures including but not limited to local national regulations for disconnection lock out tag out procedures for all utilities including electric gas water and steam nWarning This appliance is not in...
Page 3: ...Heat 9 Canopy Ventilation Recommendations 10 Installation Requirements 11 Gas Code Requirements 11 Electrical Code Requirements 11 Spacing Requirements 12 Ventilation Requirements 12 Restraint Requir...
Page 4: ...ages 21 Reversing Switch 21 Functions 21 Thermal Cut Out Switch 21 Preset Operation Models with 1 2 3 4 22 Setting Temperature and Time 22 Programming Displayed Temperature and Time as a Preset 23 Sel...
Page 5: ...ed and check out made by a Factory Authorized Servicer or a Lincoln Foodservice Products LLC Service Representative ADDITIONAL REQUIREMENTS Obtain from your local gas provider and post in a prominent...
Page 6: ...0 58 Amps 3 60 Hz 3 Wires Plus Ground D Italian CE 230 50 1 Export W 220 63 Amps 3 60 Hz 3 Wires Plus Ground E Spanish CE 230 50 1 Export F English SANS 230 50 1 Export Code Gas G Spanish US 120 60 1...
Page 7: ...26 mm 58 05 1475 mm 7 56 192 mm 17 43 443 mm 26 02 661 mm 46 58 1183 09 mm 11 66 296 mm 3240 Tall Stand Double 6 in Casters Front View 60 34 1533 mm 39 78 1010 mm 19 22 488 mm 40 22 1022 mm 71 82 1824...
Page 8: ...60 Hz 11 5 14 W C 1 Triple Stack L P Gas 345 000 BTU hr 120 VAC 18 Amps 1 60 Hz 11 5 14 W C 1 1 4 Single Oven L P Gas G30 37 kW HI 2 315 kg hr 230 VAC 4 Amps 1 50 Hz 2 85 3 48 kPa 3 4 Single Oven L P...
Page 9: ...3 60 Hz 3 Wires 3 Poles G 3240 xxx W Kxxxx Electric 24 kW 220 VAC 63 Amps 3 60 Hz 3 Wires 3 Poles G Electrical Supply for Electric 3240 Ovens in Australia Single Phase 240 VAC 50 Hz 20 Amp one neutra...
Page 10: ...032 mm 6 ft 8 in 2032 mm E MIN 12 in 305 mm 12 in 304 mm F 80 in 2032 mm 6 ft 8 in AFF 2032 mm Exhaust Flow 1400 1600 CFM AFF Above Finished Floor Hood dimensions shown are for island mount Size reduc...
Page 11: ...e in accordance with CSA B 149 1 latest version Natural Gas and Propane Installation Code and or local codes IN AUSTRALIA To be installed in accordance with AS 5601 2004 and 4563 2004 Gas Installation...
Page 12: ...ed as Medium Duty for Baking when evaluated for code vent requirements Obtain information and review copies of codes or documents that will be used to inspect and approve your installation Your ventil...
Page 13: ...ll Installation The instructions that follow are intended as a guide for preparing for the installation of the Impinger Conveyor Ovens Series 3240 First and foremost each crate should be examined befo...
Page 14: ...aced on the oven pipe first This will allow the flexible hose to be attached in a downward direction eliminating possible stress to the hose Stand and Finger Assembly STAND ASSEMBLIES 1 For Single Sta...
Page 15: ...NOTE The oven top is packed with oven stand Remove top from stand before assembly P N 4001 A Remove the first oven from the dolly and set it on the stand The control panel should be on the right rear...
Page 16: ...irst oven from the dolly and set it on the stand The control panel should be on the right rear as you face the oven Be sure that the oven sets squarely on the stand and is fully seated B Place the sec...
Page 17: ...5 Figure 4 Figure 5 7 Insert assembled finger through door opening starting with lower left NOTE The customer MUST tell you which position to place the assembled finger in for their application 8 Inst...
Page 18: ...o the START UP CHECKOUT being performed by a Factory Authorized Servicer or a Lincoln Foodservice Products LLC Service Representative CHECKLIST Are the correct clearances maintained Does the ventilati...
Page 19: ...mm x 2 inches 50 mm deep or equivalent 3 Open the optional access window in the oven door or insert candle through conveyor opening 4 Light the fuse of the smoke candle and immediately put the pan and...
Page 20: ...oven temperature setting 2 conveyor speed 3 position of columnating plate in oven and 4 adjustments of the 2 baffles on the conveyor openings We encourage you to experiment with the oven by trying di...
Page 21: ...d speed setting The speed can be set as follows 1 00 to 9 55 in 5 second increments 10 00 to 12 45 in 15 second increments 13 00 to 19 30 in 30 second increments 20 00 to 30 00 in 1 minute increments...
Page 22: ...on the display indicates the operational temperature TEMP and TIME set points or PRESET 1 to 4 and appears as follows or Before a preset key 1 4 is programmed the oven needs to be set at the desired t...
Page 23: ...ed temperature and time PROGRAMMING DISPLAYED TEMPERATURE AND TIME AS A PRESET 1 Press and hold the desired control key to be used for the preset for example 1 2 After four seconds the display will ch...
Page 24: ...turned on all belts will automatically begin running For conveyor speed adjustment press and hold the TIME key until the desired conveyor is shown on the display 2 Press the PLUS or MINUS key until t...
Page 25: ...rly Oven use and type of product will actually determine the frequency of cleaning The conveyor drive chain must be checked during the weekly cleaning cycle to see if it has become loose Loose chain o...
Page 26: ...r in the proper manner could result in the door falling and potential injury 8 Remove the upper and lower finger assemblies and take to the sink Note any particular placement of fingers that you may h...
Page 27: ...difficult and may cause damage to the unit Insert the conveyor through the opening in the right side Sprocket will be to the right side of the conveyor Conveyor Replacement Conveyor Drive Sprocket Dri...
Page 28: ...exhaust hood is off Energize the ventilation system Ventilation exhaust filters require cleaning Clean all filters Defective ventilation exhaust system Call for service Conveyor does not operate Inco...
Page 29: ...ereunder whether the failure or defect arises before or during the warranty period and whether a claim however instituted is based on contract indemnity warranty tort including negligence strict liabi...
Page 30: ...s the world s top chefs and premier chain operators or growing independents with industry leading equipment and solutions Our cutting edge designs and lean manufacturing tactics are powered by deep kn...