


Copying photos
1
Load photo paper with the glossy or printable side facing down. (If you are not sure which side is the printable side,
see the instructions that came with the paper.)
2
Place a photo facedown on the scanner glass in the upper left corner. For more information, see “Loading original
documents on the scanner glass” on page 86.
3
From the control panel, press
or
repeatedly until
Copy
is highlighted.
4
Press .
The
Copy Mode
menu appears with the
Color
value highlighted.
5
Press
or
repeatedly until:
•
Color
appears for a color copy
•
Black & White
appears for a black-and-white copy
6
Press
to reach the
Copies
menu item.
Press
if you need to increase the number of copies.
Note:
To quickly enter the number of copies, you can use the keypad numbers.
7
Press
to reach the
Reduce/Enlarge
menu item.
Press
or
repeatedly until you reach the size you want for the copied photo.
8
Press
repeatedly to reach the
Quality
menu item.
9
Press
or
repeatedly until
Photo
appears.
10
Press
repeatedly to reach the
Content Type
menu item.
11
Press
or
repeatedly until
Photo
appears.
•
Press to see a preview of the photo before printing the copy
•
Press
to print the copy immediately
Copying on both sides of the paper (duplexing)
If your printer has a duplex unit installed, you can copy on both sides of a sheet of paper.
Note:
Use plain paper in letter or A4 size for making duplex copies. Do
not make duplex copies on envelopes, card
stock, or photo paper.
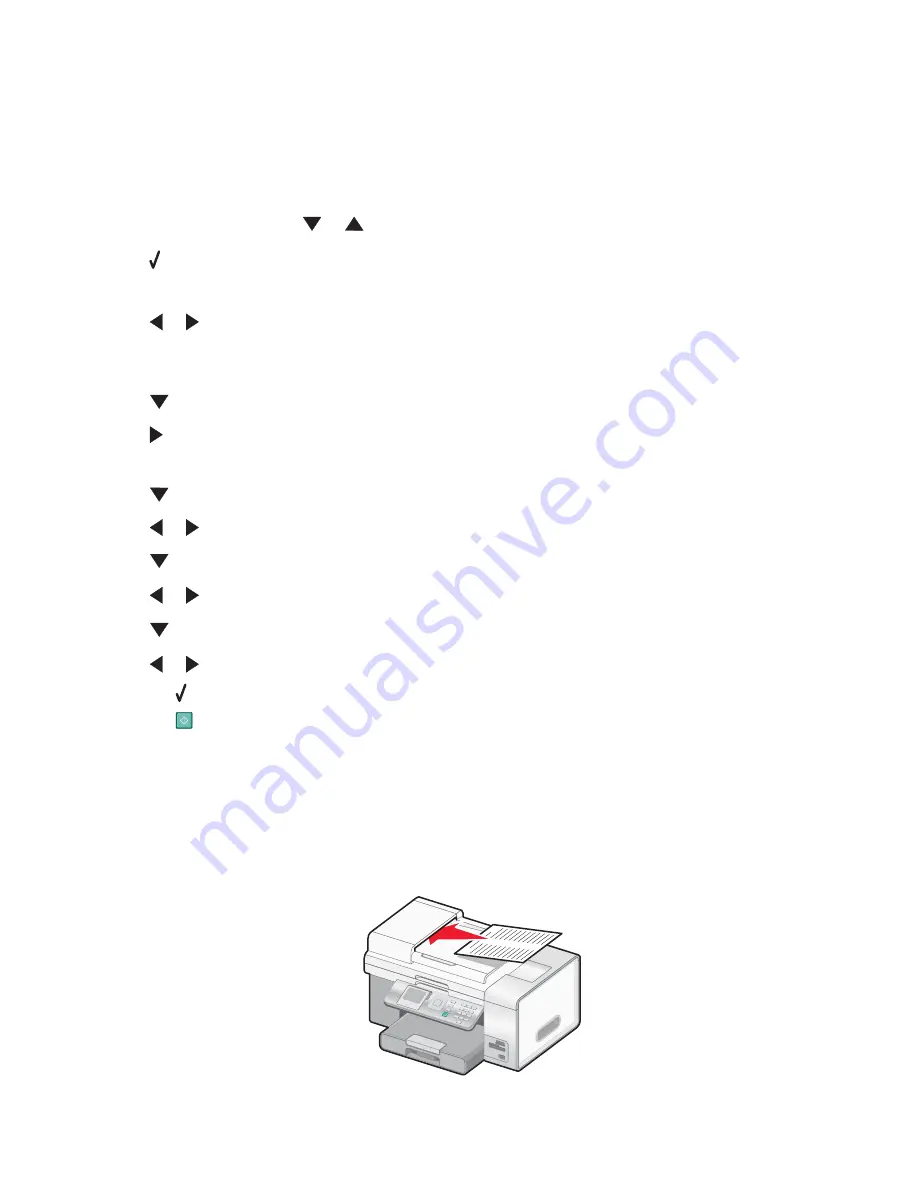
1
Load an original document faceup into the Automatic Document Feeder (ADF).
115


