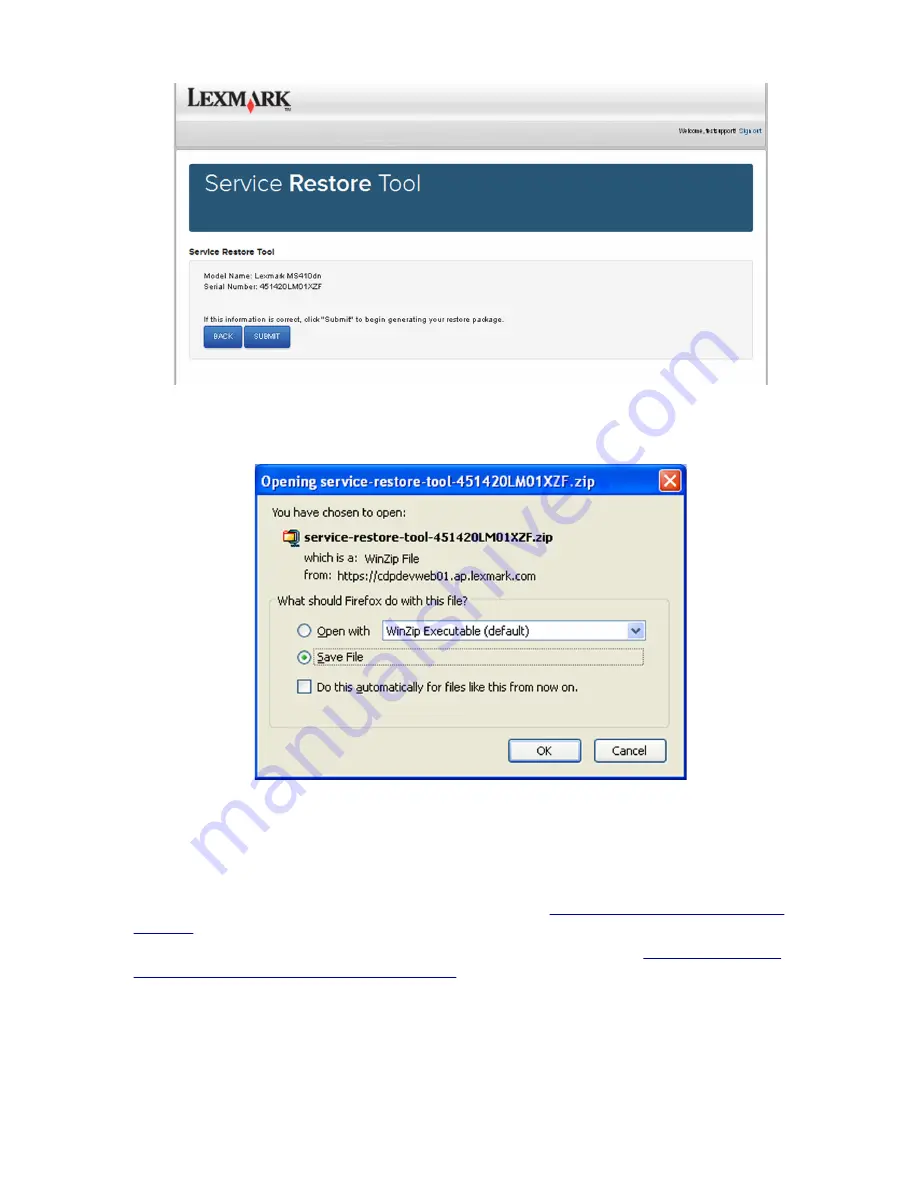
4
Save the zip file.
Note:
Make sure that the serial number in the zip file matches the serial number of the printer being restored.
5
Extract the contents of the zip file, open the
Readme
file, and then follow the instructions in the file.
Notes:
•
Perform the install instructions on the
Readme
file in the exact order shown. Only reboot the printer when
instructed to in the file.
•
For more information on how to flash the downloaded files, see
“Updating the printer firmware” on
page 149
.
•
If the package downloaded from the Service Restore Tool contains zip files, see
“Restoring solutions,
licenses, and configuration settings” on page 148
for the instructions on how to load the zip files to the
printer.
4514
Repair information
146
Summary of Contents for M1140
Page 18: ...4514 18 ...
Page 20: ...4514 20 ...
Page 142: ...4514 142 ...
Page 197: ...b Set the spring over the plunger 4514 Repair information 197 ...
Page 204: ...3 Squeeze the latches B to release the left and right links B 4514 Repair information 204 ...
Page 228: ...10 Remove the screw C and then detach the trailing edge sensor A 4514 Repair information 228 ...
Page 229: ...11 Disconnect the two springs D 4514 Repair information 229 ...
Page 246: ...3 Swing the right cover backward to remove 4 Remove the screw D 4514 Repair information 246 ...
Page 248: ...4514 248 ...
Page 253: ...4514 253 ...
Page 255: ...Assembly 1 Covers 4514 Parts catalog 255 ...
Page 257: ...Assembly 2 Electronics 1 4514 Parts catalog 257 ...
Page 259: ...Assembly 3 Electronics 2 4 3 2 1 6 5 4514 Parts catalog 259 ...
Page 261: ...4514 Parts catalog 261 ...
Page 262: ...Assembly 4 Frame 4514 Parts catalog 262 ...
Page 264: ...4514 Parts catalog 264 ...
Page 265: ...Assembly 5 Option trays 3 4 5 6 1 2 4514 Parts catalog 265 ...
Page 268: ...4514 Parts catalog 268 ...
Page 270: ...4514 270 ...
Page 274: ...4514 274 ...
Page 276: ...4514 276 ...
Page 298: ...4514 Part number index 298 ...
Page 302: ...4514 Part name index 302 ...
Page 303: ......


