


You can install or replace a storage drive in the front-access storage enclosure. The storage drive also can
be hot-swappable, which means that you can install or replace the drive without even turning off your
computer. Therefore, lock the enclosure cover to prevent the unexpected removal. The keys are attached at
the rear of the computer. Store the keys in a secure place.
The storage drive in the front-access storage enclosure is hot-swappable only when the following
requirements are met:
• The SATA cable of the front-access storage enclosure is connected to the eSATA connector on the
system board. To verify the cable connection, see “Preparing your computer and removing the computer
cover” on page 59 and “Parts on the system board” on page 8 for more information.
• The operating system of your computer does not reside on the storage drive installed in the front-access
storage enclosure.
Attention:
If any of the above requirements are not met, do not remove or install the storage drive when the
computer is turned on. Otherwise, data on the storage drive might get damaged.
3.5-inch storage drive
To remove or install a 3.5-inch storage drive, do the following:
1. Before removing an old 3.5-inch storage drive, safely eject the old storage drive from the operating
system first. For more information, see the Windows help system.
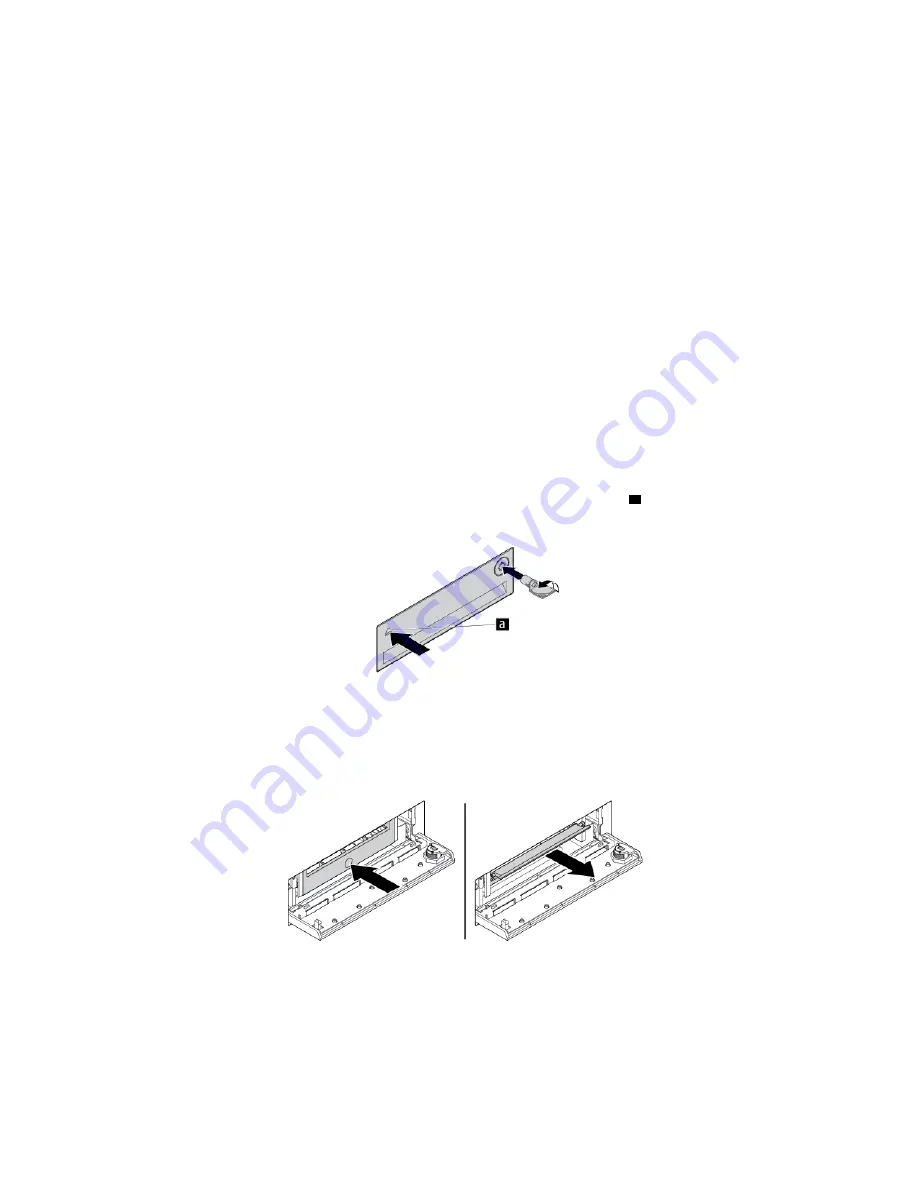
2. Unlock the enclosure cover with the provided key as shown. Press the notch
a
to open the enclosure
cover.
Figure 15. Opening the front-access storage enclosure cover
3. Press the pit on the bracket cover, and then grasp the tilted cover to pull the bracket out of the front-
access storage enclosure.
Figure 16. Removing the bracket from the front-access storage enclosure
66
P520 User Guide
Summary of Contents for ThinkStation P520
Page 1: ...P520 User Guide Machine Types 30BE 30BF 30BQ and 30DC ...
Page 12: ...x P520 User Guide ...
Page 30: ...18 P520 User Guide ...
Page 46: ...34 P520 User Guide ...
Page 60: ...48 P520 User Guide ...
Page 142: ...Figure 128 Opening the PCIe card latch 130 P520 User Guide ...
Page 152: ...140 P520 User Guide ...
Page 154: ...142 P520 User Guide ...
Page 156: ...144 P520 User Guide ...
Page 164: ...152 P520 User Guide ...
Page 166: ...Mainland China RoHS Taiwan RoHS 154 P520 User Guide ...
Page 168: ...156 P520 User Guide ...
Page 170: ...158 P520 User Guide ...
Page 172: ...160 P520 User Guide ...
Page 173: ......
Page 174: ......