


Replacing the system fan
Attention:
Do not open your computer or attempt any repair before reading and understanding “Important Safety Information”
on page 1.
This section provides instructions on how to replace the system fan.
To replace the system fan, do the following:
1. Turn off the computer and disconnect all power cords from electrical outlets.
2. Open the computer cover. See “Opening the computer cover” on page 122.
3. Remove the hard disk drive. See “Replacing the hard disk drive” on page 137.
4. Locate the system fan. See “Locating major FRUs and CRUs” on page 81.
5. Disconnect the system fan cable from the system fan connector on the system board. See “Locating
parts on the system board” on page 84.
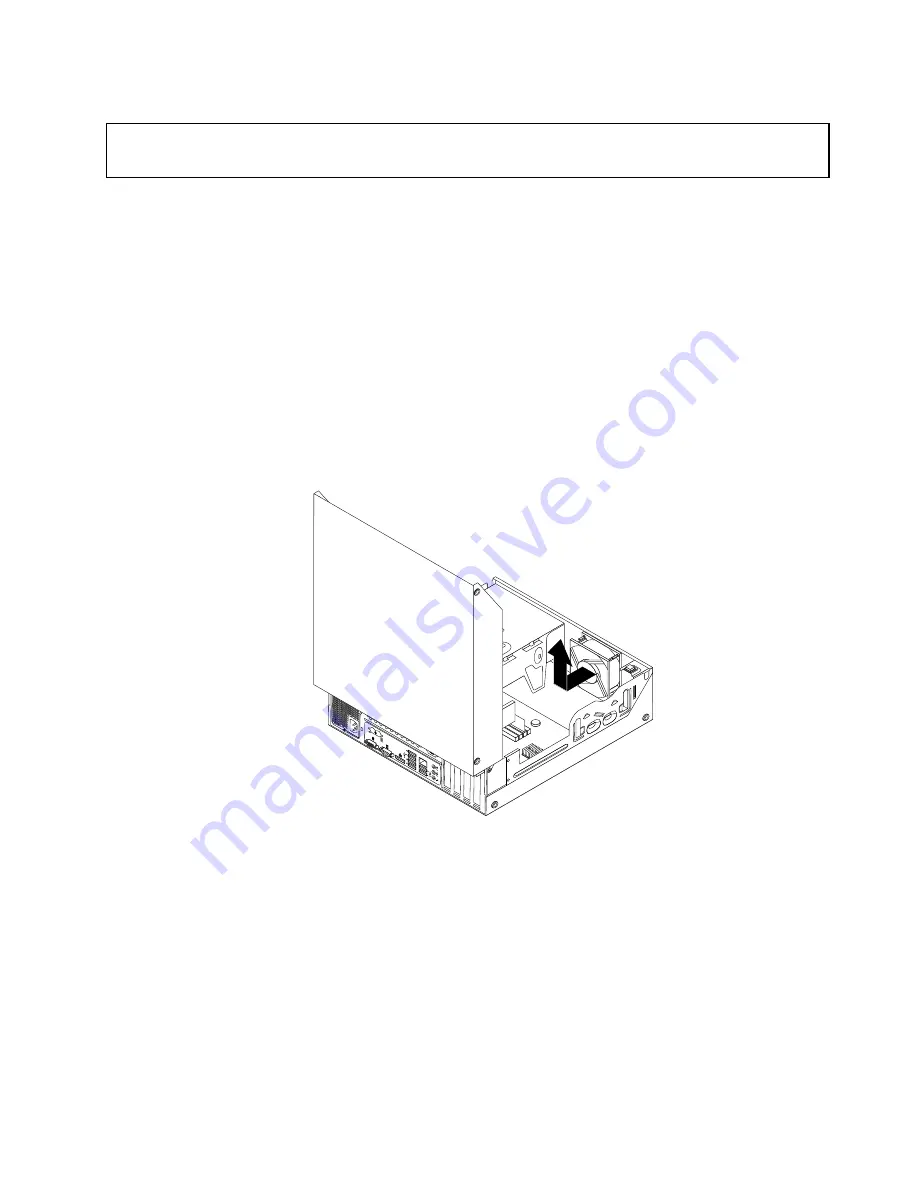
6. The system fan is attached to the chassis by four rubber mounts. Remove the system fan by cutting
the rubber mounts and lifting the system fan out of the chassis.
Note:
The new front fan assembly will have four new rubber mounts attached.
Figure 96. Removing the system fan
Chapter 11
.
Replacing FRUs (for machine types: 3688, 3690, 3691, 3693, and 3695)
159
Summary of Contents for ThinkStation 2551
Page 2: ......
Page 8: ...2 ThinkStation Hardware Maintenance Manual ...
Page 15: ...1 2 Chapter 2 Safety information 9 ...
Page 16: ... 18 kg 37 lbs 32 kg 70 5 lbs 55 kg 121 2 lbs 10 ThinkStation Hardware Maintenance Manual ...
Page 19: ...1 2 Chapter 2 Safety information 13 ...
Page 20: ...1 2 14 ThinkStation Hardware Maintenance Manual ...
Page 21: ...Chapter 2 Safety information 15 ...
Page 27: ...Chapter 2 Safety information 21 ...
Page 31: ...Chapter 2 Safety information 25 ...
Page 60: ...54 ThinkStation Hardware Maintenance Manual ...
Page 70: ...64 ThinkStation Hardware Maintenance Manual ...
Page 186: ...180 ThinkStation Hardware Maintenance Manual ...
Page 187: ......
Page 188: ......