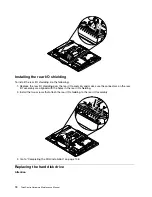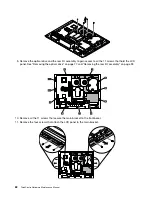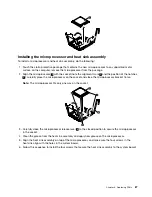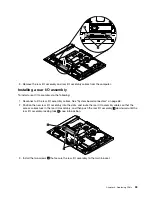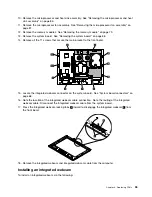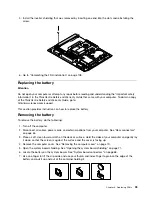
a. Partially install screw
1
, fully install screw
3
, and then fully install screw
1
.
b. Partially install screw
2
, fully install screw
4
, and then fully install screw
2
.
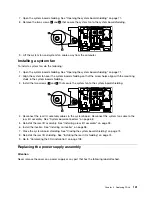
7. Close the system board shielding. See “Closing the system board shielding” on page 72.
8. Go to “Completing the FRU installation” on page 108.
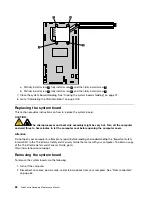
Replacing the system board
This section provides instructions on how to replace the system board.
CAUTION:
The microprocessor and heat sink assembly might be very hot. Turn off the computer
and wait three to five minutes to let the computer cool before opening the computer cover.
Attention
Do not open your computer or attempt any repair before reading and understanding the “Important safety
information” in the
ThinkCentre Safety and Warranty Guide
that came with your computer. To obtain a copy
of the
ThinkCentre Safety and Warranty Guide
, go to:
http://www.lenovo.com/support
Removing the system board
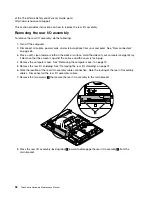
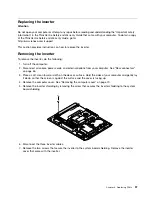
To remove the system board, do the following:
1. Turn off the computer.
2. Disconnect all cables, power cords, and external options from your computer. See “Rear connectors”
on page 65.
88
ThinkCentre Hardware Maintenance Manual
Summary of Contents for ThinkCentre A70z ALL-IN-ONE
Page 1: ...ThinkCentre Hardware Maintenance Manual Machine Types 0401 0421 0994 1165 1184 1186 and 2565 ...
Page 2: ......
Page 3: ...ThinkCentre Hardware Maintenance Manual Machine Types 0401 0421 0994 1165 1184 1186 and 2565 ...
Page 15: ...Chapter 2 Safety information 9 ...
Page 19: ...Chapter 2 Safety information 13 ...
Page 20: ...1 2 14 ThinkCentre Hardware Maintenance Manual ...
Page 21: ...Chapter 2 Safety information 15 ...
Page 27: ...Chapter 2 Safety information 21 ...
Page 31: ...Chapter 2 Safety information 25 ...
Page 46: ...40 ThinkCentre Hardware Maintenance Manual ...
Page 188: ...182 ThinkCentre Hardware Maintenance Manual ...
Page 192: ...186 ThinkCentre Hardware Maintenance Manual ...
Page 193: ......
Page 194: ...Part Number 71Y7087 Printed in USA 1P P N 71Y7087 71Y7087 ...

