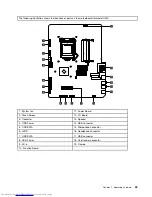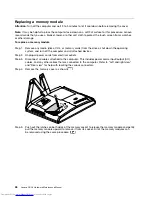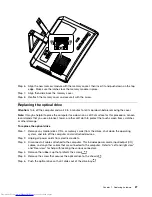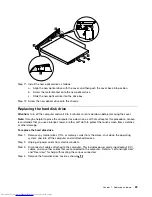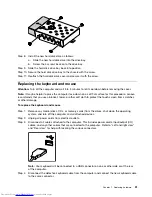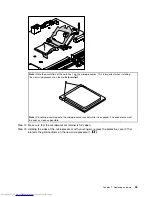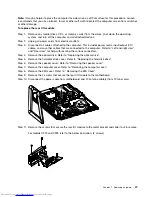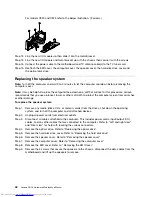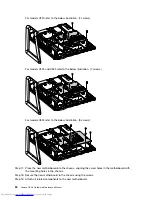
Step 2. Unplug all power cords from electrical outlets.
Step 3. Disconnect all cables attached to the computer. This includes power cords, input/output (I/O)
cables, and any other cables that are connected to the computer. Refer to Left and right view
and Rear view for help with locating the various connectors.
Step 4. Remove the optical drive. Refer to Replacing the optical drive .
Step 5. Remove the hard disk drive cover. Refer to Replacing the hard disk drive .
Step 6. Remove the speaker cover. Refer to Removing the speaker cover .
Step 7. Remove the computer cover. Refer to Removing the computer cover .
Step 8. Remove the EMI cover. Refer to Removing the EMI Cover .
Step 9. Disconnect the power cable from the motherboard.
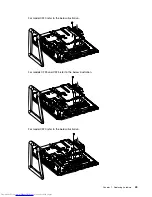
Step 10. Remove the 3 screws that secure the system fan to the chassis and lift the system fan up to
remove it.
For models C225 and C325 refer to the below illustration.
Chapter 7
.
Replacing hardware
39
Summary of Contents for C220
Page 2: ...Lenovo C2 C3 Hardware Maintenance Manual ...
Page 3: ......
Page 5: ...ii Lenovo C2 C3 Hardware Maintenance Manual ...
Page 7: ...2 Lenovo C2 C3 Hardware Maintenance Manual ...
Page 15: ...10 Lenovo C2 C3 Hardware Maintenance Manual ...
Page 25: ...20 Lenovo C2 C3 Hardware Maintenance Manual ...

