Menu Settings
95
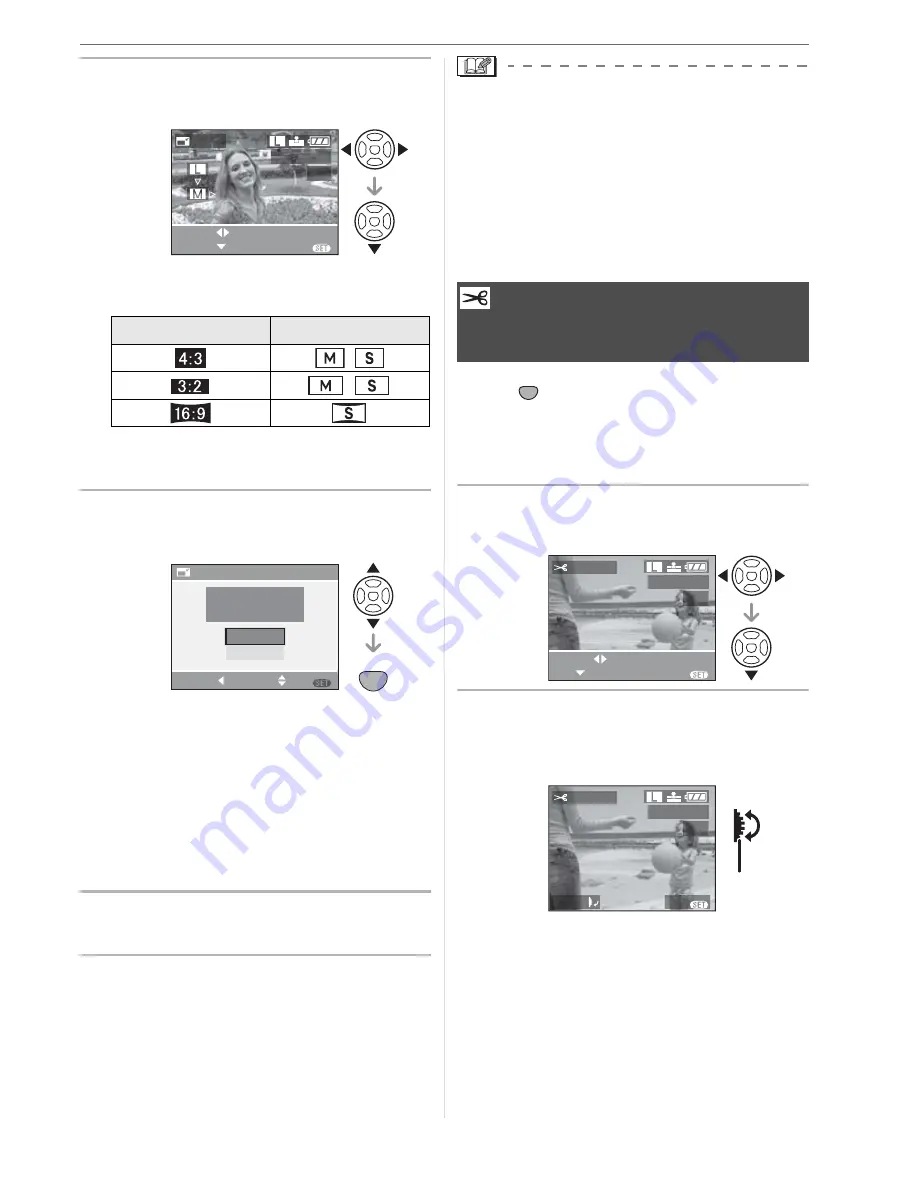
2
Press
/
to select the size and
then press
.
• Sizes smaller than the recorded picture
are displayed.
• The message [DELETE ORIGINAL
PICTURE?] appears.
3
Press
/
to select [YES] or
[NO] and then press [MENU/SET].
• The picture is overwritten when you
select [YES]. Resized pictures cannot
be restored when they are overwritten.
• A resized picture is newly created when
you select [NO].
• If the original picture is protected, you
cannot overwrite it. Select [NO] and
newly create a resized picture.
4
Press [MENU/SET] twice to close
the menu.
• When you want to reduce the size of a
picture to attach it to an e-mail or upload it
to a website, use the software “Adobe
Photoshop
®
Elements
®
“ 4.0 (Win)/3.0
(Mac) on the CD-ROM (supplied) to
change the size.
• It may not be possible to resize pictures
recorded with other equipment.
Press [
] to display the [PLAY] mode
menu and select the item to set. (P88)
You can enlarge and then clip the important
part of the recorded picture.
1
Press
/
to select the picture
and then press
.
2
Enlarge or decrease the parts to
be trimmed with the command
dial
.
Aspect Ratio
Picture Size
/
/
RESIZE
RESIZE
SELECT
EXIT
MENU
100
-
0001
1/19
SET
MENU
NO
YES
DELETE ORIGINAL
PICTURE?
RESIZE
MENU
SET
SELECT
CANCEL
[TRIMMING]
Enlarging a picture and
trimming it
SET
MENU
SET
TRIMMING
SELECT
EXIT
MENU
100
-
0001
1/19
TRIMMING
100
-
0001
1/19
EXIT
MENU
ZOOM
A
Summary of Contents for Digilux 3
Page 1: ...LEICA DIGILUX 3 ...
Page 133: ...Others 133 ...
Page 134: ...Others 134 ...
Page 135: ...Others 135 ...


