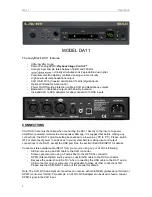
DA11
Quickstart Guide
1
Quickstart Guide- Basic Settings
Front Panel Setting Control Fundamentals:
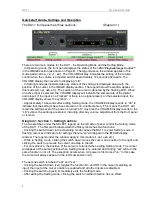
All switches on the DA11 are spring-loaded three position toggles, which automatically return to the center
(no function) position: SELECT
(left-right), SELECT Exit-Set, IMAGE Wide-Narrow, and VOLUME Up-Down.
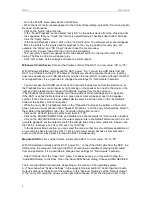
The two switches under the SELECT legend are used to change basic settings. Please note:
“click” means to
press and release
the switch & these are NOT the “Wide-Narrow” switches.
- Click the
switch down to enter the Setting mode. The display under the IMAGE legend
will change modes from displaying the
>PiC<
™ image width to displaying
setting status
.
- A flashing LED appears as a “cursor” to indicate which setting can be changed.
- The
switch now moves the cursor left or right as indicated by the arrows.
- Click the “exit-set” switch up towards “exit” to exit the Setting mode. Please do not click the
switch down in the “set” direction until you have followed the Setting example procedure (below).
- The “exit-set” switch toggles the setting at the cursor position “On” or “Off” each time the switch is clicked down
in the “set” direction. Clicking more than once is OK; it will just turn the setting on or off each time it is clicked.
To familiarize yourself with the front panel controls, we advise connecting the DA11 to AC power
before
making
any other connections, and performing the procedure (below). If the DA11 power is “on,” please turn it “off first.
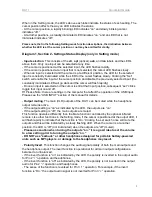
Setting example- usb input, output “On,” pin 2 Hot for RCA output connection with the included adapters:
1)
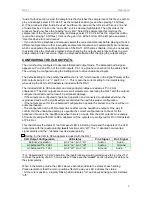
Turn the DA11 power “on” and wait for the two IMAGE LED’s to
appear. The “Wide-Narrow” switches are only used in Operating
mode, and the IMAGE display will have only two LED’s
illuminated. The default display looks like this (LED’s @ “0”):
2)
Enter Setting mode by clicking the SELECT left-right switch (
) in the down direction.
- This procedure assumes settings haven’t been changed from factory defaults. The setting is “on” if the LED
above it is “on” and “off” if the LED is “off;” except at the cursor- flashing rapidly= on, flashing slowly= off.
3)
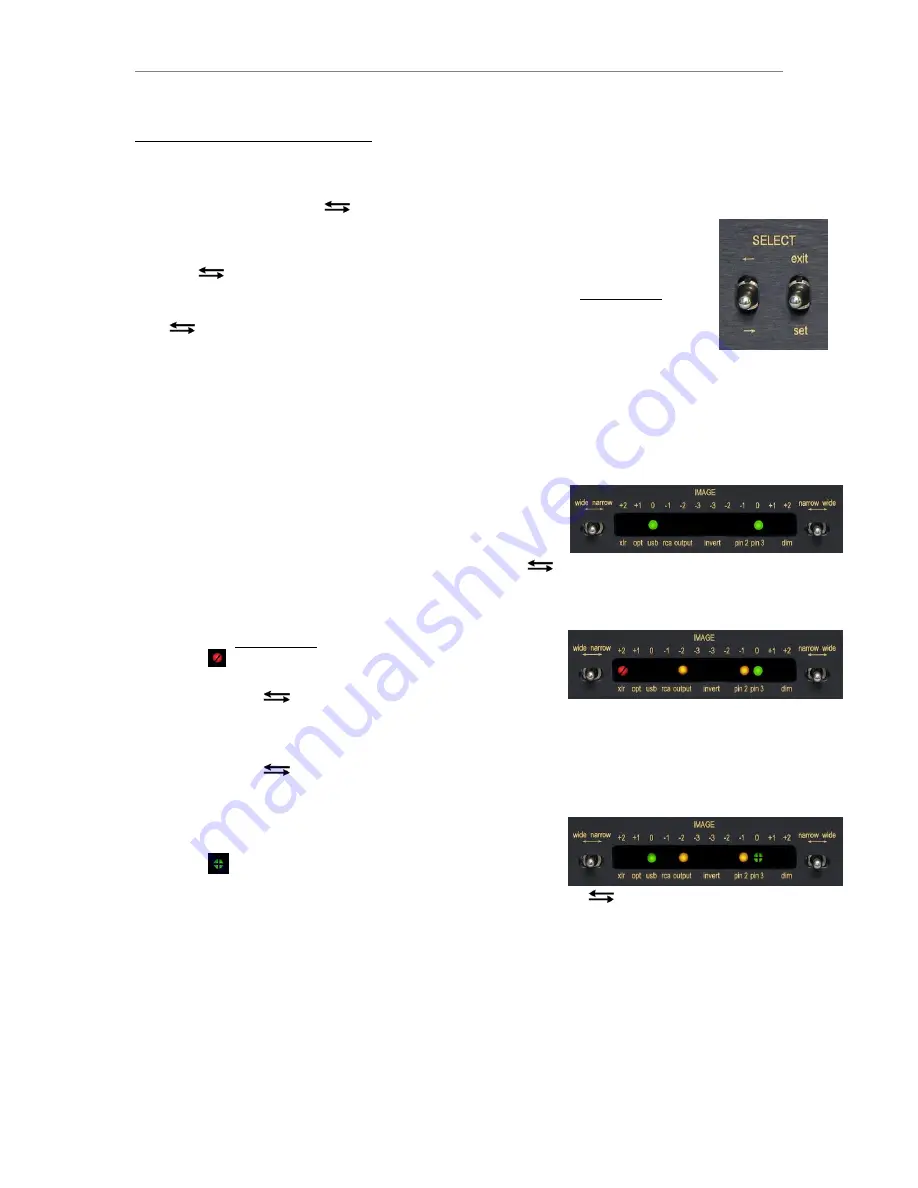
A rapidly flashing cursor appears at the first position on the left (xlr) indicating the xlr input is “On.”
The default setting status display looks like this:
(where
symbolizes the rapidly flashing cursor)
- The Wide-Narrow switches do not move the cursor!
4)
Click the SELECT
switch down twice to position the cursor
above “usb” (the cursor will be flashing slowly to indicate the setting is “off,”& the xlr LED will be steadily lit).
5)
Click the SELECT “exit-set” switch down towards “set,” and the cursor will begin flashing rapidly to indicate
the usb input is “On.” The LED above “xlr” will go dark (the xlr input is now “Off”).
6)
Click the SELECT
switch down five times to position the flashing cursor above the pin 3 legend. The LED
above “usb” will stop flashing and stay illuminated.
7)
Click the SELECT “exit-set” switch down towards “set” and the cursor will change from flashing rapidly to
flashing slowly to indicate that Pin 3 is “off” (it has been
grounded). The display should look like this:
(where
symbolizes the slowly flashing cursor)
- Hint: Any time you want to double-check if the setting is correct, use the
switch to move the cursor away
from the setting you just changed to see if its LED indicator is “On” or “Off” (instead of flashing).
8)
Click the right switch up towards “exit” to exit the Setting mode. After approximately ten seconds, the “LE”
symbol will appear in the VOLUME display, indicating settings have been stored in memory. The DA11 is now
in Operating mode. If the IMAGE display
doesn’t
appear as in (1), use the “wide-narrow” switches by clicking
them to the
left or right
to reset to the
>PiC<
IMAGE setting to the green LED’s at the “0” position.
9)
Please reduce the DA11’s Volume setting to a low value (“00” to “05”), wait for the “LE” symbol to re-appear
before turning the power “Off,” and see the CONNECTIONS section of the manual.
Please Note: Do not use “earbuds” or other headphones designed for portable battery-powered units such as MP3
players with the DA11. Damage to the headphones may result.
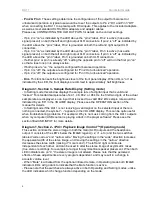
Summary of Contents for DA11
Page 4: ...DA11 Table of Contents ...


