6: Network Settings
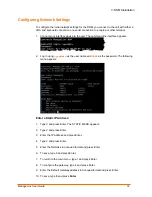
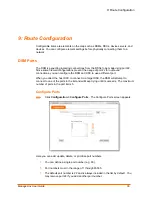
2. Select
Auto-configure IP Address
, and
DHCP: Enable
.
3. Enter a DHCP hostname (optional).
4. Click
Save Profile
and continue with Creating and uploading a DSC Bootstrap File.
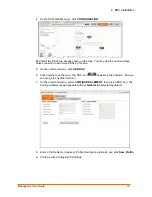
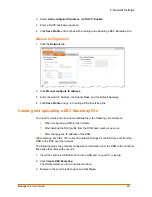
Manual Configuration
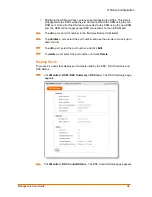
1. Click
the
Network
tab.
2. Click
Manual configure IP address
.
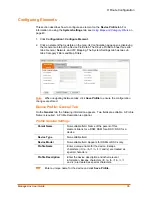
3. Enter the static IP Address, the Subnet Mask, and the Default Gateway.
4. Click
Save Profile
and go to Creating a DSC Bootstrap File.
Creating and uploading a DSC Bootstrap File
You need to create and use a new bootstrap file in the following circumstances:
When configuring a DSC for the first time
After deleting the DSC profile from the DSM and creating a new one
After changing the IP address of the DSM
Other settings, like VIPs, VIP routes and network settings for the DSC are sent from the
DSM to the DSC over the network.
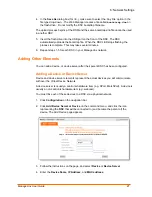
The following steps copy network configuration information from the DSM to the Lantronix
flash drive that came with your unit.
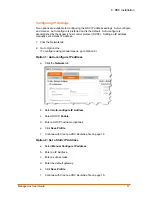
1. Insert the Lantronix USB flash drive into a USB port on your PC or laptop.
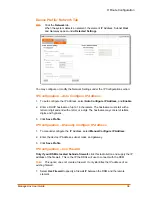
2. Click
Create DSC Bootstrap
.
The DSM prompts you for a download location.
3. Browse to the Lantronix flash drive and click
Open
.
ManageLinx User Guide
26


