26
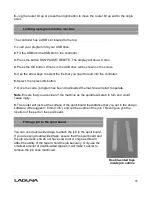
you a position to place the "double-sided" tape that will be used to attach the spoil board the
bed of the machine.
10.
Move the router head in the X direction with the continues function so that it is
approximately at the end of the spoil board.
11.
Move the spoil board so that it lines up with the point of the router bit.
12.
Place tape on the bed of the machine at the edge of the spoil board.
13.
Move the router head to the end of the machine furthest X and Y position. The router head
will be out of the way and allow you to have access to the bed of the machine.
14.
Remove the spoil board.
15.
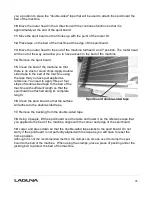
Clean the bed of the machine so that
there is no dust or wood chips. Apply double-
sided tape to the bed of the machine using
the tape that you have just applied as
reference. You need to apply three or four
strips of double-sided tape to the bed of the
machine with sufficient length so that the
spoil board is attached along its complete
length.
16.
Clean the spoil board so that the surface
will adhere to the double-sided tape.
17.
Remove the backing from the double-sided tape.
18.
Using 2 people, lift the spoil board over the table and lower it so the reference tape that
you applied to the bed of the machine aligns with the corner and edge of the spoil board.
19.
Lower and press down so that the double-sided tape sticks to the spoil board. Do not
worry if the spoil board is not perfectly aligned with the tape as you will have to reset the
home position.
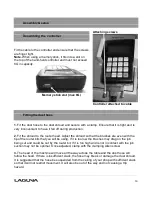
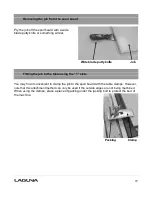
Although it is not the recommended method, the clamps can also be used to clamp the spoil
board to the bed of the machine.
When using the clamps, place a piece of packing under the
jacking bolt to protect the bed of the machine.
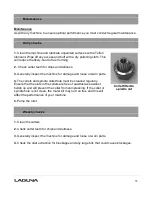
Spoil board double-sided tape
Summary of Contents for MCNC Swift 60 X 120-0233
Page 2: ......
Page 11: ...11 Spare drive belts Dust hood Wrenches Table clamps qty 8 Coolant container...
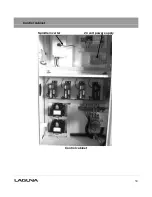
Page 30: ...30 Control cabinet Spindle inverter 24 volt power supply Control cabinet...
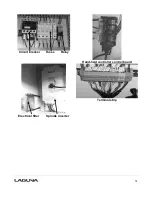
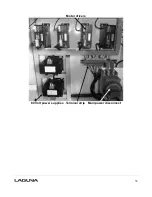
Page 32: ...32 Motor drivers 80 Volt power supplies Terminal strip Main power disconnect...
Page 35: ...35 1 Machine not level on the floor Re level the machine ensuring that it has no movement...

