25
Precautions regarding spoil boards
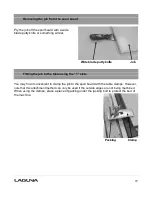
The spoil board is porous when the melamine has been cut through, and will absorb moisture.
As moisture is absorbed the dimensions of the board will change. In general this will not be a
problem as the changes from day to day are not that great. Also the changes will in general
be over the complete board. There are however exceptions. Your morning coffee can do a
great deal of damage if spilt. If water etc is spilt, it will be absorbed into the board and make
the board swell in that area. Do not allow the board to become wet. If an accident should
happen, remove the board from the machine and allow to dry (This may take several days).
Replace the board with a new board. Once the board has completely dried it may possible to
skim the board and re-use it, but the likelihood is that it is scrap.
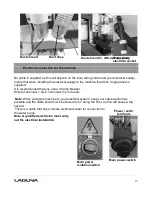
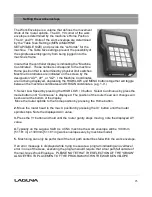
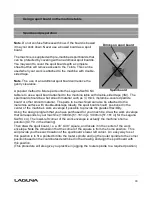
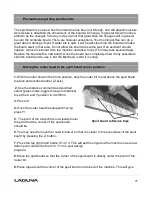
Moving the router head to the spoil board corner position
1.
With the router head in the home position, drop the router bit to just above the spoil board
top face as described earlier, [Z axis].
2.
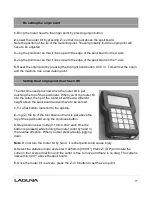
Use the distance command as described
earlier [press mode, toggle through to distance]
to set the X and Y position to 40.38mm.
3.
Press X+
4.
Once the router head has stopped moving
press Y+.
5.
The point of the router bit is now located over
the point that the corner of the spoil board
should be.
6.
You may need to move the router bit lower so that it is closer to the top surface of the spoil
board by pressing the Z- button.
7.
Press the top right hand button XY-0 / 4. This will set the origin and the machine has a new
datum point and will be the X=0 / Y=0 in your design
program.
8.
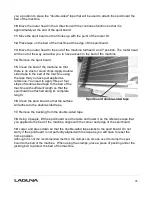
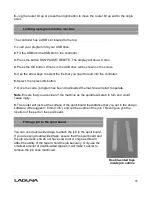
Move the spoil board so that the corner of the spoil board is directly under the point of the
router bit.
9.
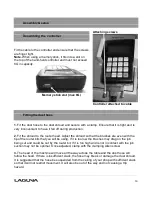
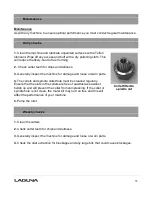
Place tape around the corner of the spoil board on the bed of the machine. This will give
Spoil board reference tape
Summary of Contents for MCNC Swift 60 X 120-0233
Page 2: ......
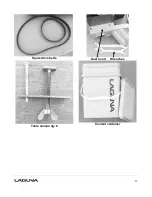
Page 11: ...11 Spare drive belts Dust hood Wrenches Table clamps qty 8 Coolant container...
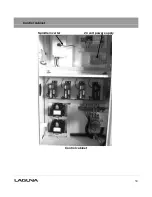
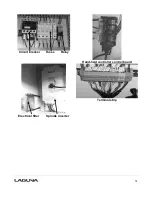
Page 30: ...30 Control cabinet Spindle inverter 24 volt power supply Control cabinet...
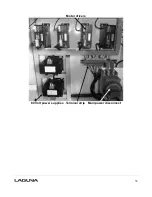
Page 32: ...32 Motor drivers 80 Volt power supplies Terminal strip Main power disconnect...
Page 35: ...35 1 Machine not level on the floor Re level the machine ensuring that it has no movement...

