AFTER SALES SUPPORT
1300 886 649
AUS
MODEL: GTM-8020 PRODUCT CODE: 52122 12/2015
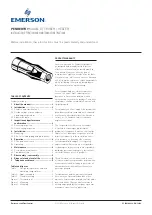
Fig. 1
Fig. 4
Fig. 3
Fig. 5
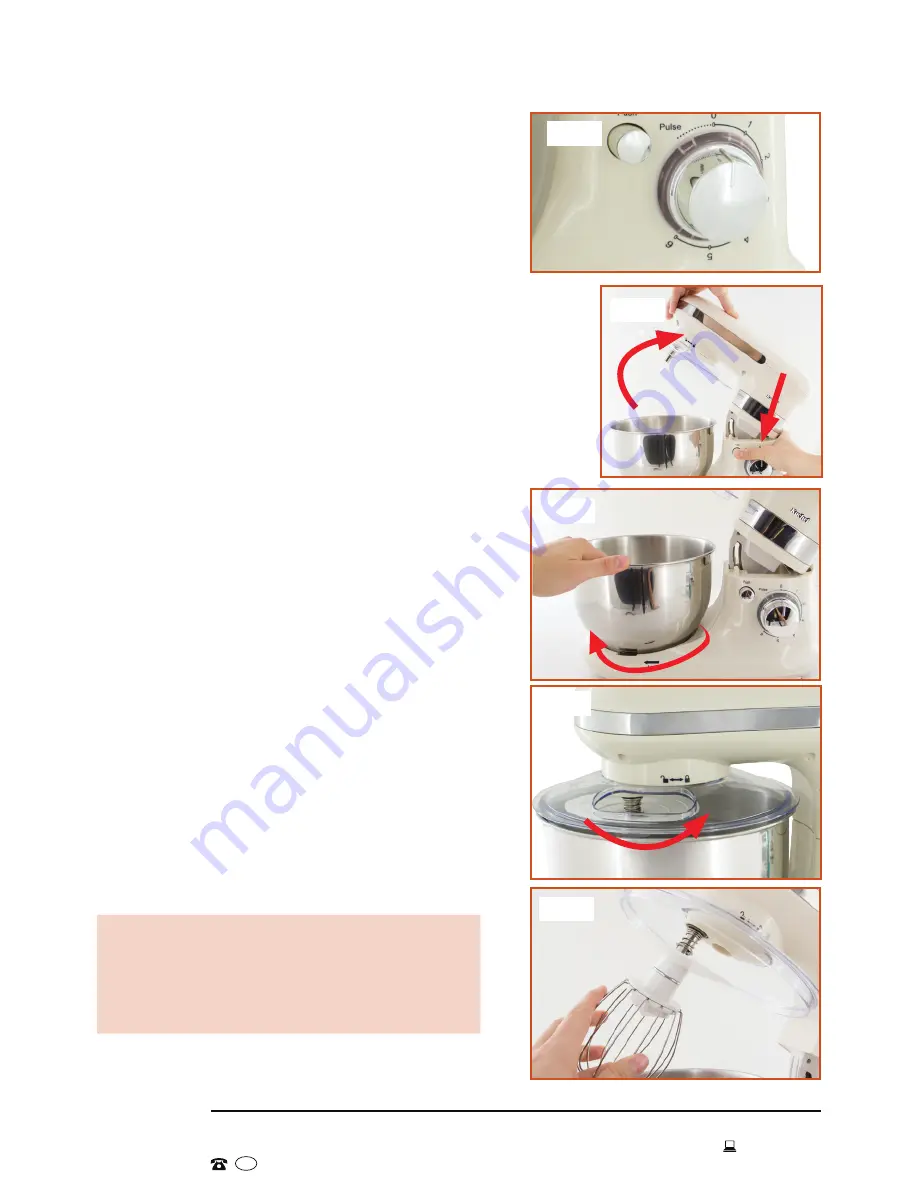
Fig. 2
10
Getting Started (Cont.)
Assembly
1. Place the stand mixer on a level, stable
surface. Ensure that the
speed control
dial
is in the OFF [ 0 ] position (Fig. 1).
2. Press the
tilt head release button
and
tilt the mixer head upwards until it clicks
securely into place (Fig. 2).
3. Place the
mixing bowl
into its holding
area on the base of the mixer and turn
it clockwise until it is correctly and
securely locked in place (Fig. 3).
4. To attach the
splash guard
, align the
arrow next to the pouring hole with the
open lock symbol on the mixer head.
Then turn anticlockwise (to the closed
lock symbol) until it clicks securely into
place (Fig. 4).
5. Attach the required
mixing tool
by
inserting it onto the shaft on the mixer
head, making sure to pass the lug on
the shaft through the slot on the mixing
tool. Push the mixing tool up and turn it
anticlockwise for a quarter turn until the
lug is positioned in the recess provided
on the mixing attachment (Fig. 5).
6. To lower the
mixer head
into the bowl,
press the tilt head release button and
carefully lower the mixer head into the
bowl. Push firmly until it locks securely
into place.
NOTE
The appliance will not switch on unless
the mixer head is properly lowered and
securely locked into place.