2563:115
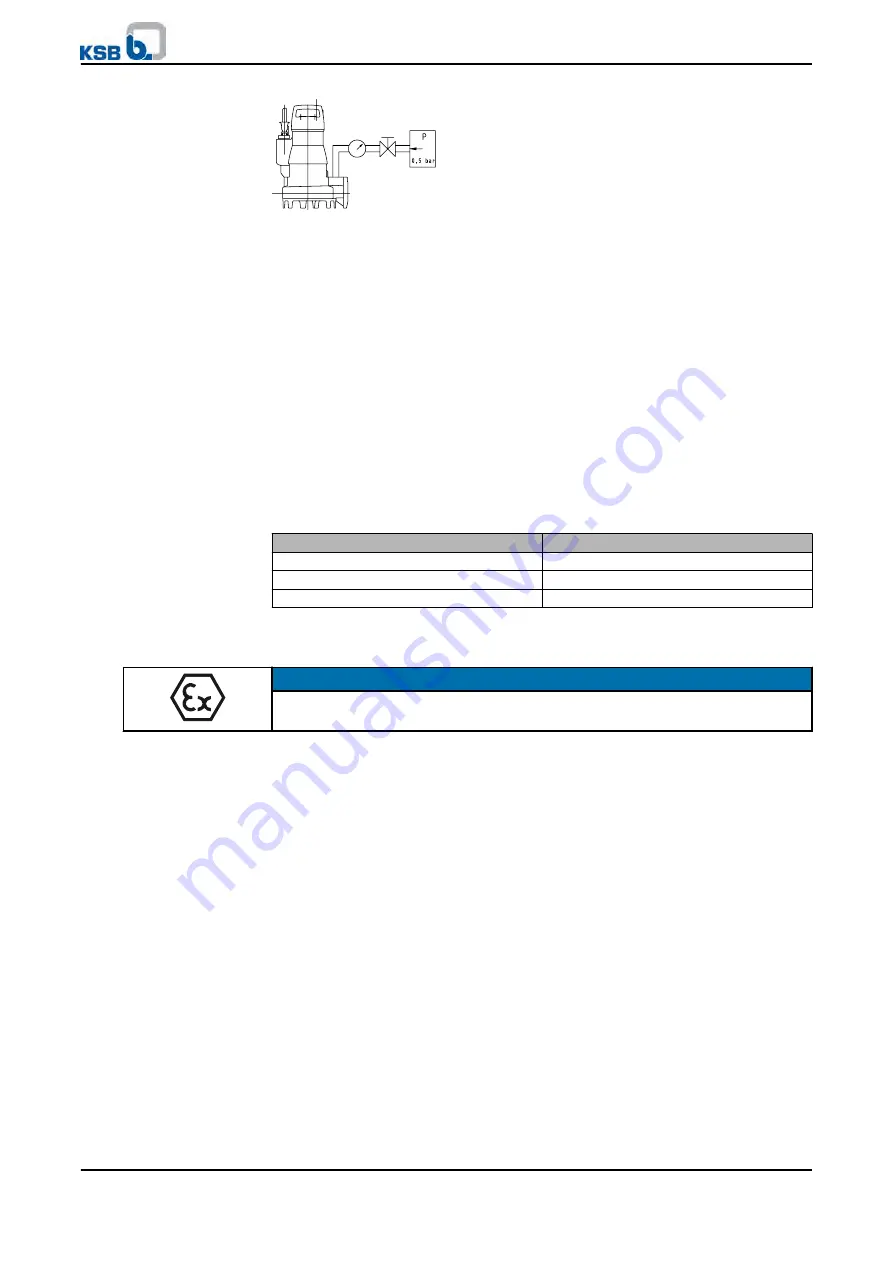
Fig. 29: Screwing in the testing device
1. Unscrew and remove the screwed plug and joint ring of the lubricant reservoir.
2. Screw the testing device tightly into the lubricant filler opening.
3. Carry out the leak test with the values specified above
The pressure must not drop during the test period.
If the pressure does drop, check the seals and screwed connections.
Repeat the leak test.
4. If the leak test has been successful, fill in the lubricant. (
7.5.5 Checking the connection of motor/power supply
Once the reassembly has been completed, carry out the steps described in (
7.6
Tightening torques
Table 21: Tightening torques
Thread
Torque [Nm]
M 8
17
Impeller screw M8
40
Screwed plug 903
23
7.7
Spare parts stock
NOTE
For explosion-proof pump sets only original spare parts or parts authorised by the
manufacturer must be used.
7.7.1 Ordering spare parts
Always quote the following data when ordering replacement or spare parts:
▪
Pump type
▪
KSB order number
▪
Motor number
Refer to the name plate for all data.
Also supply the following data:
▪
Part description
▪
Part No.
▪
Quantity of spare parts
▪
Shipping address
▪
Mode of dispatch (freight, mail, express freight, air freight)
Refer to the general assembly drawing for part numbers and descriptions.
7 Servicing/Maintenance
48 of 66
Amarex® N
Goodnal STP ST041 Biological Treatment (KSB WAS PUMP 1 & 2 PU-0530-010 OM Instructions) Vendor Manual
Q-Pulse Id VM381
Active 29/10/2013
Page 50 of 76


