


Kramer Electronics Ltd.
VIA Capmus², VIA Campus² PLUS
– For Web Administrator: Configuring Settings – Gateway Management
Pages
24
To configure VIA Capmus², VIA Campus² PLUS
to be managed by VSM when VIA
discovery is not activated:
1. Click
Device Management
>
Site Management
on the navigation pane.
The VIA Site Management page appears.
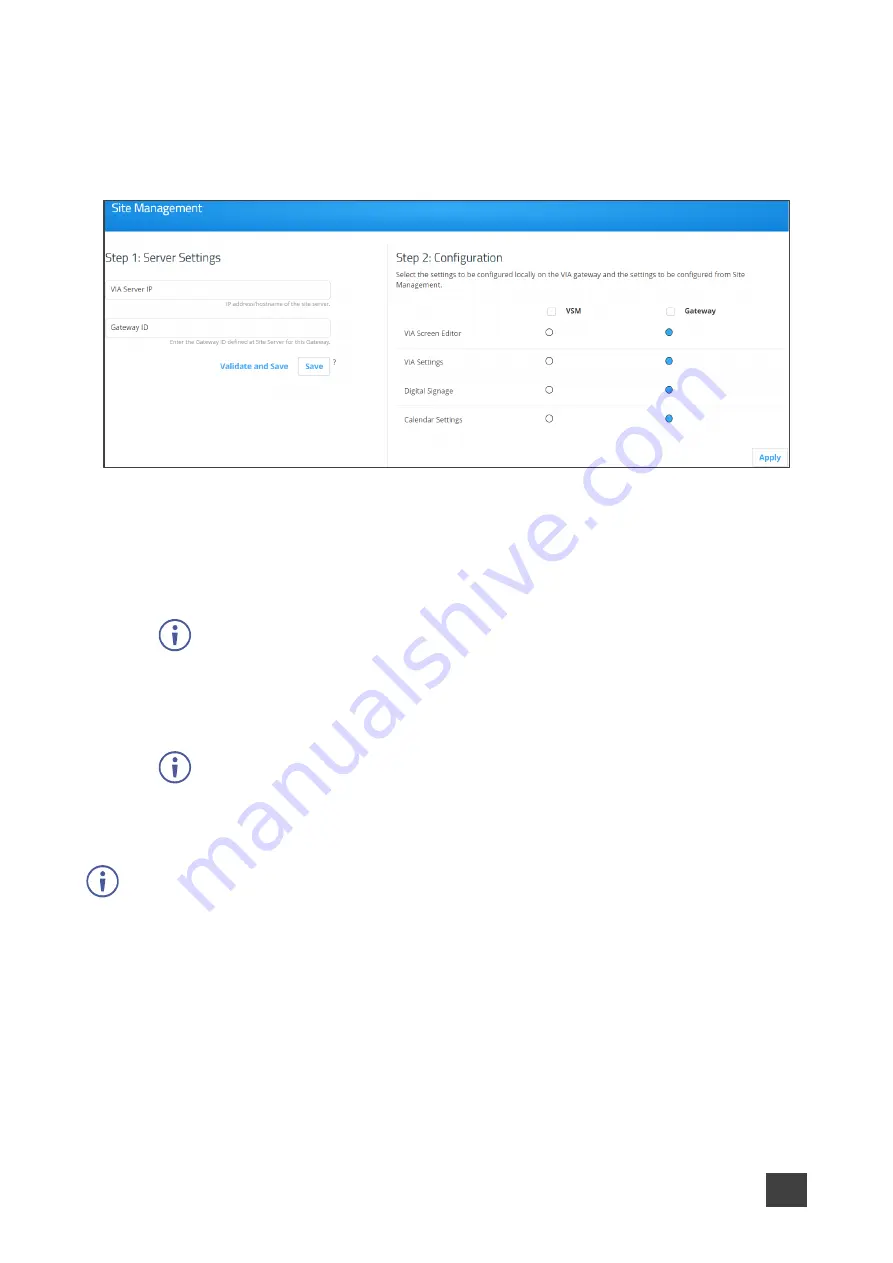
Figure 16: Site Management Settings
2. In the Step 1: Server Settings section, enter the VSM Server IP and the Gateway ID that
was defined in VSM for this gateway.
3. Click
Validate and Save
.
Changes take effect immediately.
VIA Capmus², VIA Campus² PLUS
must be able to connect to VSM while
validating is in progress.
-OR-
Click
Save
for changes to be saved with no validation from VSM.
Since validation is not made immediately, any error entered at this stage, like
duplication of ID, must be corrected manually at a later stage.
4. In the Step 2: Configuration section, in the VSM column, select all functions that you
want to be managed by VSM.
After clicking Apply and Reset, changes take 30 minutes to 1 hour to take effect, to allow time
to communicate with VSM.


