Kramer Electronics Ltd.
VIA Capmus², VIA Campus² PLUS
– For User: Participating in a VIA Meeting
103
3. Drag your cursor past the top of your screen to the main display.
You have joined the Whiteboard session and can use the annotating tools.
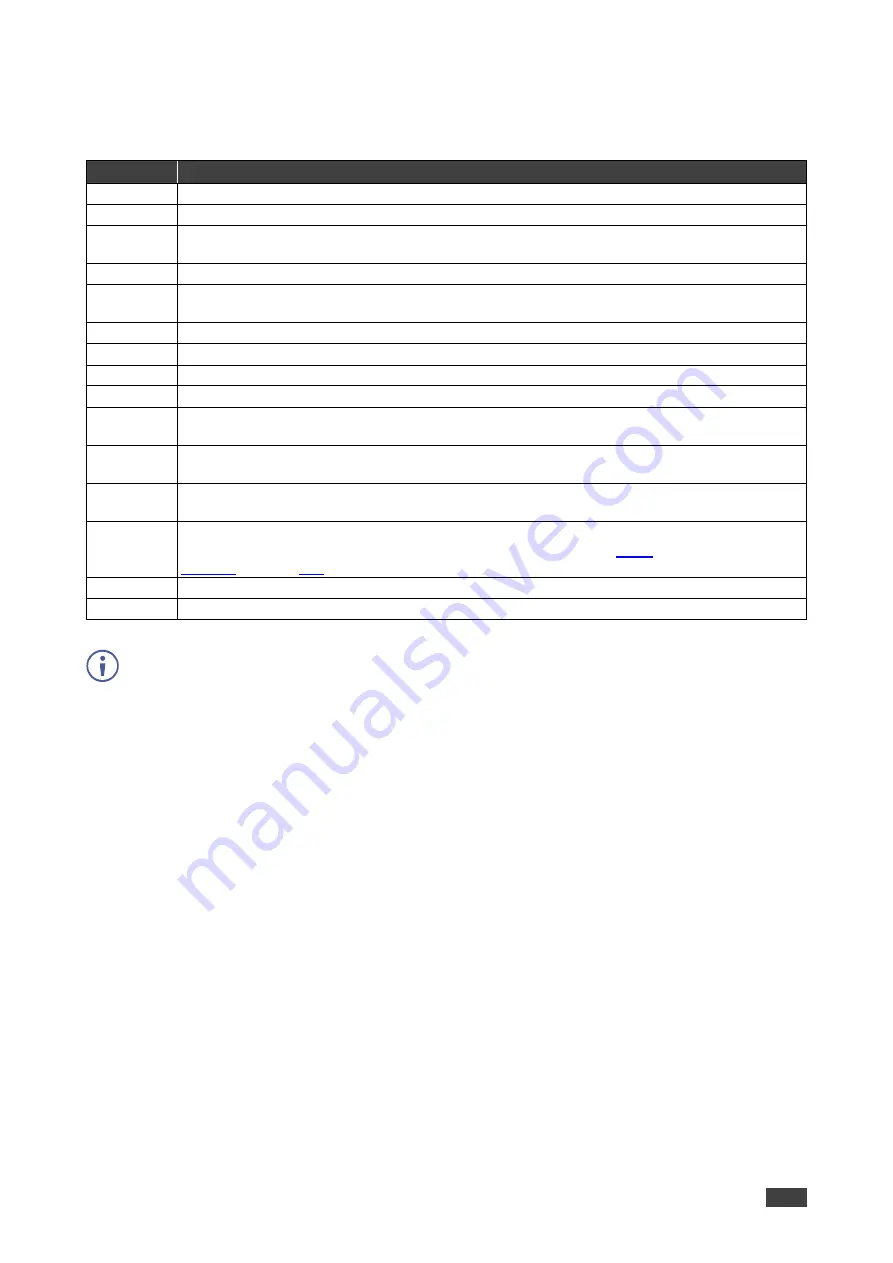
Whiteboard Tools
Icon
Action
Pen
Draw on the whiteboard.
Highlighter
Highlight text or objects on the whiteboard in yellow.
Eraser
Erase annotations. Click icon corner to select eraser thickness and to erase the entire
whiteboard.
Capture
Select an area and paste in onto the current whiteboard page or a new page.
Shapes
Draw a line, rectangle, or circle. Click the lower right corner to select the shape, color and line
thickness.
Text
Add a text box. Click the lower right corner to select the font.
Select
Select, drag, resize an annotation, image or text box.
Image
Click this icon and drag your cursor on the whiteboard to insert an image.
Keyboard
Open a virtual keyboard to insert text into a text box.
Web
Browser
Opens your default web browser. Click capture to add a screenshot of a webpage to your
whiteboard.
Create
Notes
Type notes that are attached to the current whiteboard page.
Pages
All content and annotations during a whiteboard session can be saved to
VIA Capmus², VIA
Campus² PLUS
as one or more pages. Click this icon to view and add pages.
Show
desktop
Displays the main display with all running applications. The user can also annotate any
content on the main display and add it to a whiteboard page (see
Save
Save your activity in either. jpg or. pdf format
Exit
Exit the whiteboard.
The whiteboard toolbar can be moved to the bottom (and back to top) of the display by
clicking the small arrows on the right side of the toolbar.


