12
Overview
Front Panel
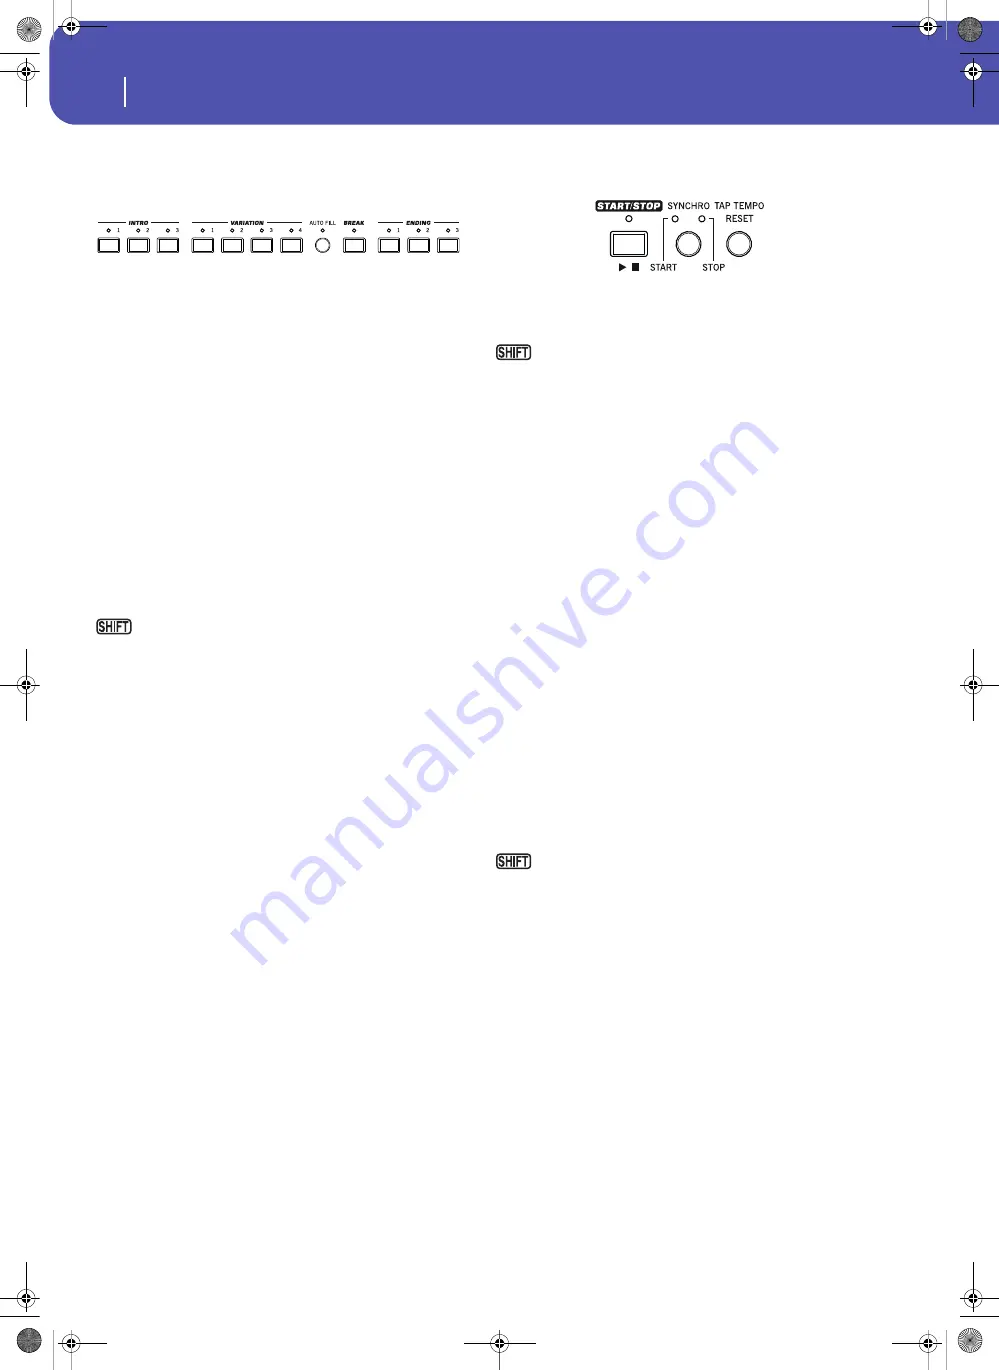
Style Elements
This section contains the separate elements of a Style (Intro,
Variation, etc.).
INTRO 1-3 buttons
These buttons turn the corresponding Intro on. Intro 1 plays a
sequence including a chord progression, while Intro 2 plays a
fixed chord. Intro 3 is usually a one-bar Count In.
After pressing one of these buttons, start the Style, and it will
begin with the selected intro. The INTRO LED will automati-
cally go off at the end of the intro.
At the end of the Intro, the Variation whose LED was blinking
will be selected.
Press one of the INTRO buttons twice (LED blinking) to let the
corresponding Intro play in loop, and select any other Style ele-
ment (Intro, Variation, Ending) to exit the loop.
VARIATION 1-4 buttons
Each of these buttons selects one of the four Variations of the
current Style. The higher the Variation number, the denser the
arrangement.
You can jump to the Style Play > Drum Map page by
keeping SHIFT pressed and pressing one of the VARIATION
buttons.
AUTO FILL
This button allows to turn the Auto Fill function on or off.
On
When selecting a different Variation, the Fill hav-
ing the same number of the previous Variation is
automatically selected. For example, if going from
Variation 2 to Variation 3, Fill 2 is automatically
selected.
Off
When choosing a Variation, no fill is selected.
BREAK
This button triggers a break. Press it twice (LED blinking) to let
it play in loop. Press it again or select any other Style Element
(Intro, Variation, Ending) to exit from the loop.
ENDING 1-3 buttons
These buttons trigger the corresponding Ending. Ending 1 plays
a sequence including a chord progression, while Ending 2 plays a
fixed chord. Ending 3 starts immediately, and is just two mea-
sures long.
While the Style is running, these three buttons trigger an End-
ing, and stop the Style. Press one of them, and the Style will stop
running with an Ending.
Press them twice (LED blinking) to let them play in loop, and
select any other Style element (Intro, Variation…) to exit the
loop.
Style Controls
Use these buttons to start/stop the accompaniment.
START/STOP
Starts or stops the Style.
You can reset all ‘frozen’ notes and controllers on the
Pa300 and any instrument connected to its MIDI OUT or the USB
Device port, by using the
“Panic” (SHIFT + START/STOP)
key
combination. Just press SHIFT + START/STOP to stop all notes
and reset all controllers.
SYNCHRO START / STOP button
These buttons turn the Synchro Start and Synchro Stop func-
tions on or off. With this feature, you can choose to press the
START/STOP button to start and/or stop a Style, or just play the
keyboard in the Chord Scan area.
Start On, Stop Off
In this situation, just play a chord in the chord
recognition area to automatically start the Style. If
you like, turn one of the INTROs on before start-
ing the Style.
Start On, Stop On
When both LEDs are lit, raising your hands from
the keyboard will momentarily stop the Style. If
you play a chord again, the Style will start again.
Start Off, Stop On
In this case, raising your hands from the keyboard
will stop the Style.
Start Off, Stop Off
All Synchro functions are turned off.
You can jump to the Global > MIDI > Setup/General Con-
trol by keeping the SHIFT button pressed and pressing the SYN-
CHRO START/STOP button.
TAP TEMPO/RESET
This is a double-function button, acting in a different way
depending on whether the Style is running or not.
Note:
This button only works while in Style Play mode.
Tap Tempo:
When the Style is not playing, you can “beat” the
tempo on this button. Tap as many times as the Time Signature’s
numerator (for example, four times with a 4/4 Time Signature, or
three times with a 3/4 one). At the end, the accompaniment
starts playing, using the “tapped in” tempo.
Reset:
If you press this button while the Style is playing back, the
Style pattern goes immediately back to the beginning of measure
1.
Pa300 User Manual v150 (English).book Page 12 Saturday, March 29, 2014 5:29 PM
Summary of Contents for Pa300
Page 2: ...Pa300 User Manual v150 English book Page II Saturday March 29 2014 5 29 PM ...
Page 9: ...Pa300 User Manual v150 English book Page 5 Saturday March 29 2014 5 29 PM ...
Page 31: ...Pa300 User Manual v150 English book Page 27 Saturday March 29 2014 5 29 PM ...
Page 85: ...Pa300 User Manual v150 English book Page 81 Saturday March 29 2014 5 29 PM ...
Page 265: ...Pa300 User Manual v150 English book Page 261 Saturday March 29 2014 5 29 PM ...
Page 376: ...372 Index Pa300 User Manual v150 English book Page 372 Saturday March 29 2014 5 29 PM ...
Page 377: ...Pa300 User Manual v150 English book Page III Saturday March 29 2014 5 29 PM ...


