CR 5 A2
GB
│
CY
│
21
■
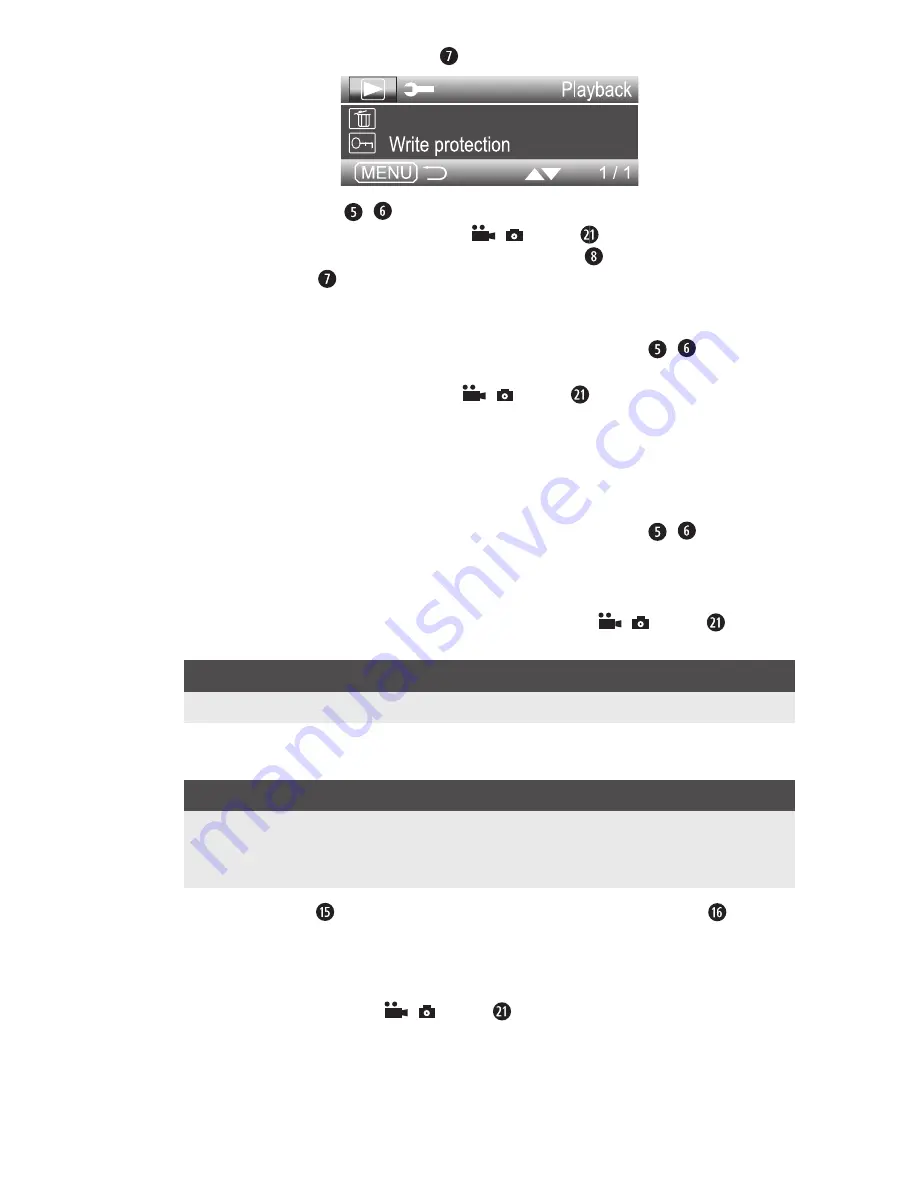
If you now press the MENU button , the following menu opens:
Delete
Using the ▲▼ buttons / you can move the selection bar to the desired entry
and then call up this menu item with the
/ button . To exit the activated menu
item without making a change, press the MODE button . To close the menu, press
the MENU button .
Delete
If you access this menu option, you can then use the ▲▼ buttons / to delete the
currently selected video ("Delete this file"), "Delete all files" or "Cancel" .
Confirm your selection by pressing the
/ button . When you confirm the
following query with "OK", the selected delete function will be executed and the
menu closes . If, however, the screen shows "This file is write-protected", you must first
deactivate the write protection as described in the section "Write protection" .
Write protection
If you access this menu option, you can then use the ▲▼ buttons / to select
whether to protect the currently selected file from deletion ("Write-protect this file"), to
remove the write protection for the selected file ("Unlock this file"), protect all files
from deletion ("Write-protect all files") or remove the write protection from all files
("Unlock all files") . Confirm your selection by pressing the
/ button .
Afterwards, the display will return to the list of menu items .
NOTE
►
Using this function on a large number of files can take several seconds .
Showing recordings on an external monitor
NOTE
►
The camera can transfer the video signal to an external monitor or the video
input of a television set . Please also follow the instructions of the respective
playback device .
♦
Flip the cover to one side and connect the mini-HDMI connection on the
camera to a suitable monitor using a suitable mini-HDMI cable (not supplied) .
This type of connection can only be used to play back saved videos .
The screen is then switched off .
♦
Start playback with the
/ button .
Summary of Contents for 275078
Page 3: ...a e b C d...
Page 58: ...CR 5 A2 54 BG USB USB Implementers Forum Inc...
Page 59: ...CR 5 A2 BG 55...
Page 60: ...CR 5 A2 56 BG 40 C...
Page 61: ...CR 5 A2 BG 57...
Page 62: ...CR 5 A2 58 BG...
Page 63: ...CR 5 A2 BG 59 A MENU MODE Mini USB RESET Mini HDMI Micro SD USB 12 24 V USB Mini USB...
Page 64: ...CR 5 A2 60 BG CR 5 A2 12 24 V USB Mini USB...
Page 66: ...CR 5 A2 62 BG 1 2 3 4 1 2 Mini USB USB USB...
Page 67: ...CR 5 A2 BG 63 3 Setup Setup MENU MODE Setup Default settings MODE MENU...
Page 70: ...CR 5 A2 66 BG A B C Micro SD D E F G H 3 I J K L MODE...
Page 72: ...CR 5 A2 68 BG Motion detection Audio recording...
Page 73: ...CR 5 A2 BG 69 MODE A B C Micro SD D E F G 5 H I J MENU...
Page 75: ...CR 5 A2 BG 71 A B C D E F MENU Delete MODE MENU Delete OK...
Page 76: ...CR 5 A2 72 BG Write protection A B C D E MODE F G H...
Page 77: ...CR 5 A2 BG 73 MENU Delete MODE MENU Delete OK Write protection Mini HDMI Mini HDMI...
Page 78: ...CR 5 A2 74 BG Mini USB USB USB USB Micro SD RESET...
Page 79: ...CR 5 A2 BG 75 Setup...
Page 80: ...CR 5 A2 76 BG RESET 2012 19 U 2014 30 EU 2011 65 EU...


