A-61662 April 2010
5-15
Replacing the imaging
guides
Replace the imaging guides when they become damaged or heavily
scratched.
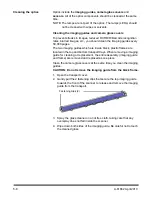
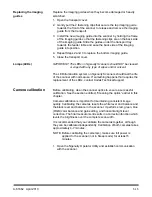
1. Open the transport cover.
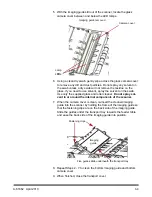
2. Gently pull the 2 fastening clips that secure the top imaging guide
towards the front of the scanner to release and remove the imaging
guide from the transport.
3. Install the new imaging guide into the scanner by holding the frame
of the imaging guide so that the fastening clips are on the back side
of the imaging guide. Slide the guides under the transport tray
towards the feeder table and ease the back side of the imaging
guide into position.
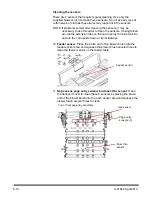
4. Repeat Steps 2 and 3 to replace the bottom imaging guide.
5. Close the transport cover.
Lamps (LEDs)
IMPORTANT: The LEDs on Ngenuity Scanners should NOT be cleaned
or wiped with any type of wipes and/or solvent.
The LED illumination system on
Ngenuity
Scanners should last the life
of the scanner with normal use. If something happens that requires the
replacement of the LEDs, contact Kodak Technical Support.
Camera calibration
Before calibrating, clean the scanner optics to ensure a successful
calibration. See the section entitled, “Cleaning the optics” earlier in this
chapter.
Camera calibration is important for maintaining consistent image
quality. Calibrating the cameras resets the white level and balance and
the black level and balance in the scanner. It performs red, green, blue
(RGB) color balance and gain setting, and horizontal light level
correction. The final measurement results in a correction function which
levels the brightness over the complete scan width.
It is recommended that you calibrate the cameras together, although
they can be calibrated independently. Calibration of both cameras takes
approximately 4-7 minutes.
NOTE: Before calibrating the camera(s), make sure full power is
applied to the scanner (not in Sleep mode) for at least 5
minutes.
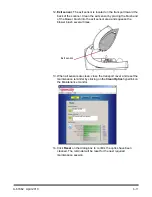
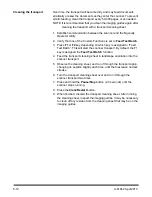
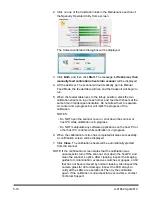
1. Open the Ngenuity Operator Utility and establish communication
with the scanner.

