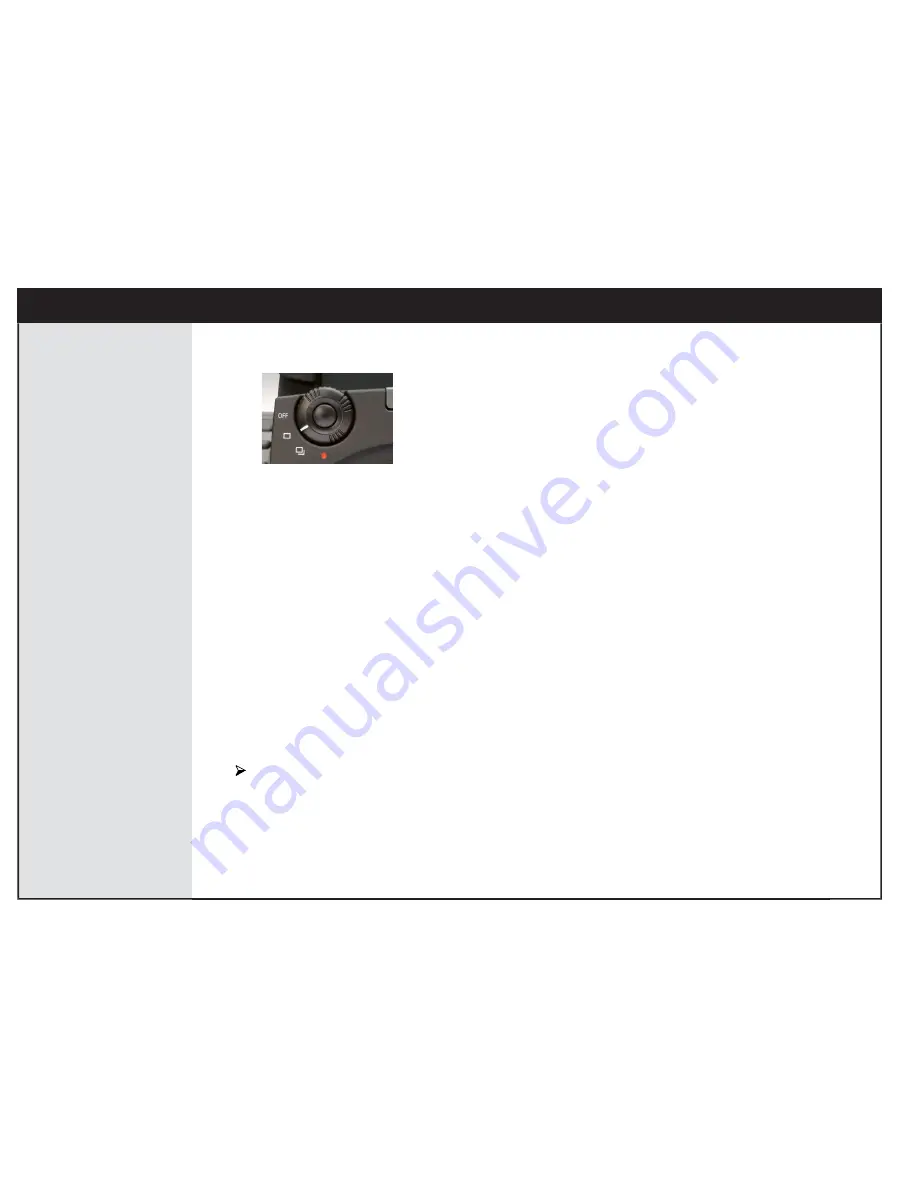
1.
Set the power dial to single shot, continuous, or—for advanced settings—the red dot.
Note: If you set the power dial to the red dot for advanced settings, set exposure bracketing, focus
bracketing, the self-timer, or to shoot continuously with the mirror locked up.
2.
Briefly push the shutter release button to prepare the camera for use.
The handgrip display turns on. The indicator light on the top of the imaging module turns orange
and then starts to blink. After a short time, it turns green and the imaging module beeps. The imaging
module display turns on, and the message
Ready to Shoot
appears. The camera system is now ready
to use.
Note: If the camera system is not used for three minutes, it automatically enters sleep mode. You can
set the amount of time after which the camera enters sleep mode. To activate the camera from sleep
mode, briefly push the shutter release button.
Turning off the camera system
Turn off the camera system when not in use to conserve the battery power.
Turn the power dial to OFF.
The camera and imaging module turn off.
Note: When using a split supply solution, turning the power dial to OFF does not turn off the imaging
module. Turn off the imaging module by pushing the imaging module power button.
74
Handling your camera system
Summary of Contents for AFi 10
Page 1: ......
Page 2: ......
Page 9: ...Quick start 1 ...
Page 10: ......
Page 13: ...Getting to know your camera system 2 ...
Page 14: ......
Page 16: ...Front view 16 Getting to know your camera system ...
Page 17: ...Side view showing controls 17 Side view showing controls ...
Page 18: ...Base view 18 Getting to know your camera system ...
Page 19: ...Side view showing handgrip 19 Side view showing handgrip ...
Page 20: ...Top view showing handgrip 20 Getting to know your camera system ...
Page 21: ...Top view 21 Top view ...
Page 26: ...Enhanced handgrip display 26 Getting to know your camera system ...
Page 29: ...Preparing the battery and CF card 3 ...
Page 30: ......
Page 38: ...7 In the Name box type LEAF CF 38 Preparing the battery and CF card ...
Page 47: ...Powering the camera system 4 ...
Page 48: ......
Page 57: ...Handling your camera system 5 ...
Page 58: ......
Page 76: ...76 Handling your camera system ...
Page 77: ...Adjusting settings for a shoot 6 ...
Page 78: ......
Page 88: ...88 Adjusting settings for a shoot ...
Page 89: ...Setting the exposure 7 ...
Page 90: ......
Page 103: ...Focusing the camera 8 ...
Page 104: ......
Page 114: ...114 Focusing the camera ...
Page 115: ...Evaluating your shots 9 ...
Page 116: ......
Page 127: ...Editing your images 10 ...
Page 128: ......
Page 139: ...Managing files in your imaging module 11 ...
Page 140: ......
Page 147: ...Leaf WiView working with HP iPAQ Pocket PC 12 ...
Page 148: ......
Page 159: ...Tethered shooting 13 ...
Page 160: ......
Page 163: ...Using flash 14 ...
Page 164: ......
Page 168: ...168 Using flash ...
Page 169: ...Configuration and preferences 15 ...
Page 170: ......
Page 188: ...188 Configuration and preferences ...
Page 189: ...Caring for your camera system 16 ...
Page 190: ......
Page 200: ...200 Caring for your camera system ...
Page 201: ...Troubleshooting 17 ...
Page 202: ......
Page 210: ...210 Troubleshooting ...
Page 211: ...Reference 18 ...
Page 212: ......
Page 223: ...Leaf Capture software and documentation CD User Guide 223 Suitcase contents ...
Page 224: ...224 Reference ...
Page 228: ...228 Index ...
Page 229: ......
Page 230: ...www leaf photography com ...


