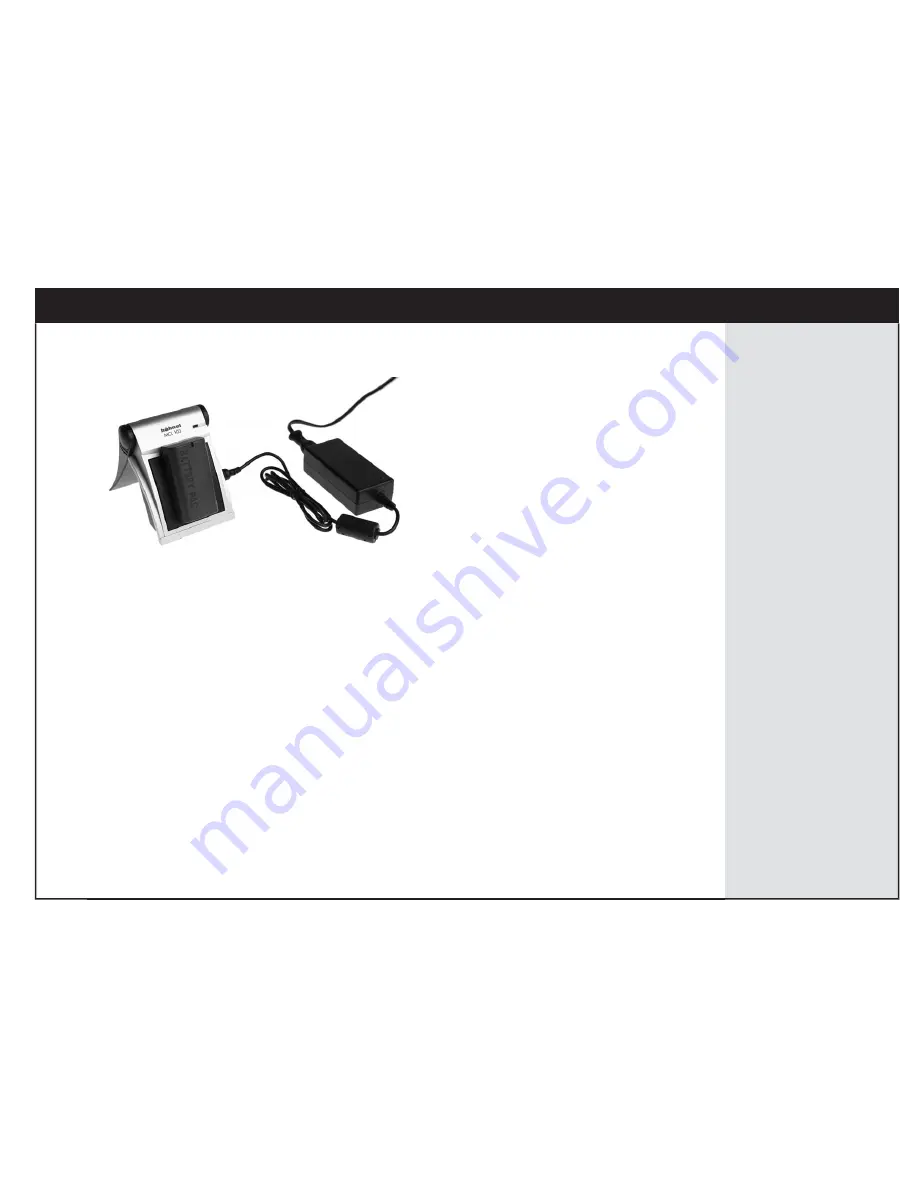
Important: Use only the power supply cable provided.
3.
Holding the battery with the contacts facing down, slide the battery into the charger all the way down
until the contacts meet.
Charging begins, and an indicator light turns on. The indicator light begins to blink when the battery
is 95% charged. Charging is complete when the indicator light turns off.
Note: The first time you charge the battery, be sure to charge the battery for 12 hours, regardless of
the indicator light turning off.
Note: The battery should not be left in the charger when the charger is not connected to a power
supply. If a battery is left in an unpowered charger, the red indicator light on the charger and the
green indicator light on the power supply are illuminated using power from the battery, giving the
false impression that the battery is being charged. If you do not take the battery out of the charger,
the battery will discharge.
4.
To remove, slide the battery off the charger.
33
Battery charging
Summary of Contents for AFi 10
Page 1: ......
Page 2: ......
Page 9: ...Quick start 1 ...
Page 10: ......
Page 13: ...Getting to know your camera system 2 ...
Page 14: ......
Page 16: ...Front view 16 Getting to know your camera system ...
Page 17: ...Side view showing controls 17 Side view showing controls ...
Page 18: ...Base view 18 Getting to know your camera system ...
Page 19: ...Side view showing handgrip 19 Side view showing handgrip ...
Page 20: ...Top view showing handgrip 20 Getting to know your camera system ...
Page 21: ...Top view 21 Top view ...
Page 26: ...Enhanced handgrip display 26 Getting to know your camera system ...
Page 29: ...Preparing the battery and CF card 3 ...
Page 30: ......
Page 38: ...7 In the Name box type LEAF CF 38 Preparing the battery and CF card ...
Page 47: ...Powering the camera system 4 ...
Page 48: ......
Page 57: ...Handling your camera system 5 ...
Page 58: ......
Page 76: ...76 Handling your camera system ...
Page 77: ...Adjusting settings for a shoot 6 ...
Page 78: ......
Page 88: ...88 Adjusting settings for a shoot ...
Page 89: ...Setting the exposure 7 ...
Page 90: ......
Page 103: ...Focusing the camera 8 ...
Page 104: ......
Page 114: ...114 Focusing the camera ...
Page 115: ...Evaluating your shots 9 ...
Page 116: ......
Page 127: ...Editing your images 10 ...
Page 128: ......
Page 139: ...Managing files in your imaging module 11 ...
Page 140: ......
Page 147: ...Leaf WiView working with HP iPAQ Pocket PC 12 ...
Page 148: ......
Page 159: ...Tethered shooting 13 ...
Page 160: ......
Page 163: ...Using flash 14 ...
Page 164: ......
Page 168: ...168 Using flash ...
Page 169: ...Configuration and preferences 15 ...
Page 170: ......
Page 188: ...188 Configuration and preferences ...
Page 189: ...Caring for your camera system 16 ...
Page 190: ......
Page 200: ...200 Caring for your camera system ...
Page 201: ...Troubleshooting 17 ...
Page 202: ......
Page 210: ...210 Troubleshooting ...
Page 211: ...Reference 18 ...
Page 212: ......
Page 223: ...Leaf Capture software and documentation CD User Guide 223 Suitcase contents ...
Page 224: ...224 Reference ...
Page 228: ...228 Index ...
Page 229: ......
Page 230: ...www leaf photography com ...


