Going ’Online’
(using RS 232 as an example)
(assuming the communication line RS232 is already connected and working)
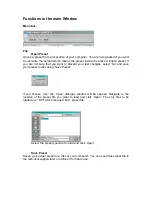
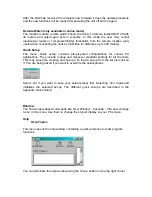
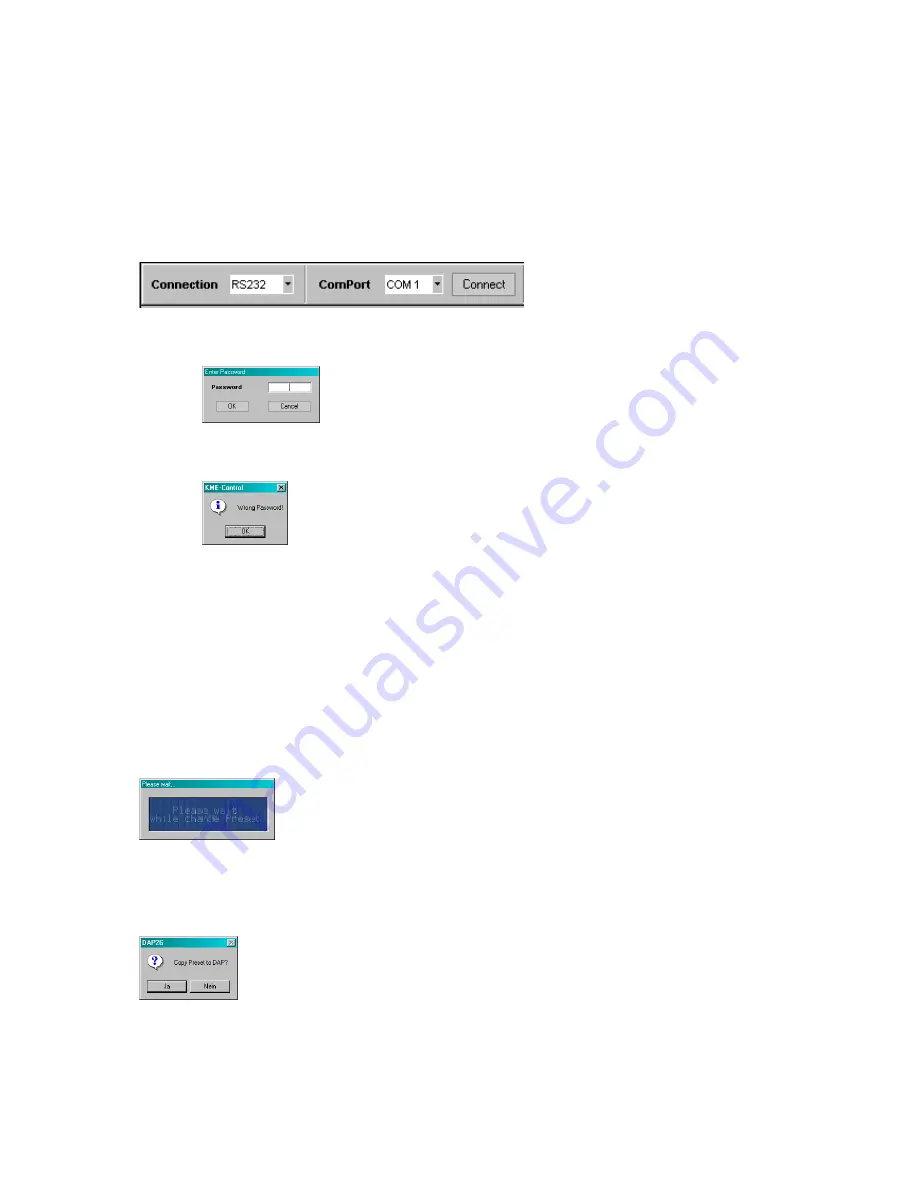
Set the ‚Connection’ field of the DAP 26 plug-in to
‘RS232’
and the
‘Com Port’
field to
‘COM1’
(or the COM port your DAP 26 is connected to). Click
‘Connect’
.
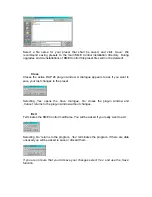
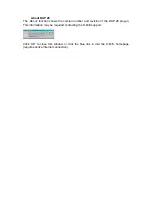
If you did set a password in a previous session you will be asked for it..
Enter the 4-digit password and click ‚
OK
’ to start the connection.
After entering a wrong password you will get a notice window for two times.
You have three trials, after that you need to restart the software and initialise
the communication again. If you forgot the password you will have to send
the hardware unit to the K.M.E. support for factory re-initialisation.
Please refer also to the chapter
‚Set password’
of this manual!
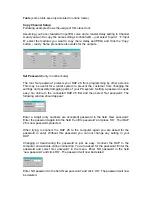
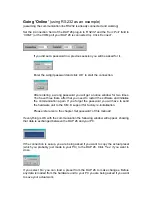
If everything is OK with the communication the following window will appear, showing
that data is exchanged between the DAP 26 and your PC.
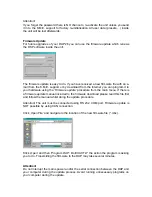
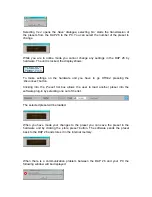
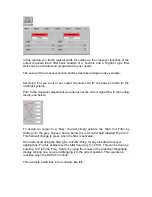
If the connection is set-up, you are being asked if you want to copy the actual preset
(which you probably just made in your PC) to the DAP 26. Click
‘Yes’
if you want to
do so.
If you select
‚No’
you can load a preset from the DAP 26 to make changes. Before
any data is loaded from the hardware unit to your PC you are being asked if you want
to save your actual work.
Summary of Contents for DAP 26
Page 1: ...User Manual DAP 26 Digital Audio Processor KME Control Remote Software Mainframe ...
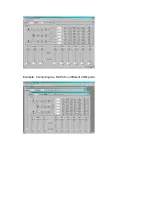
Page 26: ...Example Connecting two DAP 26 on different COM ports ...
Page 49: ...For your notes ...
Page 50: ......
Page 51: ......

