33
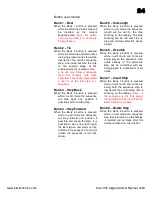
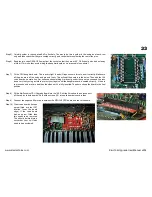
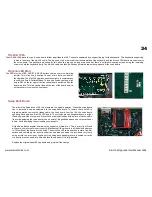
Step 5) Carefully solder in the supplied 64 Pin Sockets. The way to do this is solder in the end pins of each row
only and then check that they are seated correctly and vertical before soldering the rest of the pins.
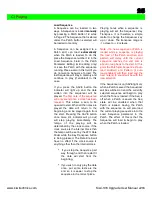
Step 6) Bend the two caps C92 & C93 away from the socket so that they are at 45°. C95 should also be bent away
a little bit. This is so they avoid hitting the daughter board as it is pressed in (see photo).
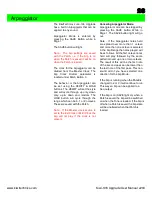
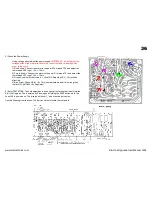
Step 7) Fit the CPU daughter board. This is a very tight fit and will require some force to insert correctly. Make sure
all the pins are in all the holes and press in firmly. This will seat the board into the holes. Then with the 106
voice board on a static free firm surface and something firm directly under the cpu area you need to press
down very firmly using a cloth to protect your fingers until the daughter board is seated correctly. It is best
to press one end at a time and then the sides until it is fully inserted. The photo shows the board in the final
position.
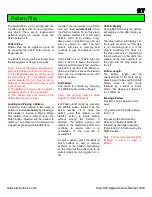
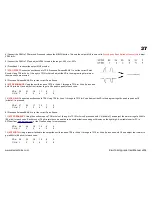
Step 8) Fit the KiwiTechnics CPU Upgrade Board into the 106. Refit the Voice board and reconnect
all the cables to both boards. Refit all the screws (10) into both boards to secure then
Step 9) Connect the supplied 40 pin cable between the KIWI-106 CPU board and the Voice board.
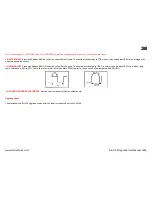
Step 10) Older voice boards have an
eprom fitted into the IC37
location (near the board
edge). If the voice board
has an eprom fitted then
this needs to be removed.
This should be fitted into a
socket but if not it will also
need to be desoldered.
www.kiwitechnics.com
Kiwi-106 Upgrade User Manual v204

