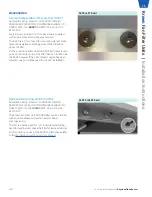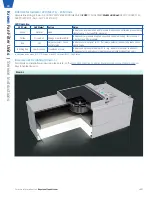
Room Side Accessible Motor/Blower Assembly
Sample line string: Krown-X-X//
I/SUPPLY/24/48//RSR/HEPA/FC/ECM/115/CF/R+TMB/BACnet/BFC/TC/DSW-115/PC-115/
ASSP/INJ//WPF/PL-AL/F-AL/PL-B12/F-B12
NOTE:
Disconnect the unit from the electrical power source before attempting any service. Electrical service should be
performed by a licensed electrician or authorized service technician.
NOTE:
Disconnect the unit from the electrical power source before attempting any service. Electrical service should be
performed by a licensed electrician or authorized service technician.
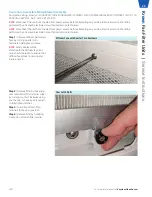
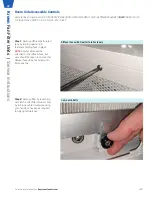
Step 1:
Remove diffuser perforated
face by turning quarter turn
fasteners holding face in place.
NOTE:
Safety cables will be
attached to the diffuser face, but
care should be taken to ensure that
diffuser face does not swing and
injure anyone.
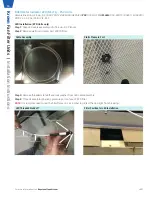
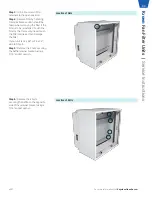
Cam Latch Bolts
Diffuser Face with Quarter Turn Fasteners
Step 2:
Remove filter by loosening
cam latch bolts (filter retainer clips)
by turning counter clockwise using
your hands, or hex key as required
to fully tighten latches.
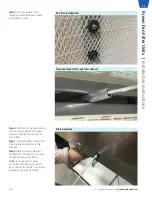
Step 3:
Turn all cam latch filter
retainers to the open position.
Step 4:
Remove filter by handling
frame; do not touch filter media.
For more information visit
KeystoneCleanAir.com
v001
29
Kr
own
Fan Filter Units |
Ser
vice Instructions

