Module Installation
The Krown Fan Filter Units will come completely assembled from the factory with the exception of the HEPA/ULPA filters,
which will ship in its own carton, and the speed controller wall kits (if selected).
Sample line string for Room Side Replaceable filter:
Krown-X-X//I/SUPPLY/24/48//
RSR
/HEPA/FC/ECM/115/CF/R+TMB/FL+ML+BACnet/BFC/TC/DSW-115//ASSP///WPF/PL-
AL/
F-AL/PL-B12/F-B12
Step 1:
Remove fan filter unit from shipping carton and inspect for any damage.
Step 2:
If unit is Bench Top Replaceable (BTR) install the filter, refer to the filter installation section of this manual for
instructions. If unit is Room Side Replaceable (RSR), proceed directly to next step.
Sample line string for Bench Top Replaceable filter:
Krown-X-X//I/SUPPLY/24/48//
BTR
/HEPA/FC/ECM/115/CF/TMB//ECMSC/TC/DSW-115//ASSP///WPF/PL-AL/F-EM/PL-
WM/
F-EM
Step 3:
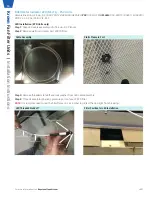
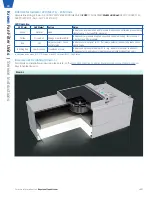
Raise the unit through the ceiling grid at an angle until entire unit is above the grid
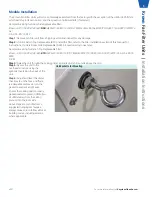
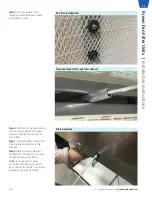
Unit Eyebolts for Mounting
Step 5:
Secure the unit to the
overhead structure using the
eyebolts located on the back of the
unit.
Step 6:
Adjust and level the unit so
that it rests on the tees and there
is adequate compression on the
gasket to warrant a tight seal.
Ensure that ceiling grid is properly
gasket/sealed to prevent infiltration
of unfiltered air from the ceiling
plenum into the room side.
Above steps are manufacturer's
suggested hanging techniques,
always make sure to follow all local
building codes, including seismic
where applicable.
For more information visit
KeystoneCleanAir.com
v001
5
Kr
own
Fan Filter Units |
Installation Instructions


