60
Preparation section
Basic section
Application section
Knowledge section
Convenient recording of CD player output
Check the current play mode of the CD player.
Select the recording speed.
3
1
2
Make the preparations for recording.
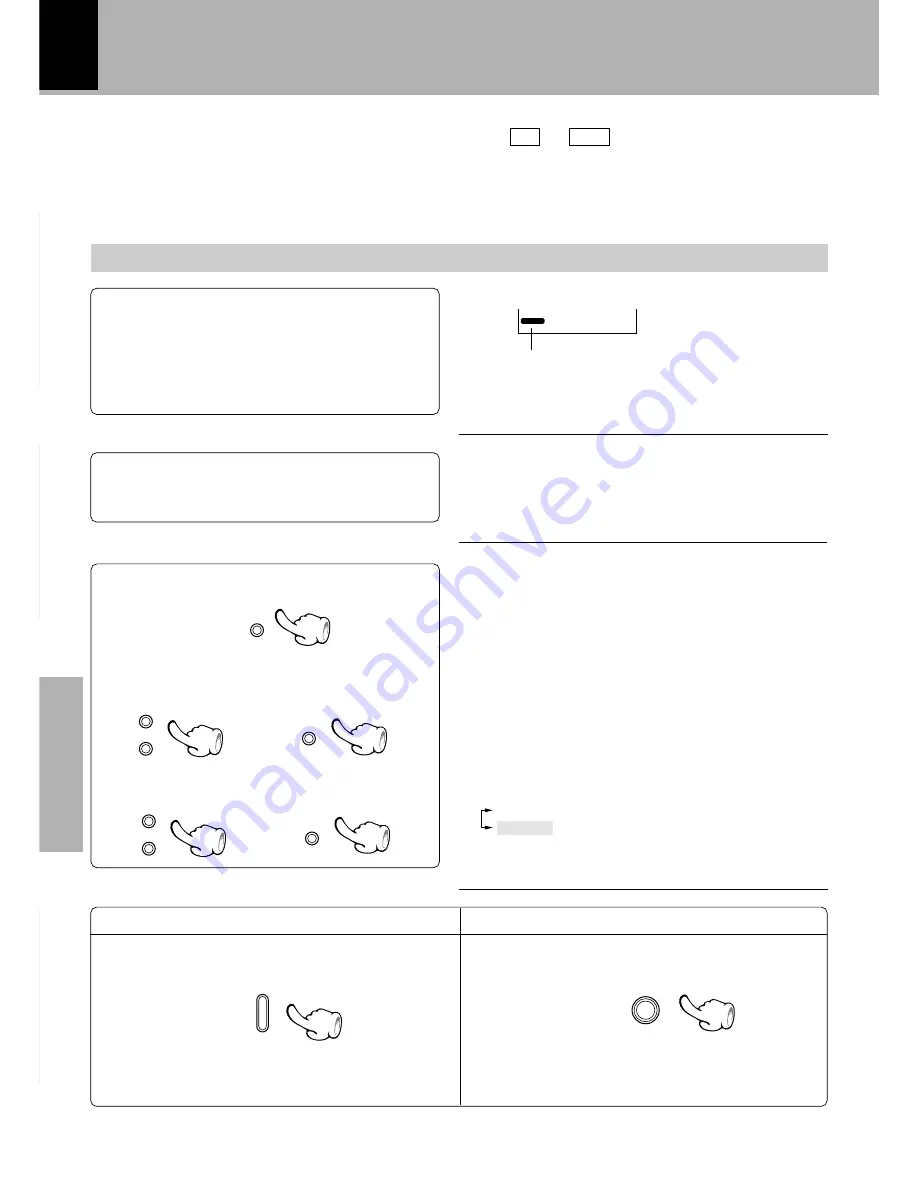
Select the “CD” input. Be sure to put the CD recorder in stop mode.
Records all tracks in a CD with a simple operation. (All-track recording)
Records a single CD track being played from the beginning. (Single-track recording)
The recording source can be a finalized CD-R/RW, but digital-to-digital recording may not be available with
certain discs.”Digital recording and SCMS”
A
One-touch edit recording
(O.T.E.) (Norm)
1
Press the MENU key.
÷
When a CD-R/RW is loaded in the CD recorder, the
CD-R IN
indicator may blink for a while.
“OPC (Optimum Power Control)”
‡
All track recording
Single-track recording
If it is in play mode, stop it.
Select the desired CD track and play it.
Each press switch the modes as follows.
<High> ............ (Recording at double speed)
<Norm> .......... (Recording at normal speed)
\
\
#
#
MULTI
CONTROL
SET
CD
CDR
=
DIGITAL
The current setting is displayed.
"DIGITAL"
is lit ............. Digital-to-digital recording
"DIGITAL"
not lit: ......... Analog-to-digital recording
3
Press the MULTI CONTROL keys to select “<Norm>”,
then press the SET key.
\
\
#
#
MULTI
CONTROL
SET
2
Press the MULTI CONTROL keys to select “O.T.E.
Speed ?”, then press the SET key.
MENU
÷
Even when the
O.T.E. CD
=
=
=
=
=
CDR
key is pressed in the middle
of a track, recording will start from the beginning of the track.
7
CD
6
When digital-to-digital recording is not impossible
or when analog-to-digital recording is performed,
select the analog input as described in the follow-
ing section then start the setting from step
1
below.”Changing the recording input setting”
e
Before recording
1
Place a recordable CD-R or CD-RW disc.
fl
2
Load the recording source disc in the CD player.
¢


