


16
www.KALORIK.com
220131
•
Make sure “AP Mode”
is selected in the
upper right corner (
Fig. G
).
•
Press and hold the HOME button on top
of HUVI (
Fig. H
) until the HOME button
light turns light blue and begins to flash
slowly
while HUVI say
s “connecting to
network”
.
•
Check off the small circle to the left of the text that
says "Confirm the indicator is blinking slowly", then
press "Next" (
Fig. J
).
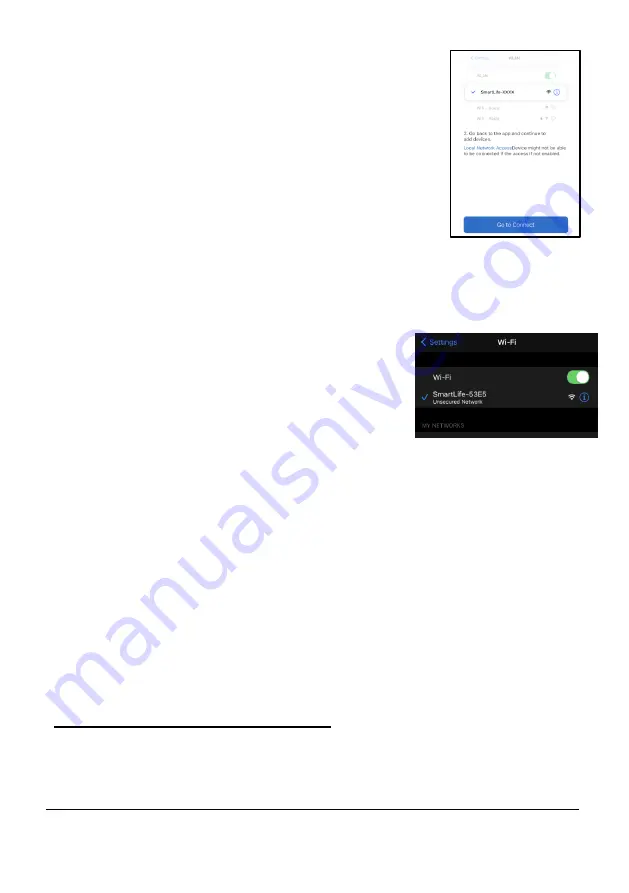
•
Select "Go to Connect" in the app
interface (
Fig. K
)
•
You will be taken to the WiFi settings on
your smart device
. Wait for the HUVI’s
WiFi hotspot to appear, then connect
your smart device to the
HUVI’s
WiFi
hotspot (
Fig. L
)
•
On your smart device, return to the app.
The app will show "Adding device..." as
the device connects.
•
Once successful, you will be able to name
your HUVI. Select
“Done”
in the app to
complete.
•
Your HUVI can now be controlled through
the HUVI app.
NOTE
: If you cannot connect to WiFi using the connection methods above,
try the following before connecting again.
―
Restart your smart device
―
Reboot HUVI. Press and hold the power button for 3 seconds to
turn off. Wait 10 seconds, the press and hold the power button for
3 seconds again to turn back on.
―
Reboot your router by unplugging the router for 30 seconds, then
reconnecting. Allow the router a few minutes to reboot
.
Connecting with Amazon Alexa
HUVI
is compatible with Amazon Echo’s Alexa. Follow the steps below to
connect:
Fig. K
Fig. L


