Page 21
3.2 Main Menu
(Eprom-Version-Nr. KH 1.038)
Explanation of Menu Steps:
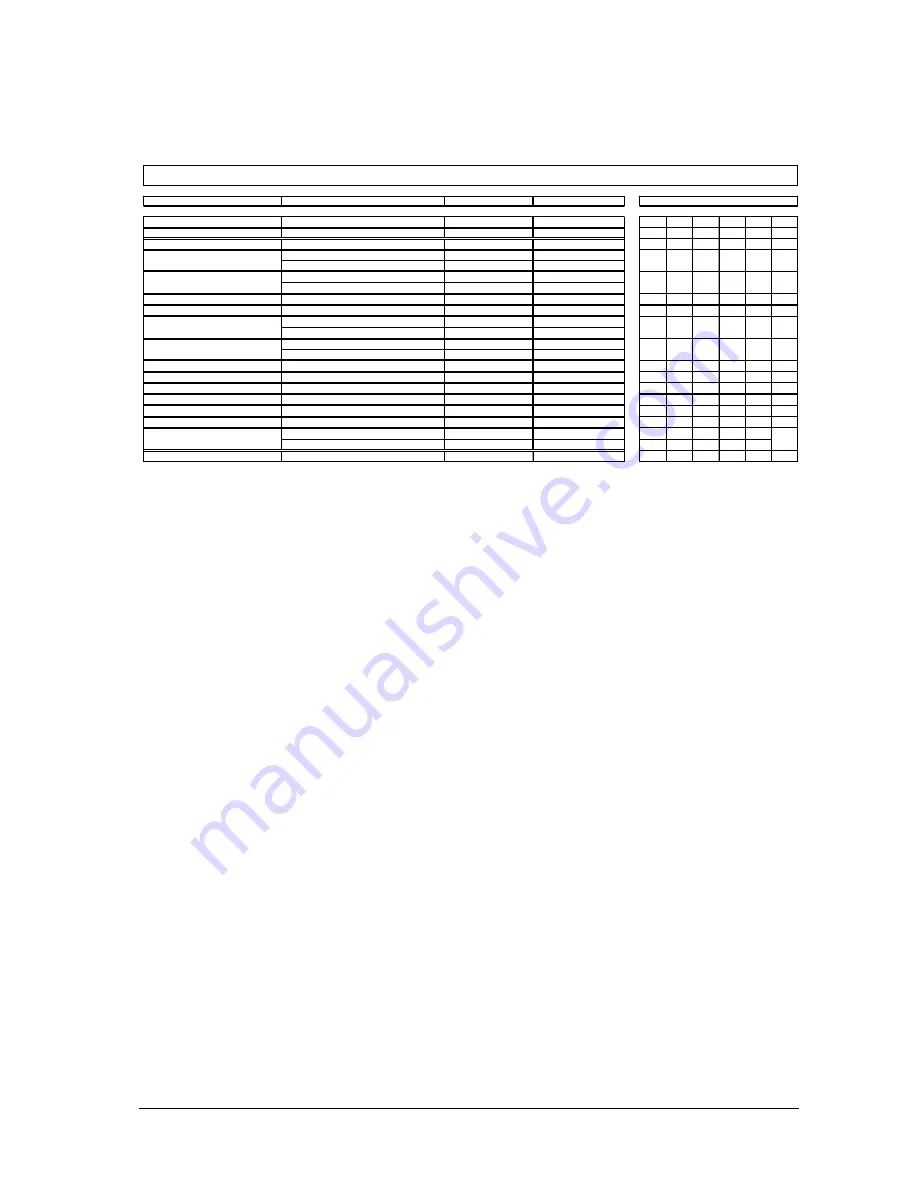
K+H O 500 C
- Main Menu -
(Menu headline)
1 Load Setup
In this menu the setups can be recalled. A
setup contains all settings in all menu steps
of the main and EQ menu, with the exception
of the menu step
3 Input Gain
.
It also contains
the status of the logo illumination (ON/OFF,
see system menu). By pressing the +/-
increment keys it is possible to scroll through
the options, until the name of the desired
setup is displayed, which now can be recalled
by pressing ENTER.
2 Store Setup
To store modified settings of the main menu
and EQ menu in a new SETUP, select
Enter
Setup Name
by pressing the ENTER key.
Now it is possible to select a character A, a,
O with the DOWN arrow key and then select
the desired characters or numbers by
pressing the +/- increment keys. With the
LEFT / RIGHT - arrow keys the cursor can
be moved between the individual letters of
the word. After entering the desired name the
number of the setup is selected by the
increment key in the menu
Enter Setup No.
.
Finally press the ENTER key to store the
modifications. The setup can be recalled
under
1 Load Setup,
as described above. The
menu point
Input Gain
is not included in the
settings of a setup, so the actual listening level
remains constant when selecting a new one,
or toggeling between two setups. If setups
with different levels are wanted, these can be
adjusted and stored in the menu
Gain Offset
individually for the analog and digital signal
input.
Note: the menu point STORE SETUP can be
left at any time by pressing the SYSTEM
MENU key.
Important note:
All setups and the current
adjustments of all menu points will be stored
in the SRAM of the digital controller. When
the monitor is switched OFF, the SRAM will
be powered by the internal buffer battery. This
lithium battery has a life of several years and
should only be replaced by skilled engineers
according to the factory recommendations!
3 Input Gain
In this menu the anaolog and/or digital input
level will be changed. When the O 500 C is
switched ON, this level will be automatically
recalled.
4 Gain Offset
In this menu it is possible to store different
input levels for the analog and digital inputs.
Looking at the signal flow of the unit, it can
Options
Units
Default Settings
0
1
2
3
4
5
1
Load Setup
No. / Name
---
000 Default Setup
X
X
X
X
X
2
Save Setup
Enter Setup Name / Enter Setup No.
---
Default Setup / 000
X
X
3
Input Gain
Gain [dB]
-83...0...+45 dB
-25
X
X
X
X
Analog [+/- dB]
-30...30 dB
0
Digital [+/- dB]
-30...30 dB
-13
Mute on / Mute off
---
off
Mute Attenuation [-dB]
-40...0 dB
-20
6
Input Select
Analog / Digital
---
Analog
X
X
7
Digital Input Select
left / right / left+right
---
left
X
X
Monitor
---
---
Subwoofer
---
---
Delay Time [ms]
0...999 ms
0
Distance [m]
0...339,9 m
0
10
Delay Offset
---
0...5759 us
0
X
X
11
Channel Mute
High, Mid, Low, Sub [yes/no]
---
no
X
12
Channel Gain
High, Mid, Low, Sub [dB]
-18...6 dB
0.0
X
13
Channel Phase Invert
High, Mid, Low, Sub [yes/no]
---
no
X
14
Channel Delay
High, Mid, Low, Sub [ms]
0...92,1 ms
0.0
X
15
Delay Link
off / Mid+Hi / Low+Mid+Hi
---
Low+Mid+Hi
X
Lim. Release [dB/s]
10...250 dB/s
250
Display Test (via Enter)
---
---
17
PWR Amp -10dB
on / off
---
off
X
X
X
X
9
16
Speaker Select (Matrix)
Mute
Gain Offset
5
4
8
Limiter
Master Delay
0
K+H O 500 C
Main Menu
X
X
X
X
X
X
X
X
No. / Name of Menu Step
User Security Levels
X
X


