39
Loading Memory Registers, Personality, and
Installation Settings
You can load memory registers, personality, and
installation settings that were previously saved to a
USB drive.
Memory registers that were empty when saved will
erase the contents of the same memory register on
your switcher when loaded from a USB drive.
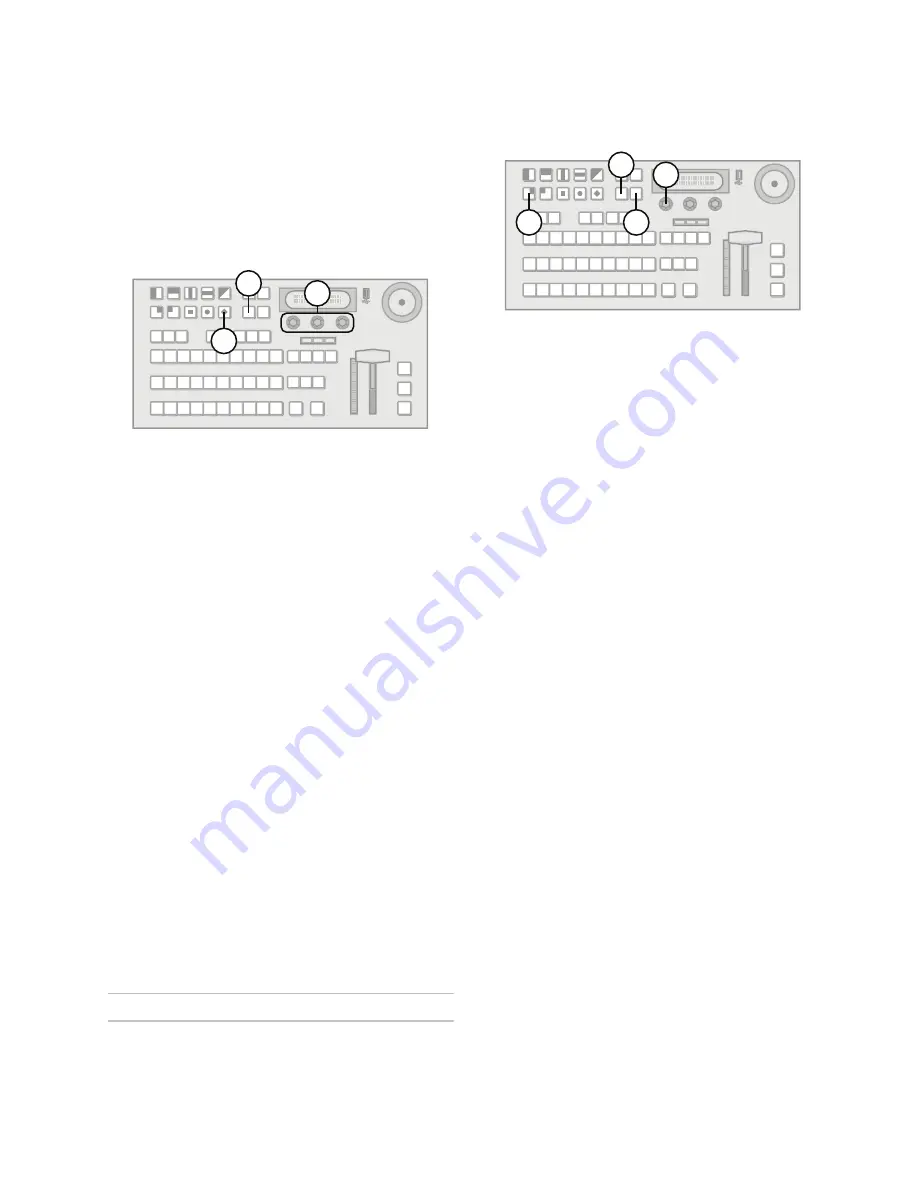
To load from a USB drive:
1.
Insert a USB drive containing memory register,
personality, and installation sets into the USB
port.
2.
Press
MENU
.
3.
Press the
LOAD
Wipe Pattern button.
4.
Use the left knob to select the set you wish to
load from.
5.
Load memory registers, personality settings,
installation settings, or all settings as follows:
• Press the
All
knob to load memory registers,
personality settings, and installation settings
from the selected set.
• Press the
Mems
knob to load memory
registers from the selected set.
• Press
NEXT
and then the
Pers
knob to load
personality settings from the selected set.
• Press the
Inst
knob to load installation
settings to the selected set.
6.
Press the
Confrm
knob to perform the save.
Press the
Cancel
knob to cancel the save.
Note:
• Turn the middle knob when browsing sets to
display the full text of long set names
• The
*
symbol next to an item indicates that there is
a previously saved version of that item in the
selected set.
For More Information on...
Software Upgrades
Software upgrades stored on a USB drive can be
uploaded to the switcher.
Do not turn the switcher power off during the
upgrade.
To upgrade the switcher software:
1.
Copy a software upgrade file onto a USB drive.
2.
Insert the USB drive with the software upgrade
file into the USB port.
3.
Press
MENU
.
4.
Press the
RESET
Wipe Pattern button.
5.
Press
NEXT
until
Run Software Upgrade From
USB
is displayed.
6.
Press the left knob to display the
Upgrade
menu.
7.
Select an upgrade file to use as follows:
• Use the left knob to browse the USB drive file
system. Turning the knob cycles through all
the files and directory names at the current
level in the file system.
• Navigate to sub-directories by selecting a
sub-directory name and then pressing the left
knob. Sub-directories are displayed as
<directory-name>
• Return to a parent directory by selecting
<..>
.
• Use the left knob to select the upgrade file you
wish to use.
8.
Press the left knob to load the upgrade file.
9.
Press the
Confrm
knob to initiate an upgrade.
Press the
Cancel
knob if you do not wish to
perform an upgrade.
The menu displays a message indicating the software
upgrade is in progress. The
Upgrade
LED on the rear
of the switcher is lit, indicating an upgrade is in
progress.
Note:
• Wait 5 seconds after inserting a USB drive into the
USB port before using it.
• Turn the middle knob when browsing the file
system to display the full text of long directory lists
and filenames.
• Upgrades can take several minutes to complete.
• If
CRITICAL UPGRADE
is displayed, the switcher
is performing an upgrade that includes low-level
software components. This does not indicate a
problem with your switcher.
4,5
3
2
6
4
5
3


