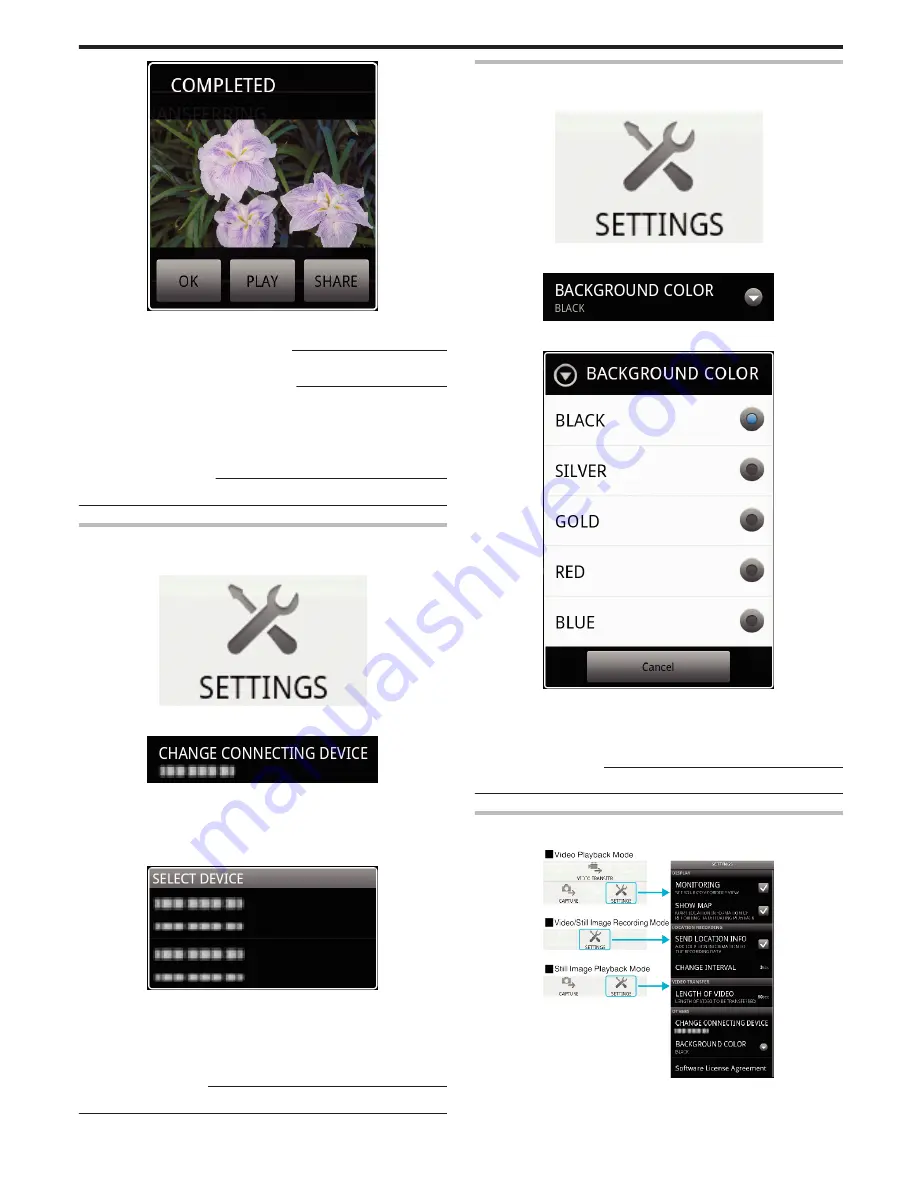
.
7
Tap [OK] to complete the transfer.
Checking the Transferred Still Image
:
0
Tap [PLAY] in step 7 to play back the transferred still image.
Uploading the Transferred Still Image
:
0
Tap [SHARE] in step 7 to display the list of destinations (services) to
upload to.
Tap the desired service to start the uploading process.
0
To make use of a service, it is necessary to perform registration
beforehand.
Canceling the Transfer
:
0
Tap [CANCEL] in step 6 during transferring.
Changing the Connected Camera
1
Press the “MENU” button to display the settings (SETTINGS) button.
.
2
Tap the settings (SETTINGS) button to display the settings menu.
.
3
Tap [CHANGE CONNECTING DEVICE] to display the setting window.
4
Tap [OK] in the setting window.
0
The connection gets disconnected, and a device selection window
appears.
.
5
Tap on the device to connect to from the list displayed in the device
selection window.
0
The selected device gets connected.
* It is necessary to perform pairing beforehand for the camera to change
to.
Canceling the Setting
:
0
Tap [CANCEL] in step 4.
Changing the Software’s Background Color
1
Press the “MENU” button to display the settings (SETTINGS) button.
.
2
Tap the settings (SETTINGS) button to display the settings menu.
.
3
Tap [BACKGROUND COLOR] to display the setting window.
.
4
Tap the desired color in the background color setting window.
5
Press the “RETURN” button once.
0
The background changes to the selected color.
Canceling the Setting
:
0
Tap [CANCEL] in step 4.
Settings Menu
You can display the settings menu by pressing the “MENU” button.
.
Getting Started
37


