Using an Eye-Fi Card
Eye-Fi is an SD memory card with wireless LAN function.
Using an Eye-Fi card, you can transfer videos and still images to a computer
or the web. (A broadband wireless LAN environment is required.)
Use of Eye-Fi card may be illegal and prohibited in countries and regions
where it has not been approved by competent authorities. Please contact
Eye-Fi support for the details of approved countries and regions.
Types of Cards
The following Eye-Fi cards can be used on this unit.
Eye-Fi X2 Series
0
Eye-Fi Connect X2
0
Eye-Fi Explore X2
0
Eye-Fi Pro X2
Using the Eye-Fi Card
Make settings on the Eye-Fi card with Eye-Fi Center.
For how to install and operate the Eye-Fi Center, refer to its instruction
manual.
0
Recorded videos and still images are automatically transferred. (The files
already transferred earlier are not transferred again.)
Memo :
0
You cannot transfer files during the recording mode, editing and formatting
of the card.
0
You cannot transfer video files larger than 2 GB. (as of December, 2010)
0
Transfer may take long or be interrupted depending on the connection
conditions.
Icon
Description
M
Identifying the Eye-Fi card
O
Ready for transfer from the Eye-Fi card
O
Transferring from the Eye-Fi card (animated)
0
We recommend using the AC adapter when transferring files of large size.
0
If it doesn’t operate properly, first make use of Eye-Fi Helper to confirm
that the settings of the Eye-Fi card are correct. In addition, try the data
transfer by inserting the Eye-Fi card into other equipment such as a
computer.
0
Do not use the camcorder in places where wireless use is prohibited such
as on a plane.
0
Before deleting a file, check that you have transferred it to a computer or
uploaded it to a video sharing website.
0
For the latest information on the Eye-Fi card, refer to the website of Eye-
Fi, Inc.
http://www.eye.fi/
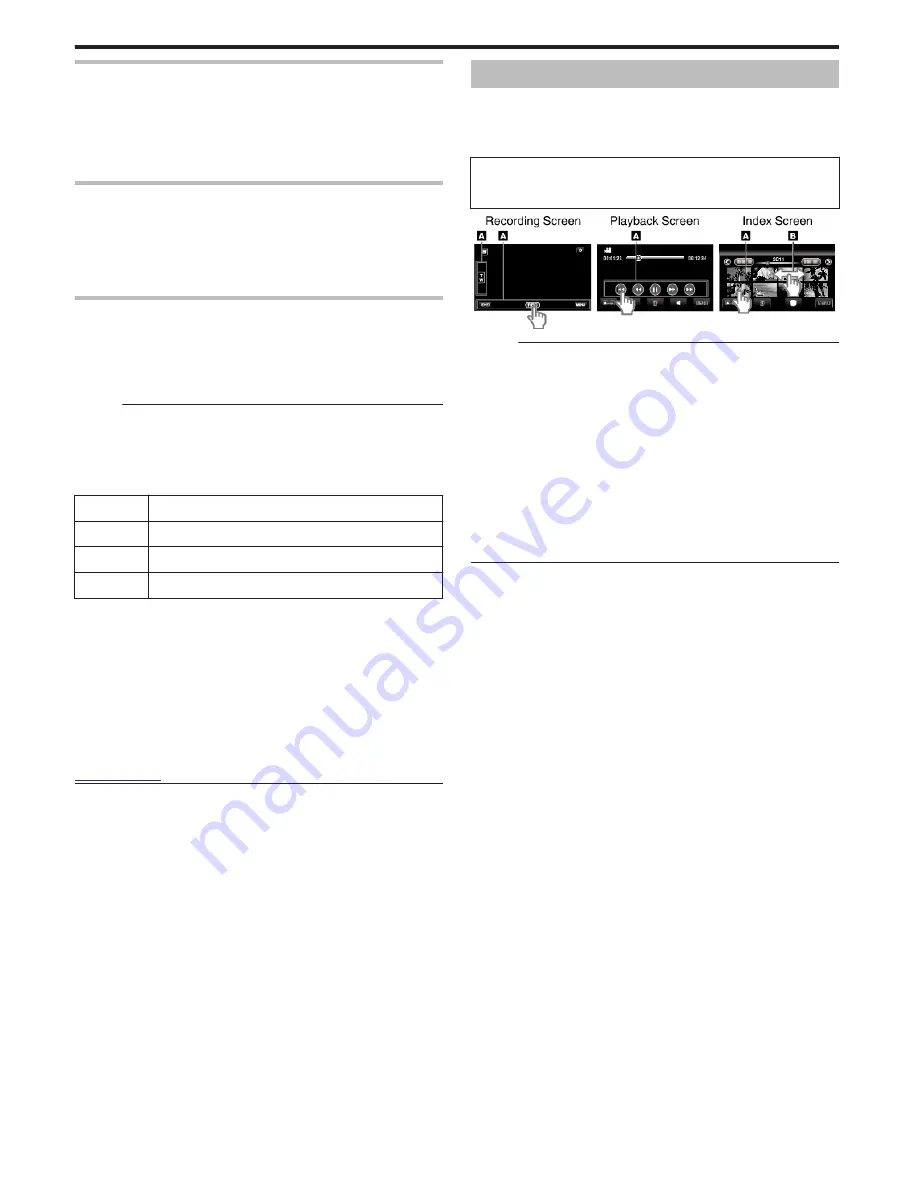
Using the Touch Screen
Icon operation buttons, thumbnails, and menu items are displayed on the
touch screen according to the mode in use.
0
There are two ways to operate the touch screen, namely “tap” and “drag”.
The following are some examples.
A
Tap the displayed button (icon) or thumbnail (file) on the touch screen
to make selection.
B
Drag the thumbnails on the touch screen to search for the desired file.
.
Memo :
0
The touch screen of this unit is pressure-sensitive. When the touch screen
does not respond smoothly, apply slightly more force to your fingertip.
0
Tap the buttons (icons) on the touch screen accurately. The buttons may
not respond if they are not tapped on the right area.
0
Do not press or rub with excessive force.
0
If you apply a protect sheet or a sticker, the touch screen may not respond
smoothly.
0
Do not operate the touch screen using an object with a sharp or hard tip.
0
Pressing two or more places at a time may cause a malfunction.
0
Perform “TOUCH SCREEN ADJUST” if the reactive area of the screen is
misaligned with the touched area. (Adjust by lightly tapping with a corner
of an SD card, etc. Do not press with an object with a sharp tip or do not
press hard.)
“TOUCH SCREEN ADJUST” (
A
p. 149)
Getting Started
18


