
JWM990
12
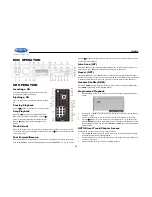
Playback Information
During DVD playback, press the button (26) on the remote control to display playback
information on the screen, including the media playing and current playback time. Press the
button additional times to display additional information, as indicated below.
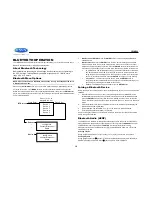
DVD Playback Information
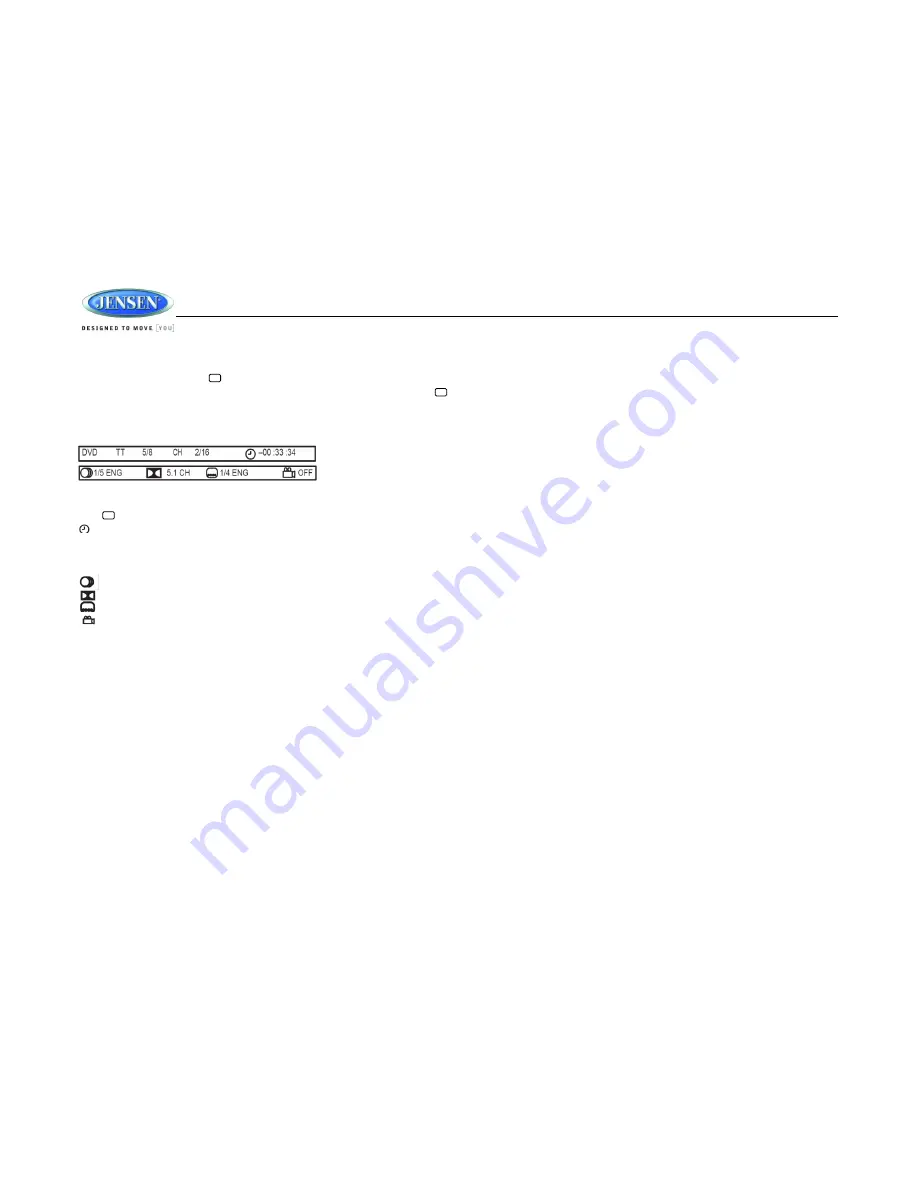
The following information is displayed at the top of the screen during DVD playback:
TT 5/8
– “5 / 8" indicates the fifth of 8 titles on the DVD is currently playing.
CH 2/16
– “2 / 16"" indicates that the second of 16 chapters on the DVD is currently playing.
Press repeatedly to view the following information for elapsed/remaining playing time:
00:02:18
– total elapsed playing time of the current track;
C
– 00:34:37 – remaining playing time of the current track;
T 00:02:18
– total elapsed playing time for disc;
T
– 00:34:37 – remaining playing time for disc. .
1/5 ENG
– English is the selected audio language out of 5 possible choices;
5.1 CH
– The current language is recorded in 5.1 surround sound;
1/4 ENG
– English is the selected subtitle language out of 4 possible choices;
OFF
– There are no alternate angles recorded for this scene
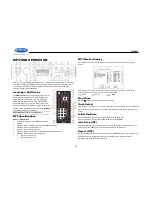
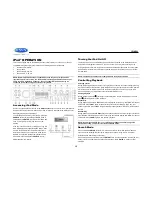
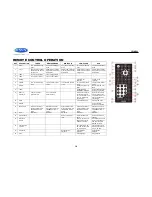
Remote Control Direct Track Entry
To select a track directly, use the number pad on the remote control (9). For single digit entries,
press the corresponding number. For two digit entries, press the 10+ button followed by the last
digit (i.e., for track 16, press 10+ and then 6).
GOTO Direct Track/Chapter Access
Use the GOTO function to access a track (chapter) directly.
1.
Press the
GOTO
button (25) on the remote control. The On Screen Display information
will appear with the track number highlighted.
2.
Use the number keys on the remote control to enter the 3-digit track number directly (i.e.
for track 10, enter “010”.
3.
Press the
ENTER
button to confirm and begin playback.